Installing a mainline sediment filter may seem daunting, but it’s a straightforward process that can be completed with the right tools and guidance. Follow these steps to install your sediment filter and start enjoying cleaner water immediately.
1. Gather the Necessary Tools

Before starting, make sure you have the following:
-
The sediment filter housing assembly
-
Wrenches or spanners (usually included with the product)
-
Teflon tape
-
PVC or metal pipes (depending on your plumbing system)
-
A plumber’s help (recommended for first-time installations)
2. Shut Off the Water Supply

Turn off the main water supply to your home. This ensures a smooth and mess-free installation process.
3. Choose the Installation Location

Select a spot on the main water line after the pump and before the water enters the overhead tank to ensure sediments are filtered before storage and use. The 20-inch sediment filter should be installed at a convenient height at least 3 feet (around 1 meter) from the ground for easy maintenance. Additionally, choose a shaded area to protect the filter housing from direct sunlight, which can extend its lifespan and maintain performance.
4. Prepare the Pipes

Cut the section of the mainline where you’ll install the filter. Smooth the edges of the cut pipes to prevent leaks.
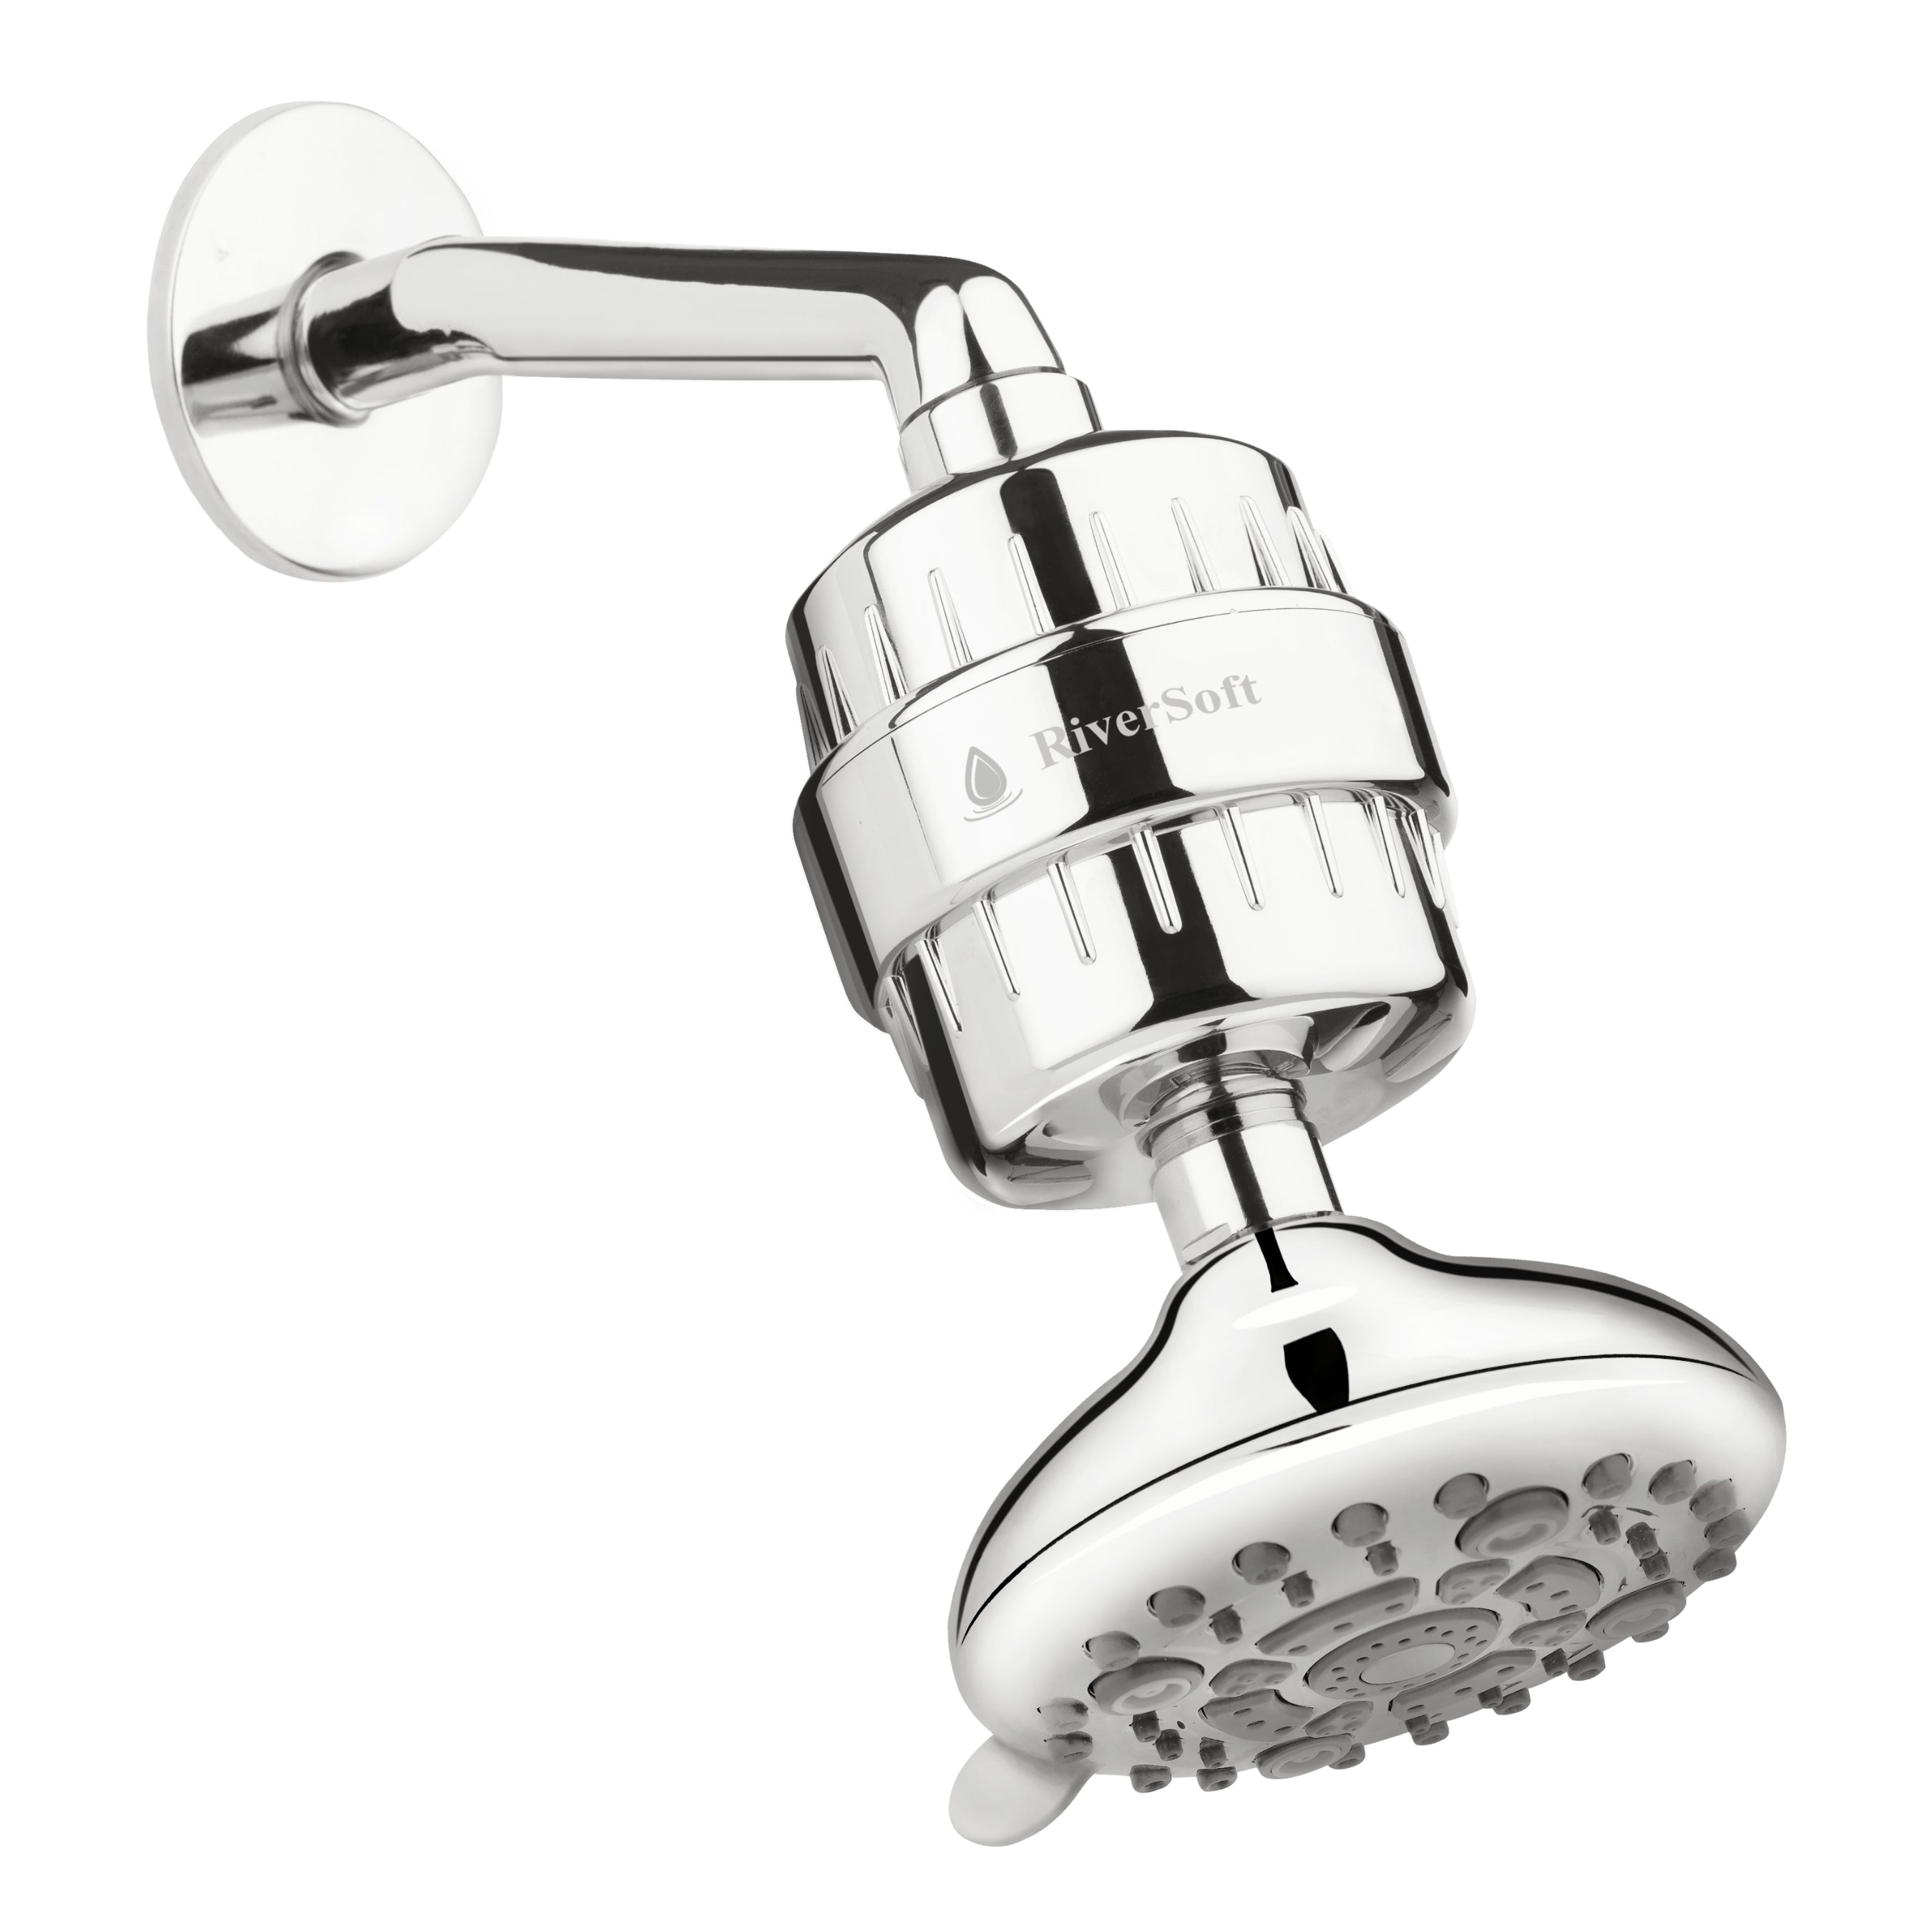
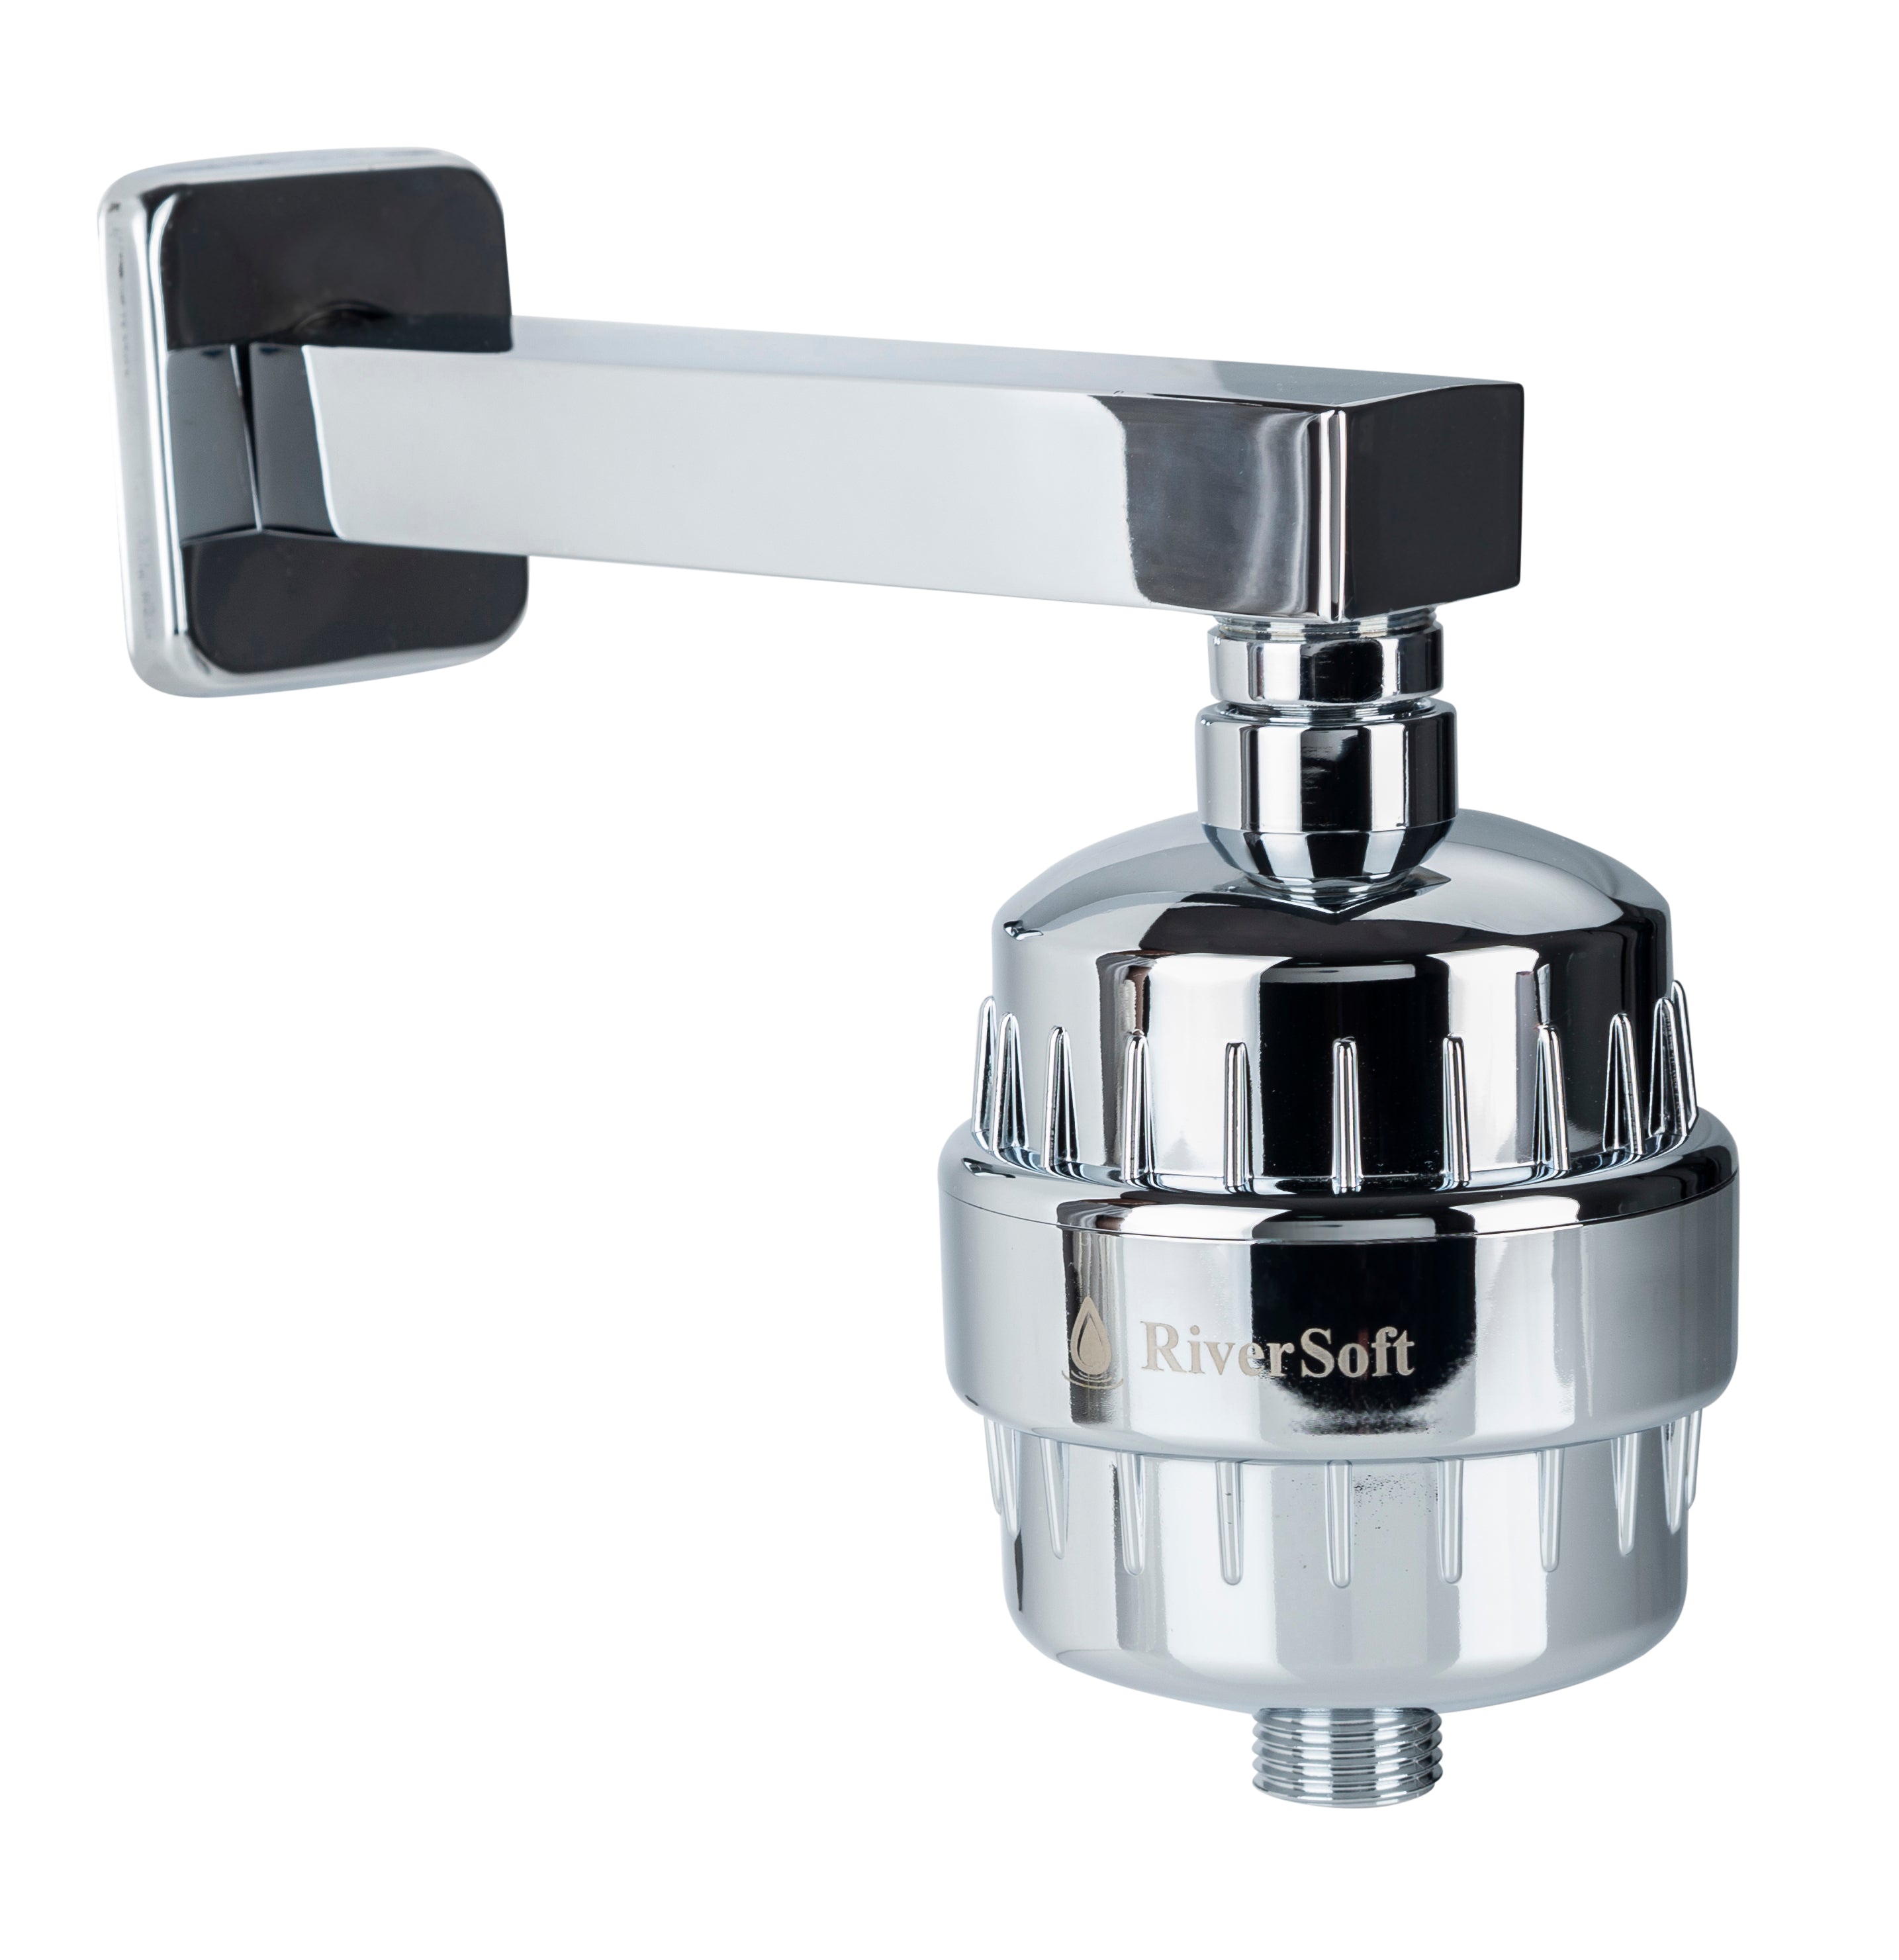
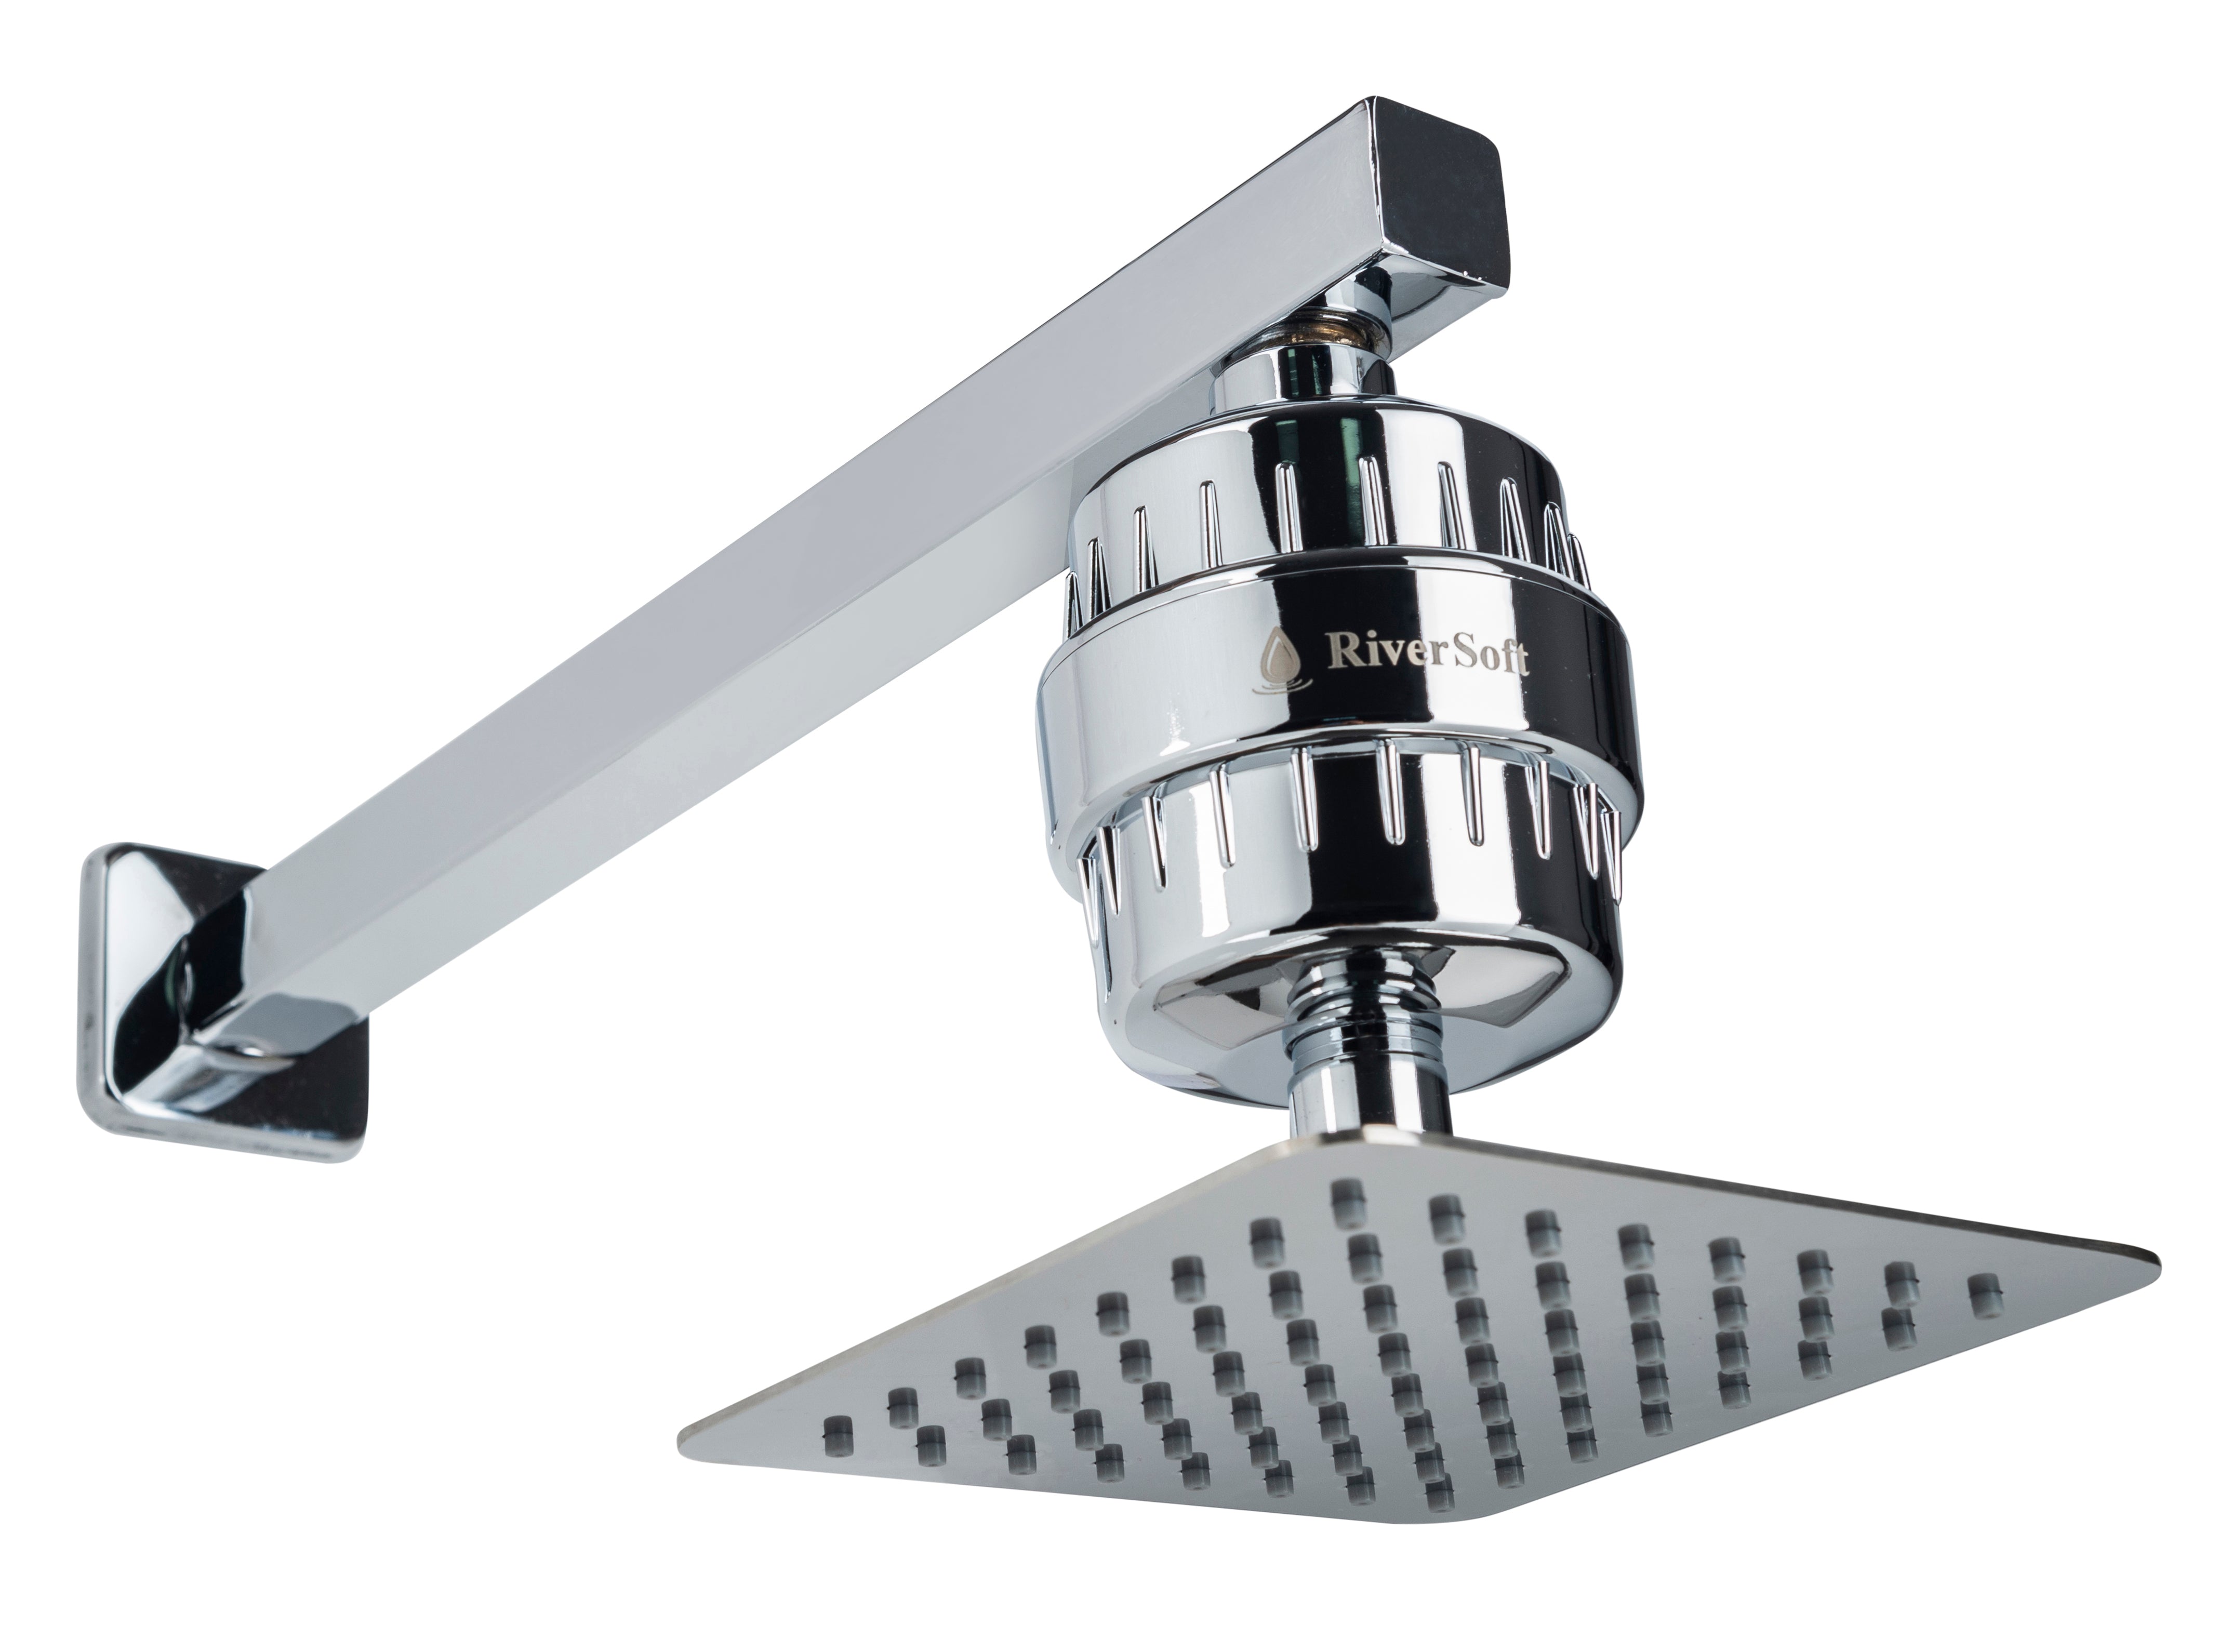
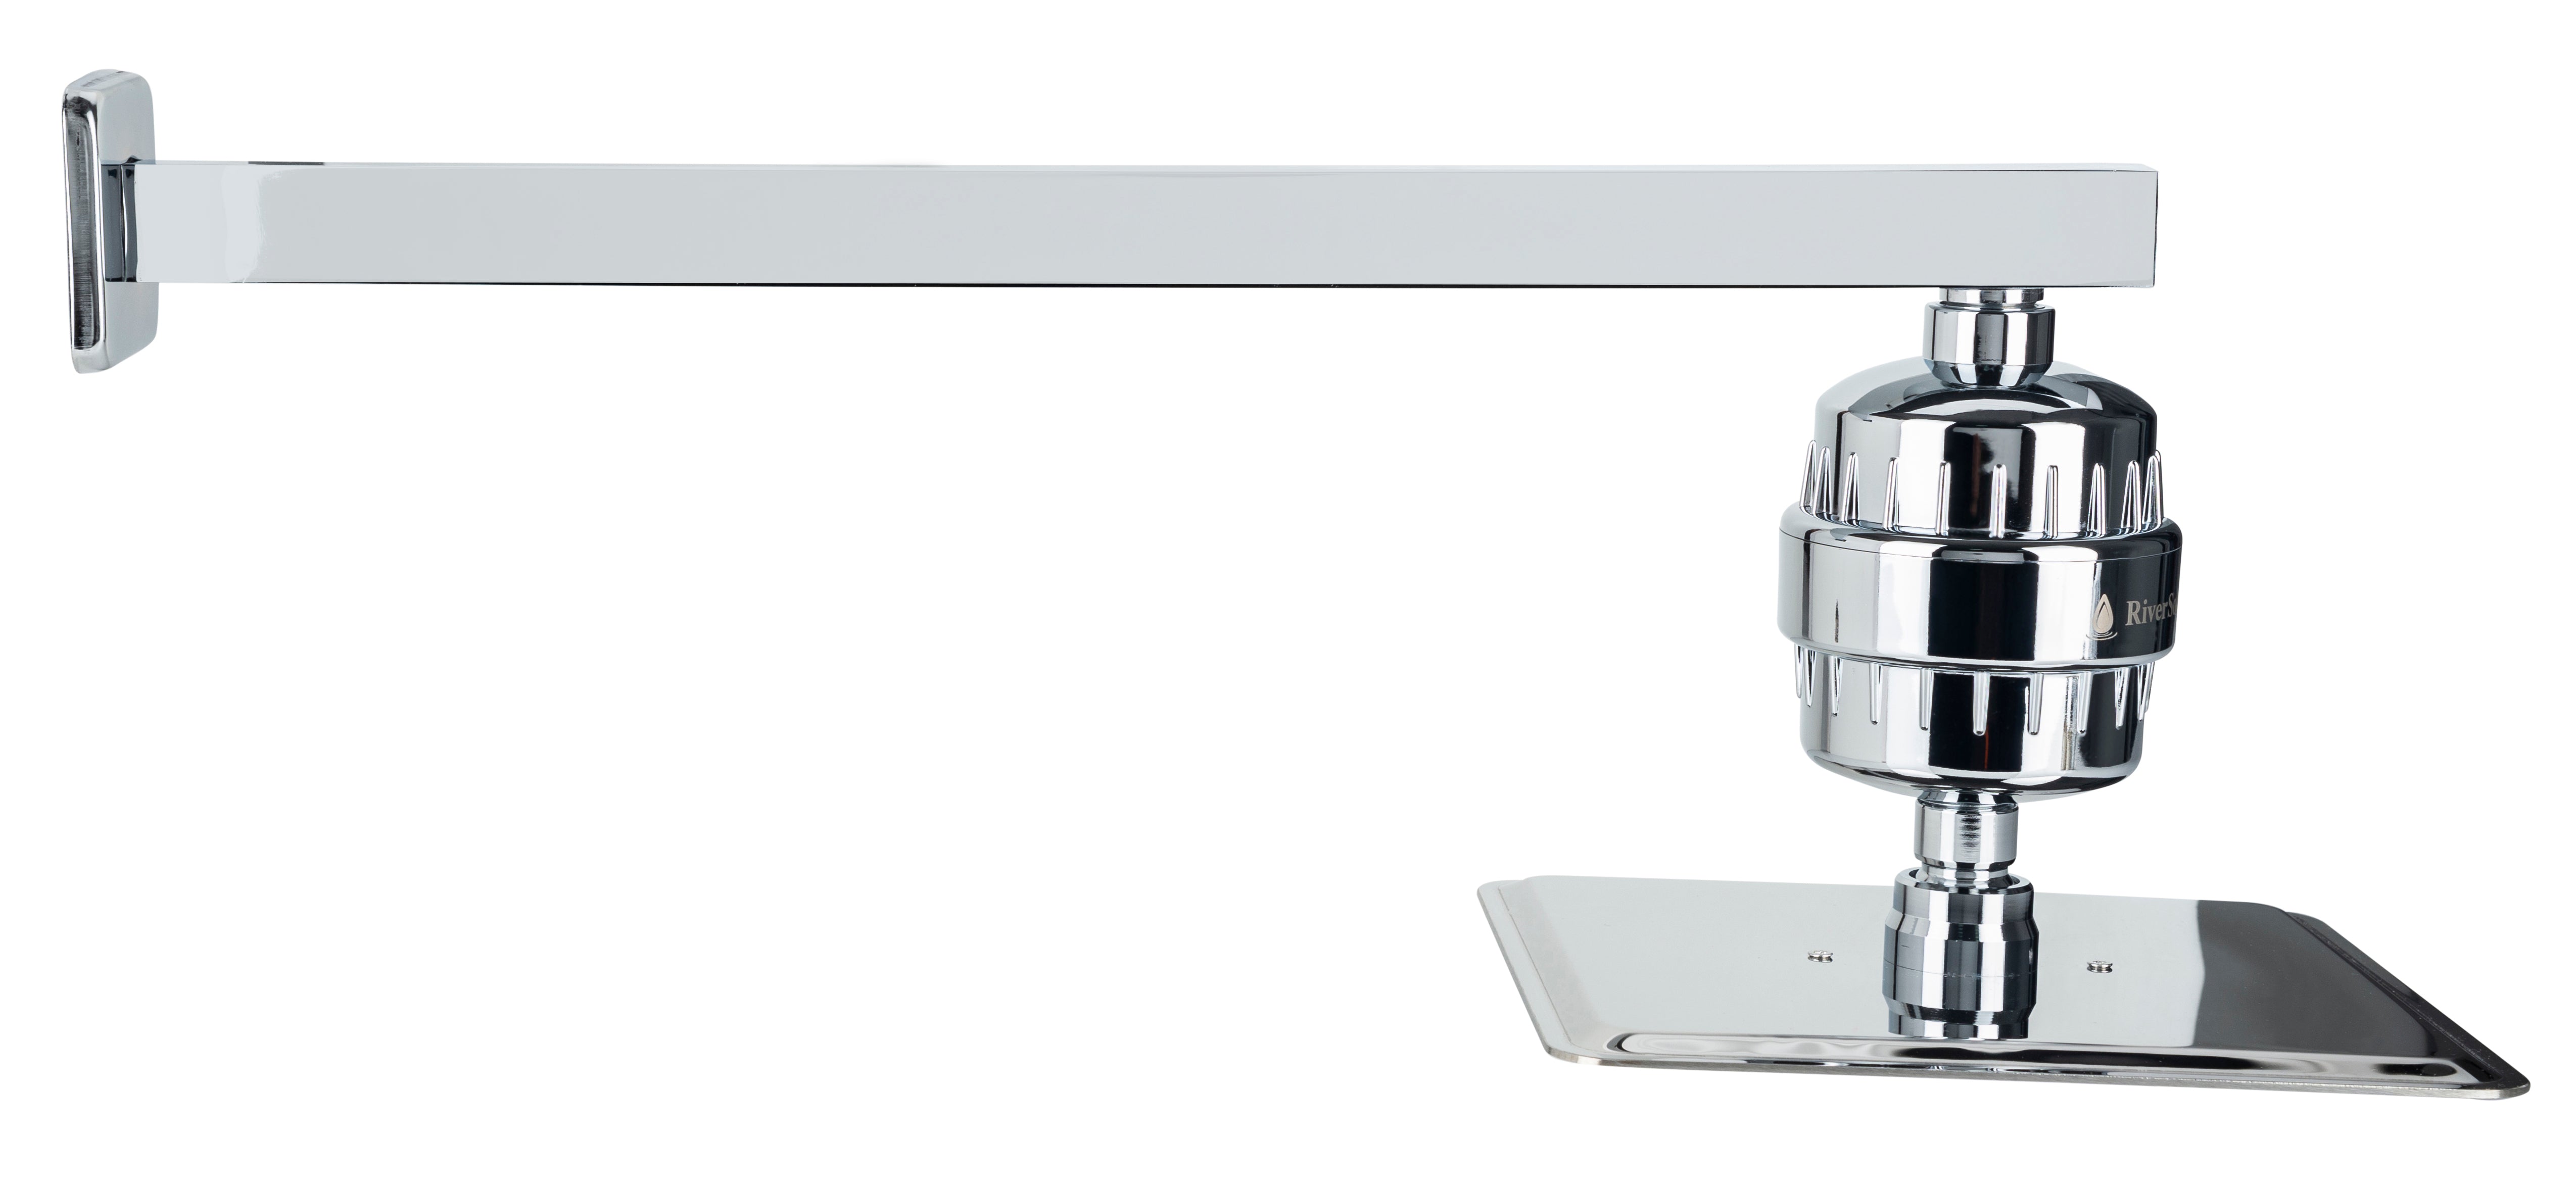
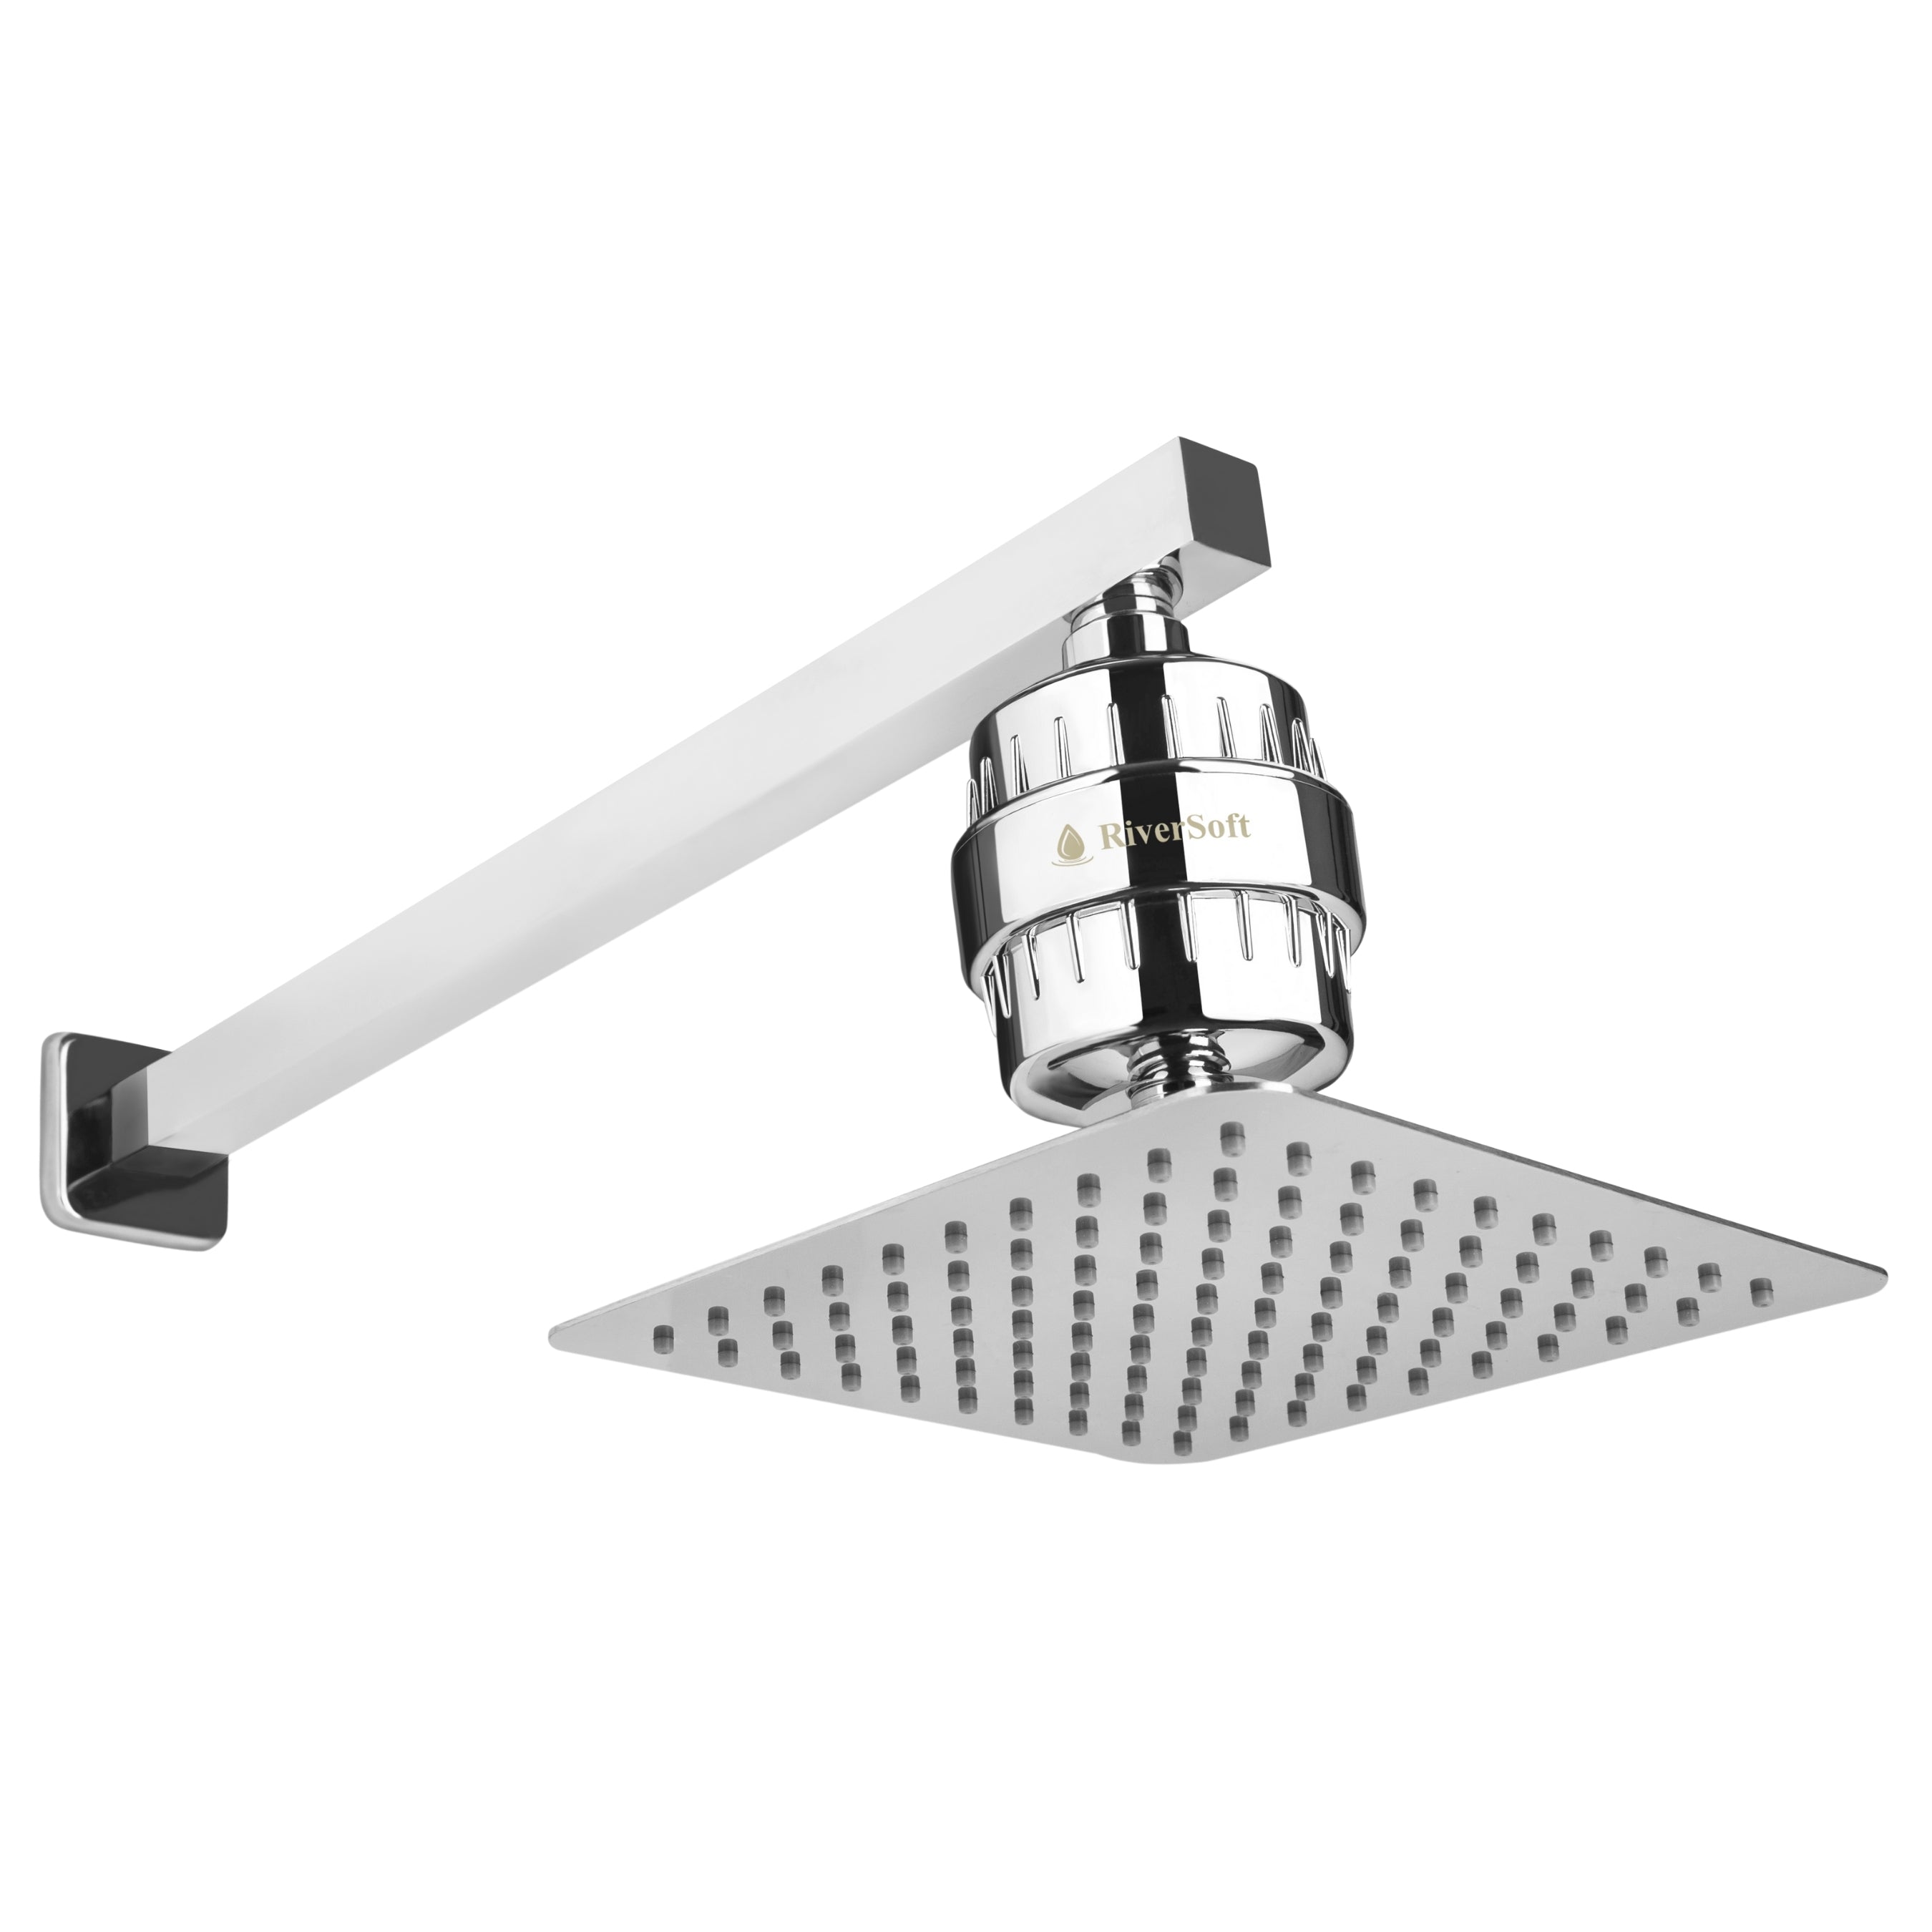
5. Install the Filter Housing

Install the Bypass Line: Iinstall a bypass valve setup around the filter location. This allows water to flow even when the filter is being serviced.
Install the Mounting Plate: Fix the mounting plate onto a sturdy wall using screws and anchors, ensuring it is level and can support the filter's weight.
Install the Filter Housing: Secure the filter housing onto the mounted plate using the provided brackets or clamps. Ensure it is firmly in place.
Connect the Plumbing Line: Attach the fixed pipes from the mainline to the inlet and outlet fittings of the filter housing. Use compatible connectors and tighten all connections securely.
Final Checks: Gradually turn on the water supply and check for leaks. If necessary, slightly tighten any connections to ensure a leak-free installation.
6. Test the System

Turn on the water supply and check for leaks. If there are any, tighten the connections or reapply Teflon tape as needed.
7. Flush the System

Allow water to flow through the filter for a few minutes to flush out any loose particles or air bubbles. Once the water runs clear, your filter is ready to use.
Installation Tips from Experts
The Water Quality Association (WQA) recommends professional assistance for first-time installations to ensure proper setup and optimal performance. Regular maintenance, such as replacing the filter cartridge, ensures the system continues to function effectively.
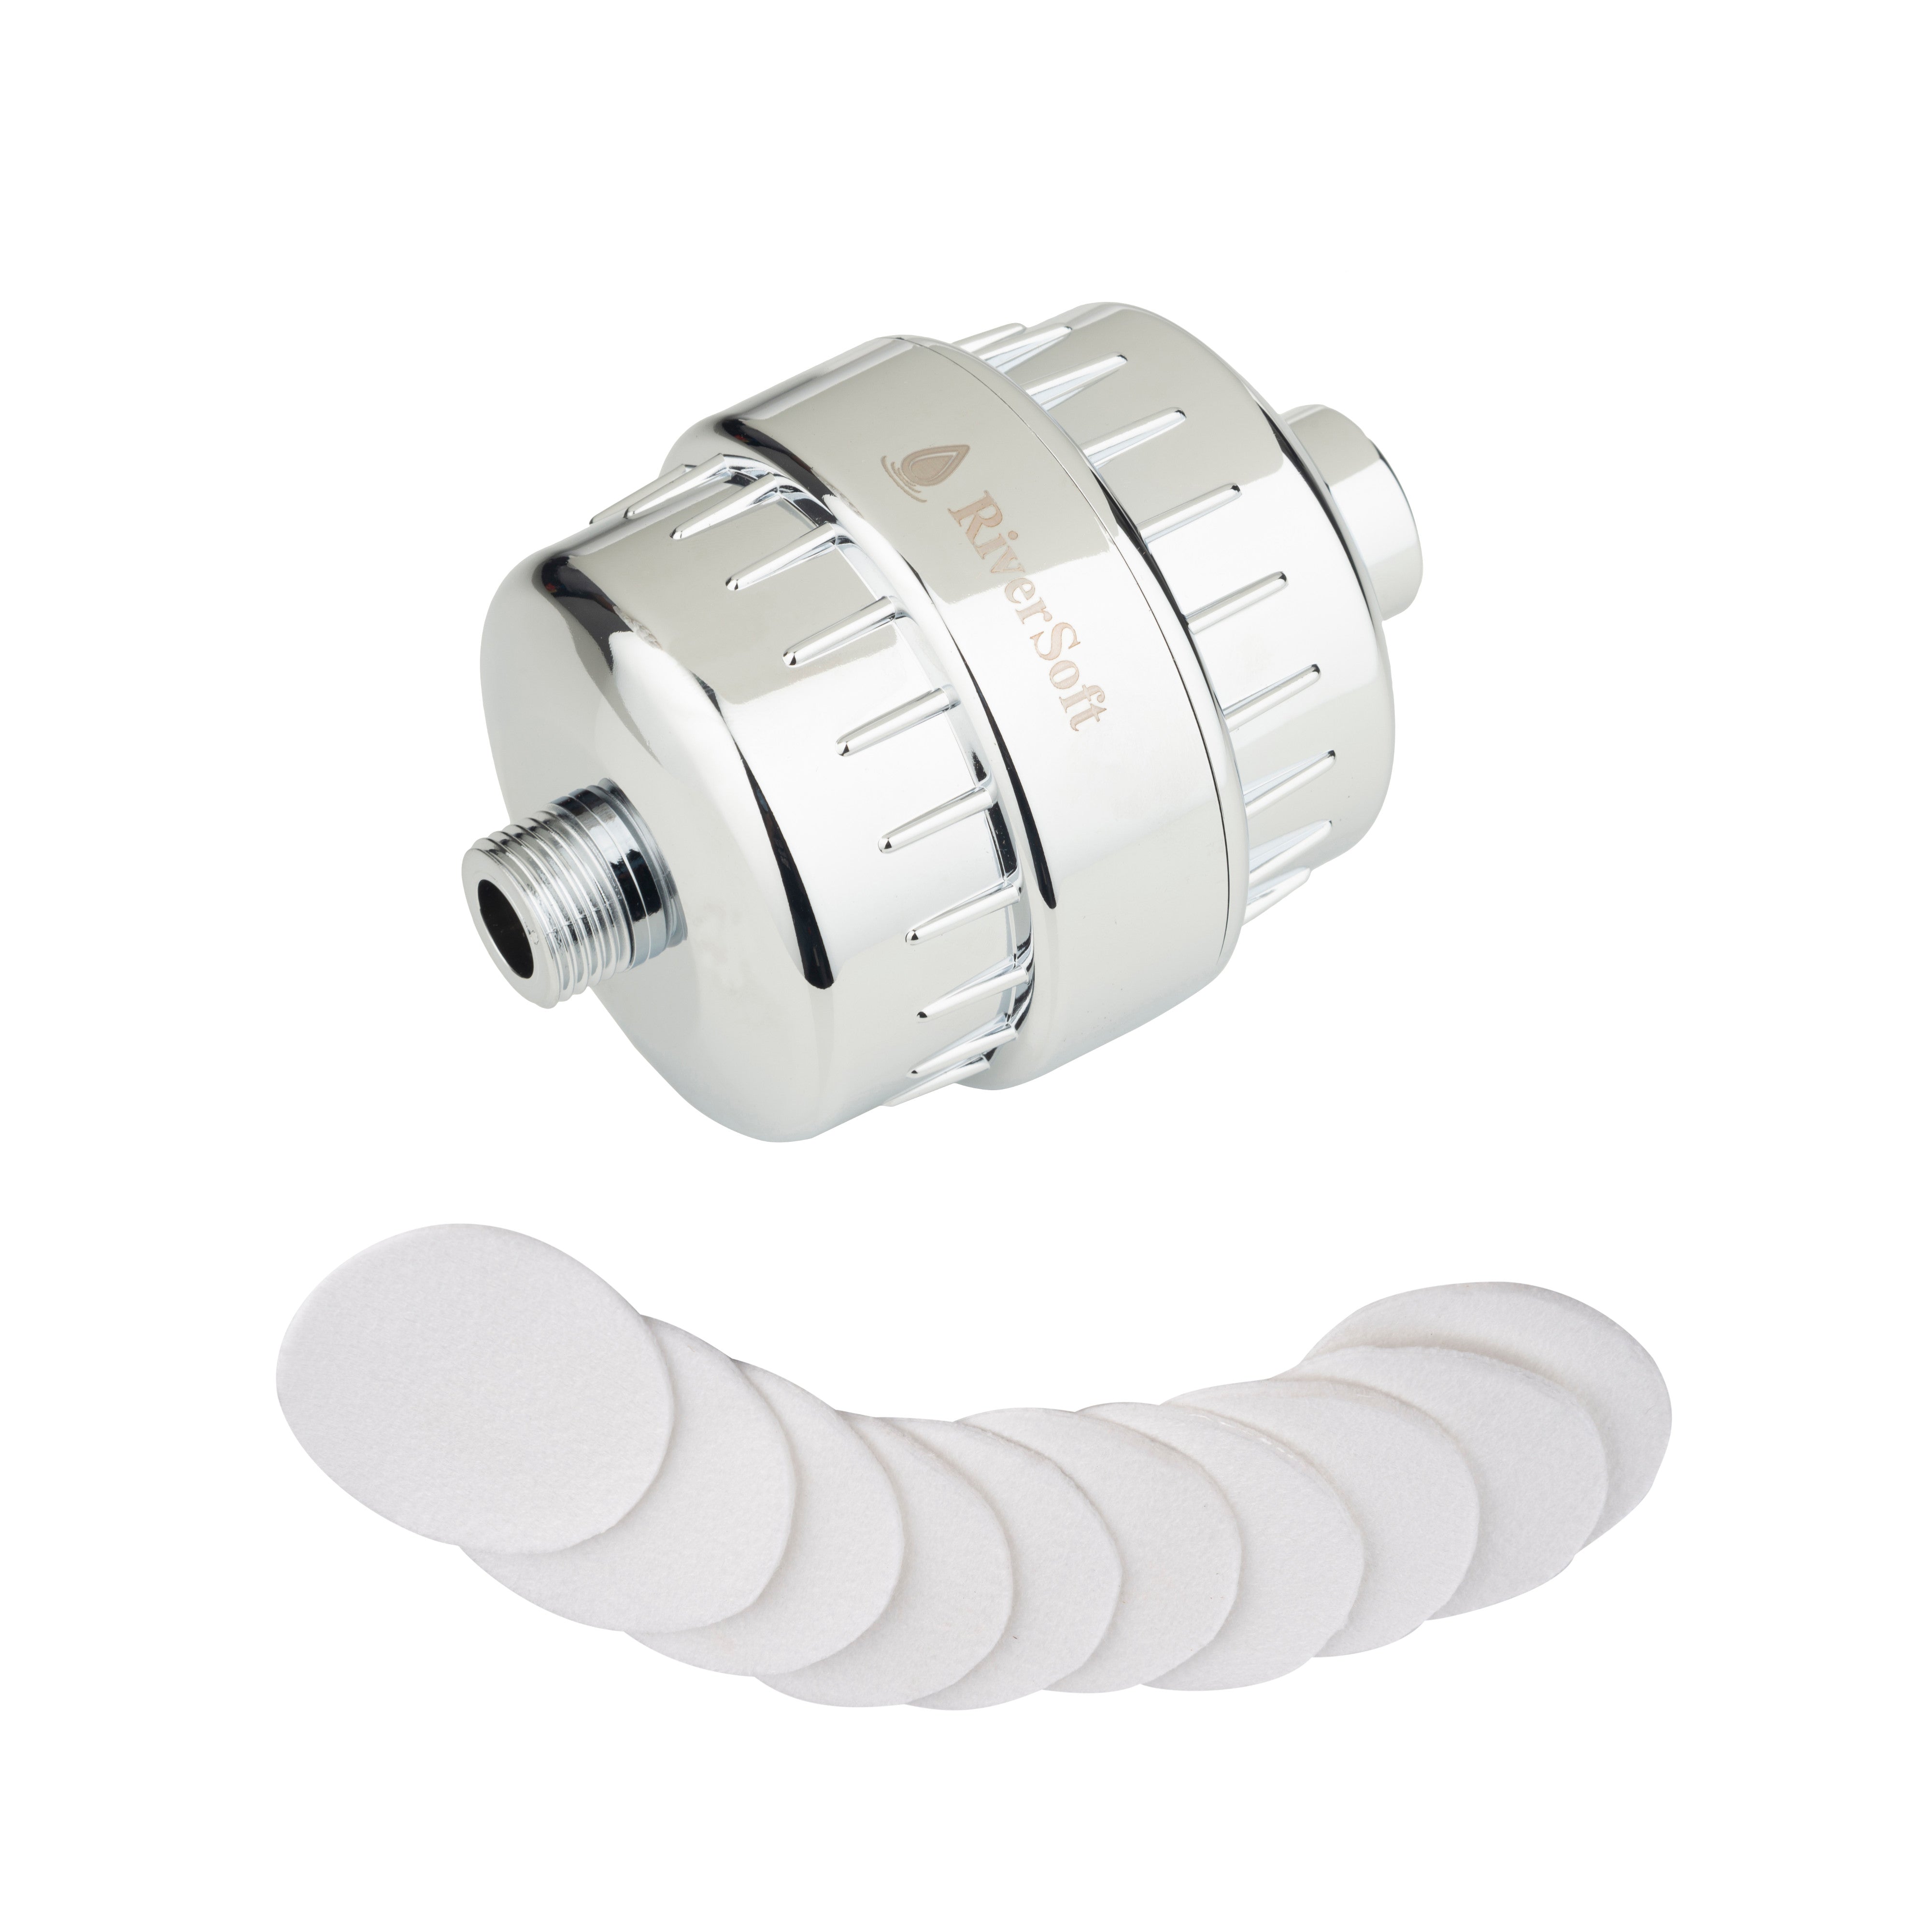
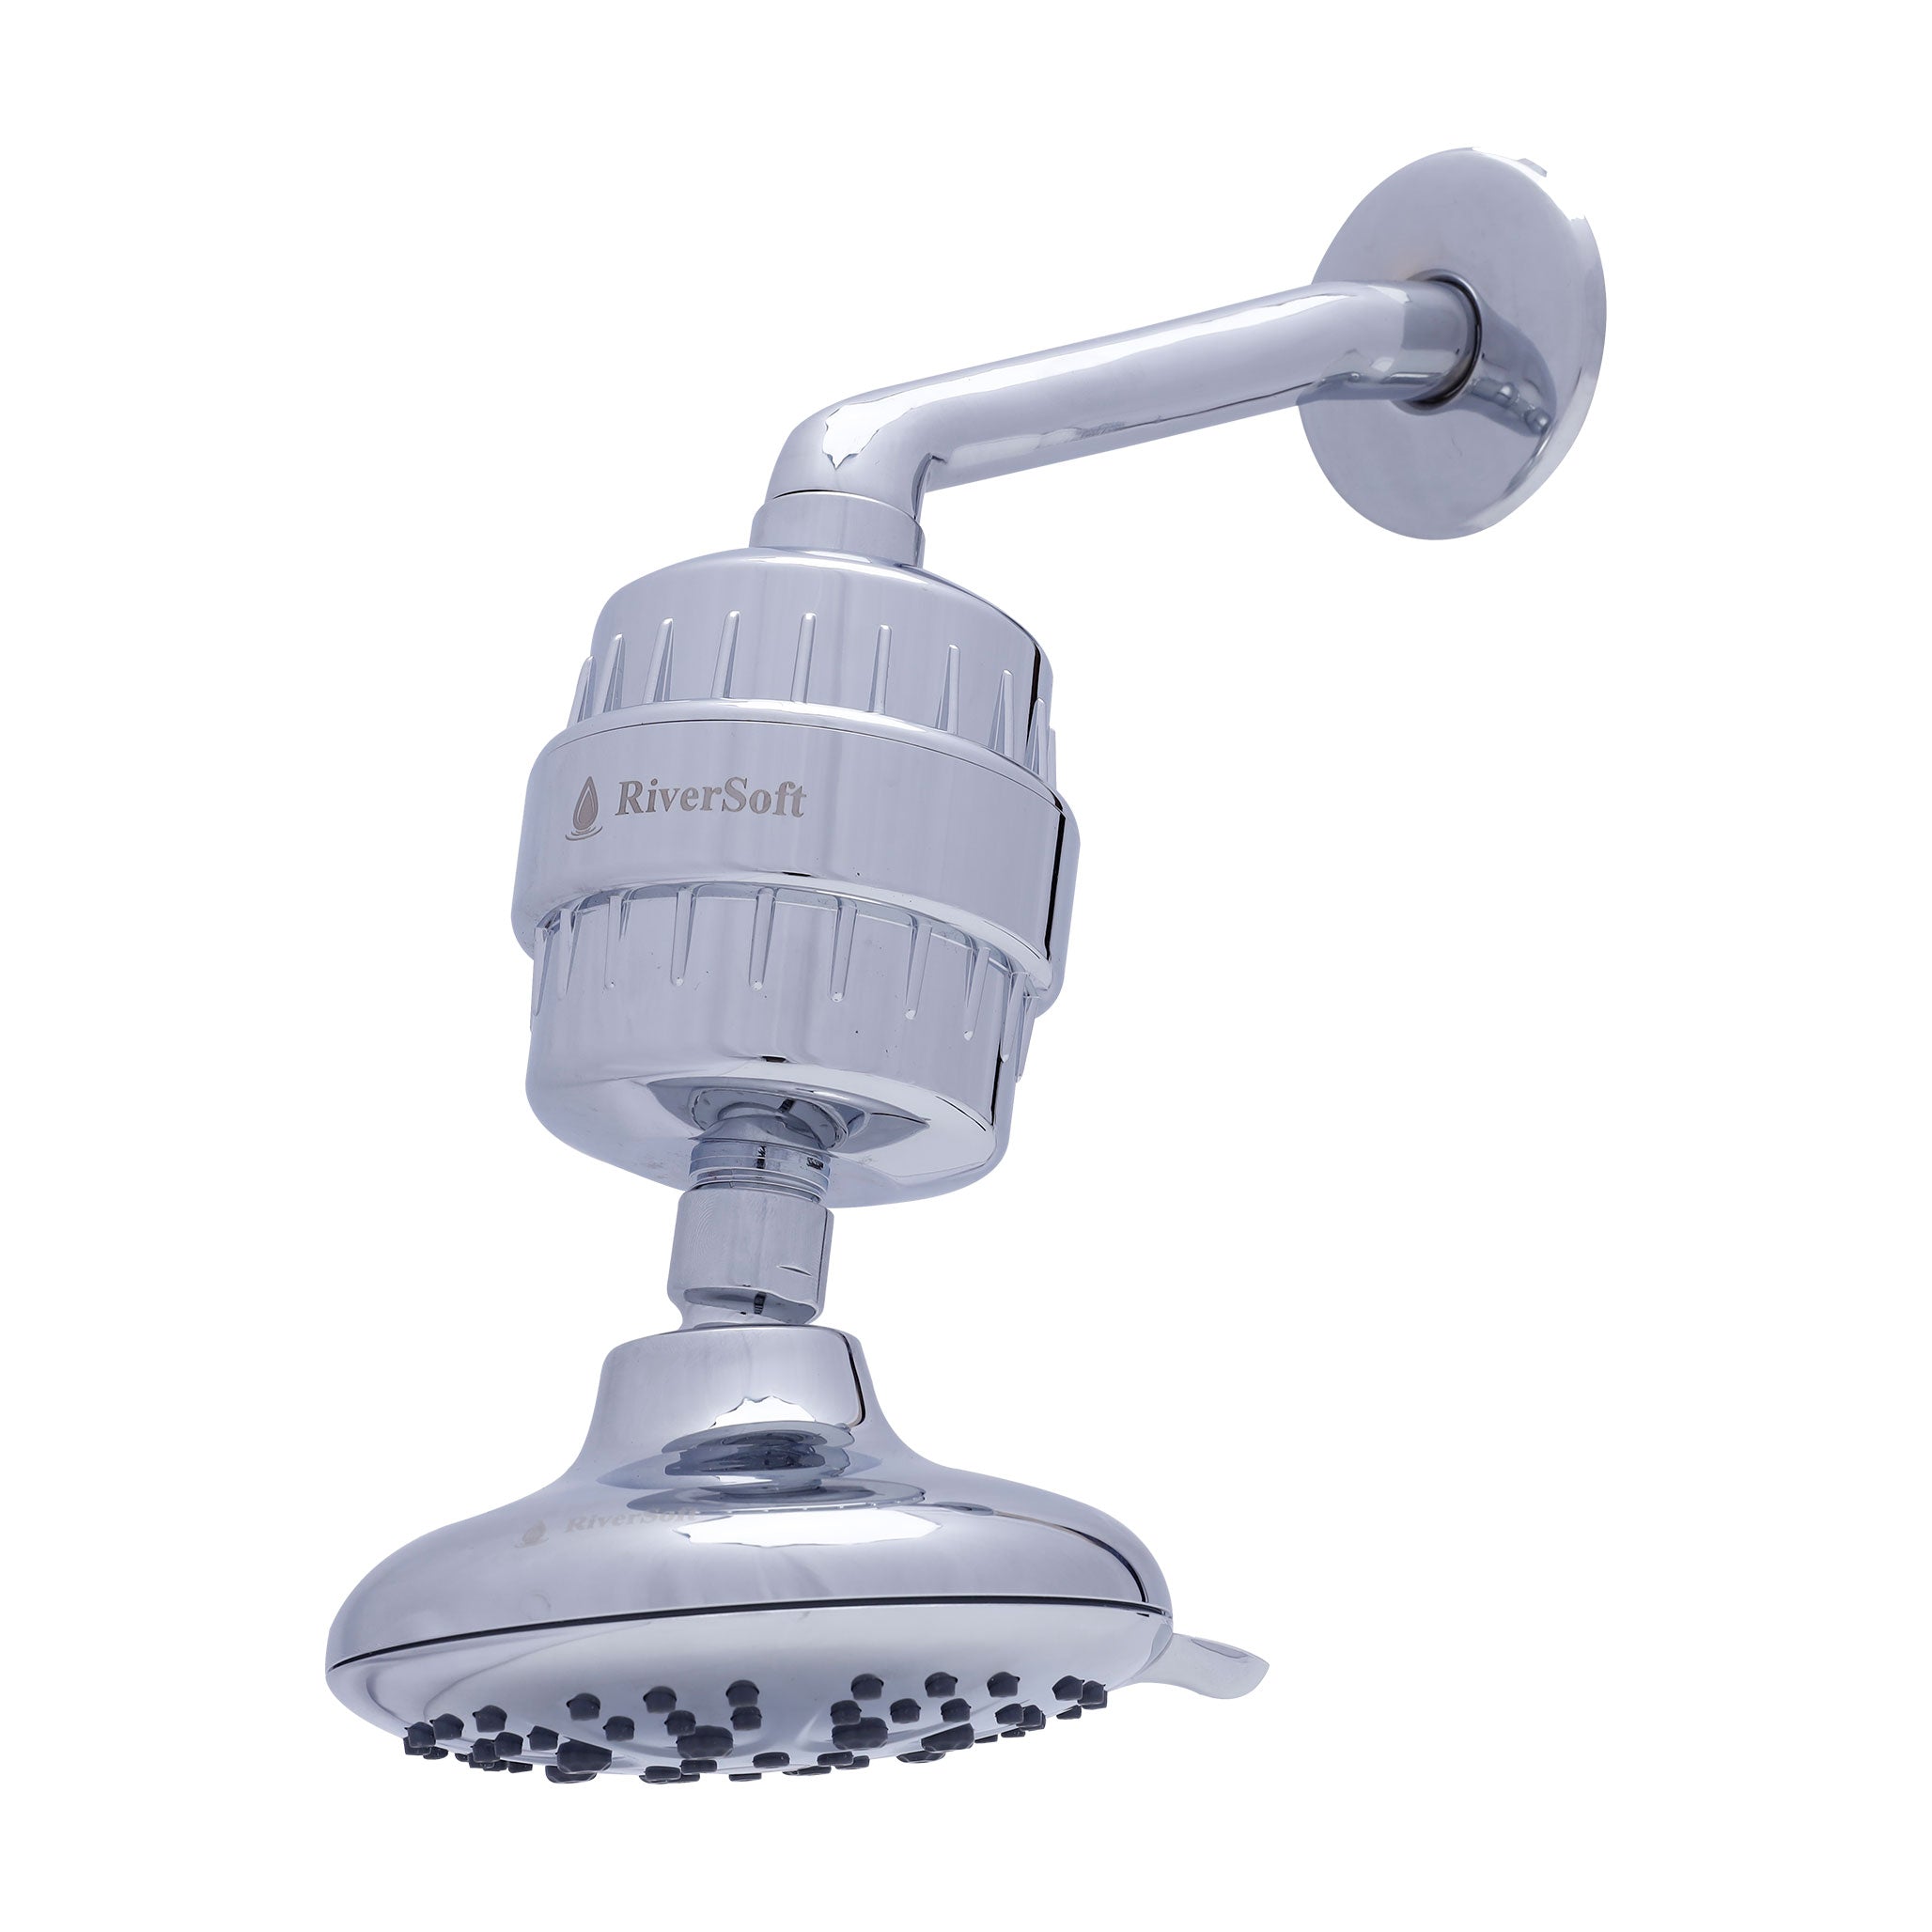
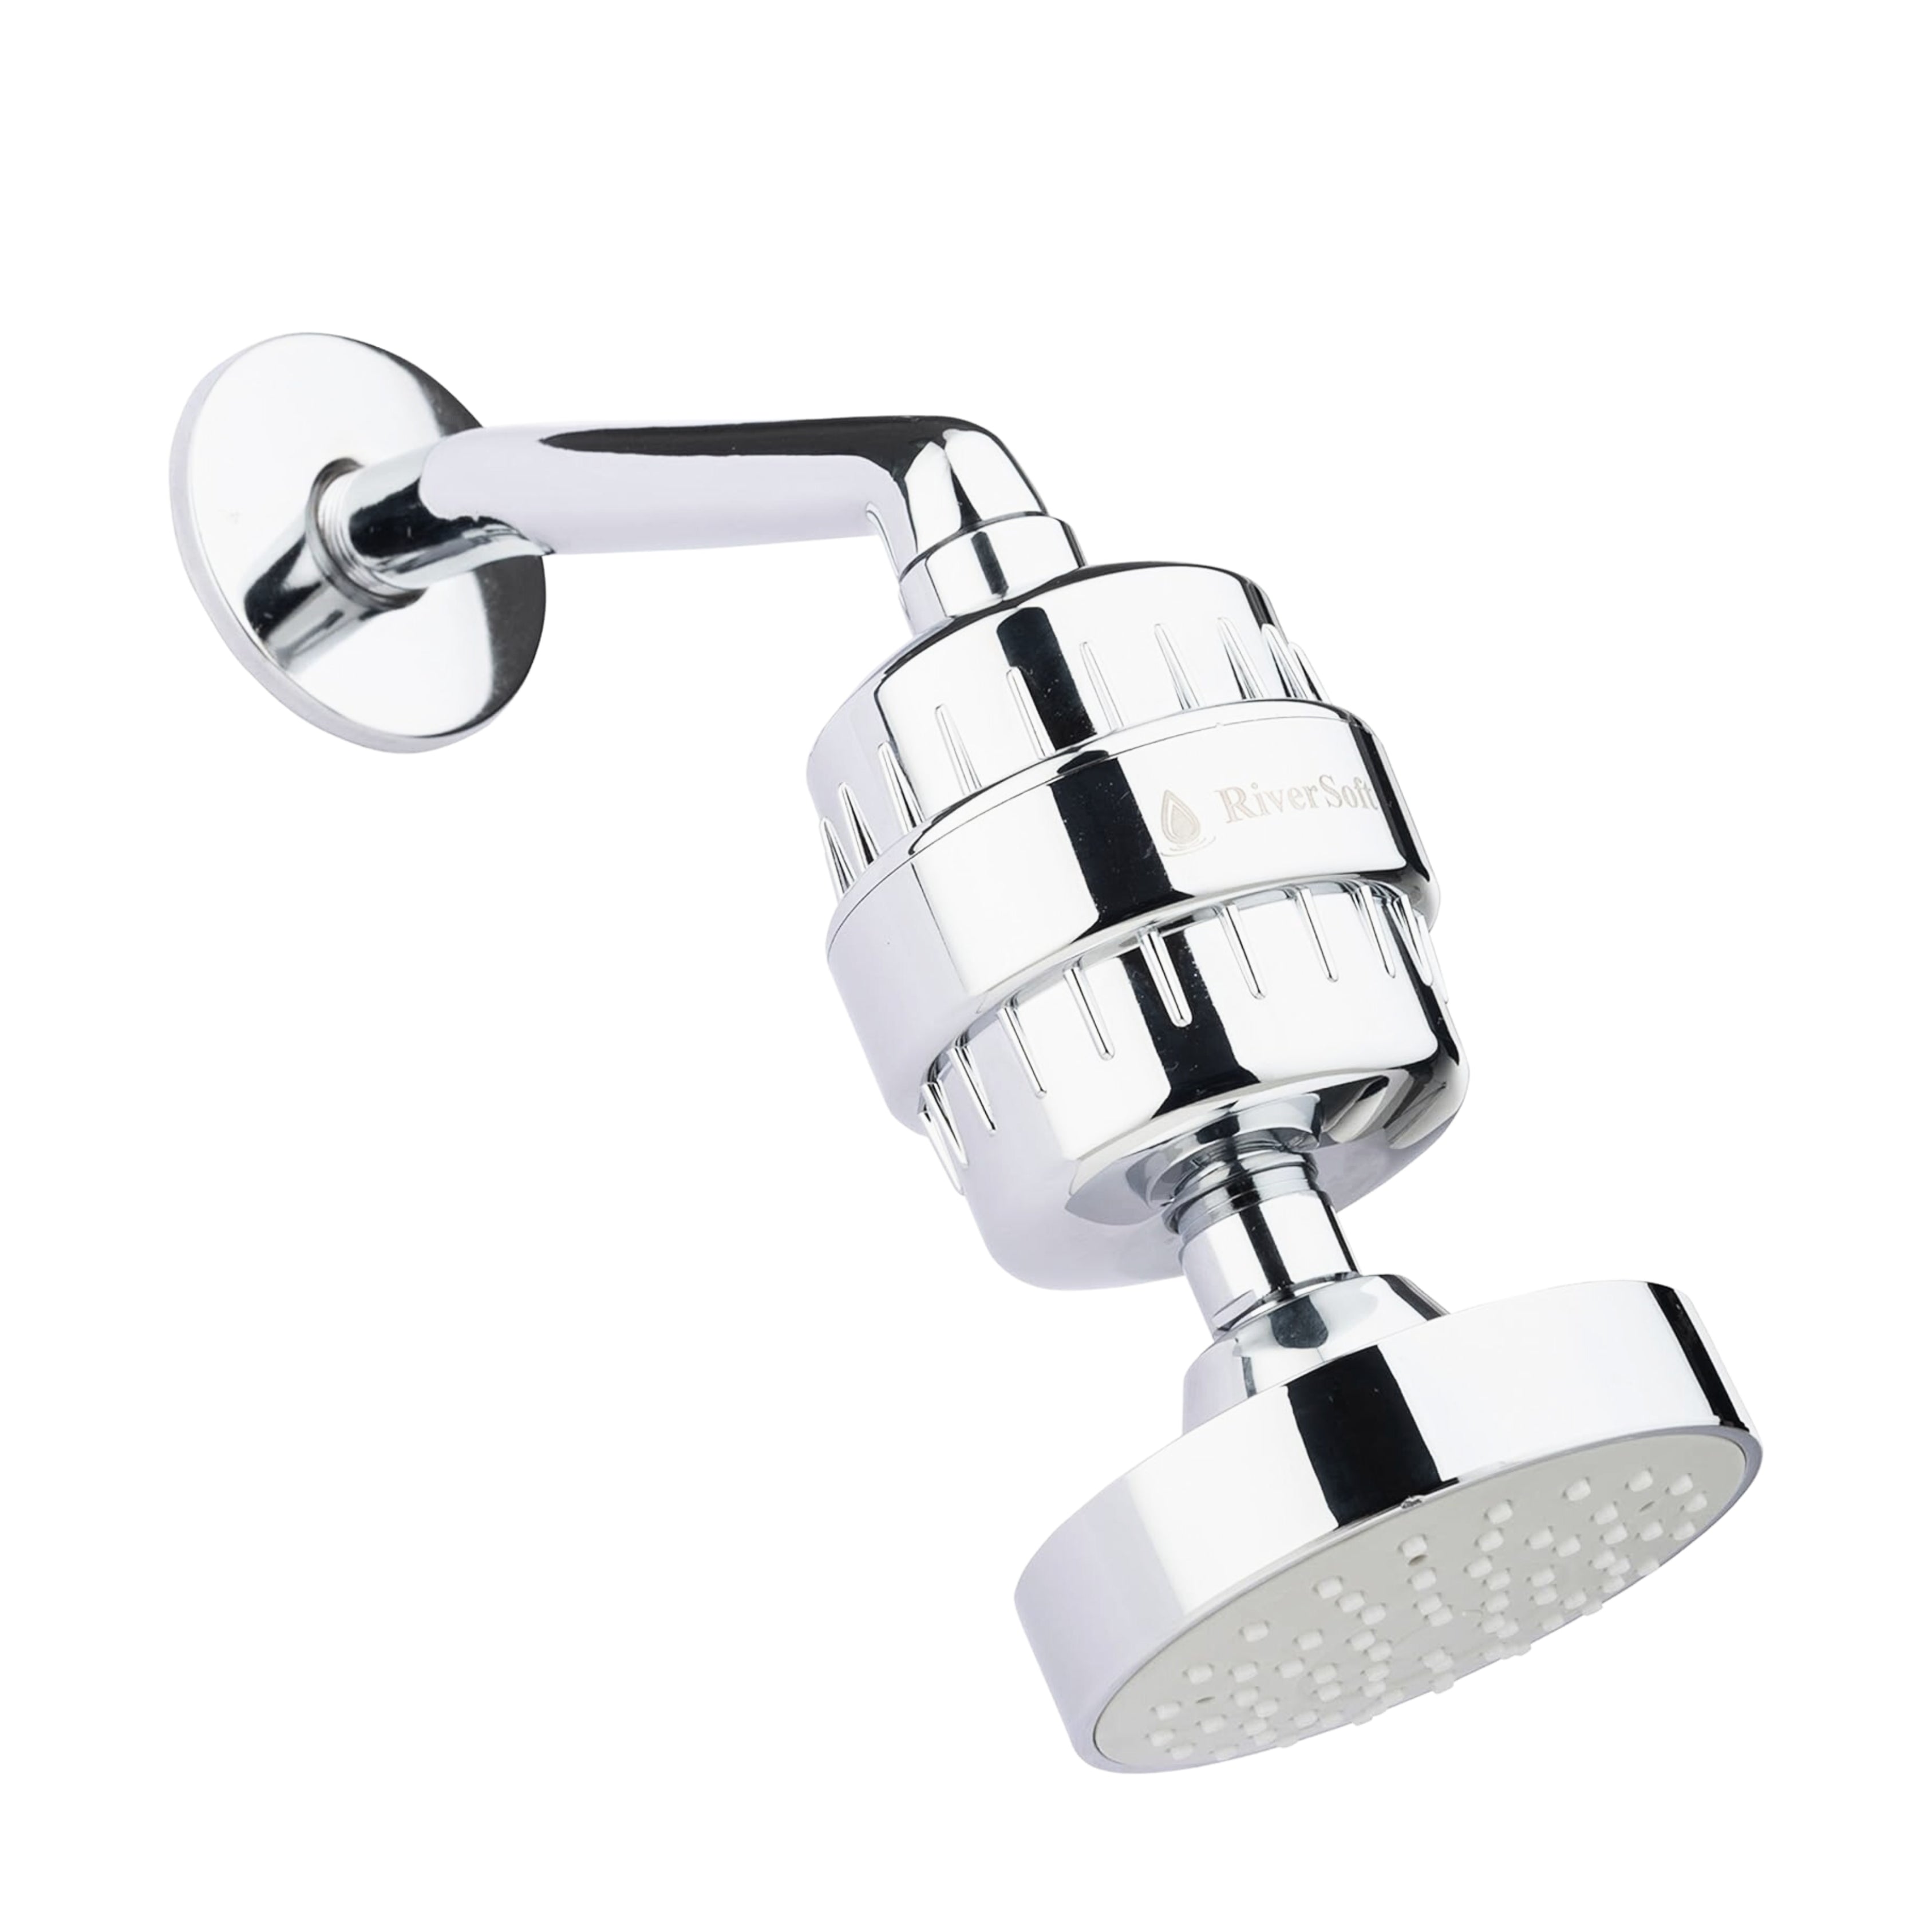
Simplify Installation with RiverSoft ASP-20
The RiverSoft ASP-20 Sediment Filter comes with all the tools needed for a hassle-free installation. Designed for durability and ease of use, it’s perfect for homeowners looking to improve their water quality. Learn more about the RiverSoft ASP-20 Sediment Filter here.
Stay tuned for the next blog, where we’ll discuss how often you should replace your sediment filter!