A shower filter can make a big difference in your daily routine, especially in an area with hard water. Hard water contains high levels of minerals like calcium and magnesium, which can be tough on your skin and hair leading to dryness and dullness. Adding a shower filter, or a hard water softener, helps reduce the effects of hard water, giving you softer hair, healthier skin, and a pleasant showering experience.
If you're concerned about how difficult it might be to install one shower filter, don’t worry.
This guide will walk you through easy installation tips so you can enjoy the benefits of a hard water shower filter.

1. Gather Your Tools and Materials
Before you begin, it’s important to have everything you need on hand. Don’t worry; most shower head filters are designed for easy installation and require minimal tools. Here’s what you’ll need:
Tools and Materials Checklist:
-
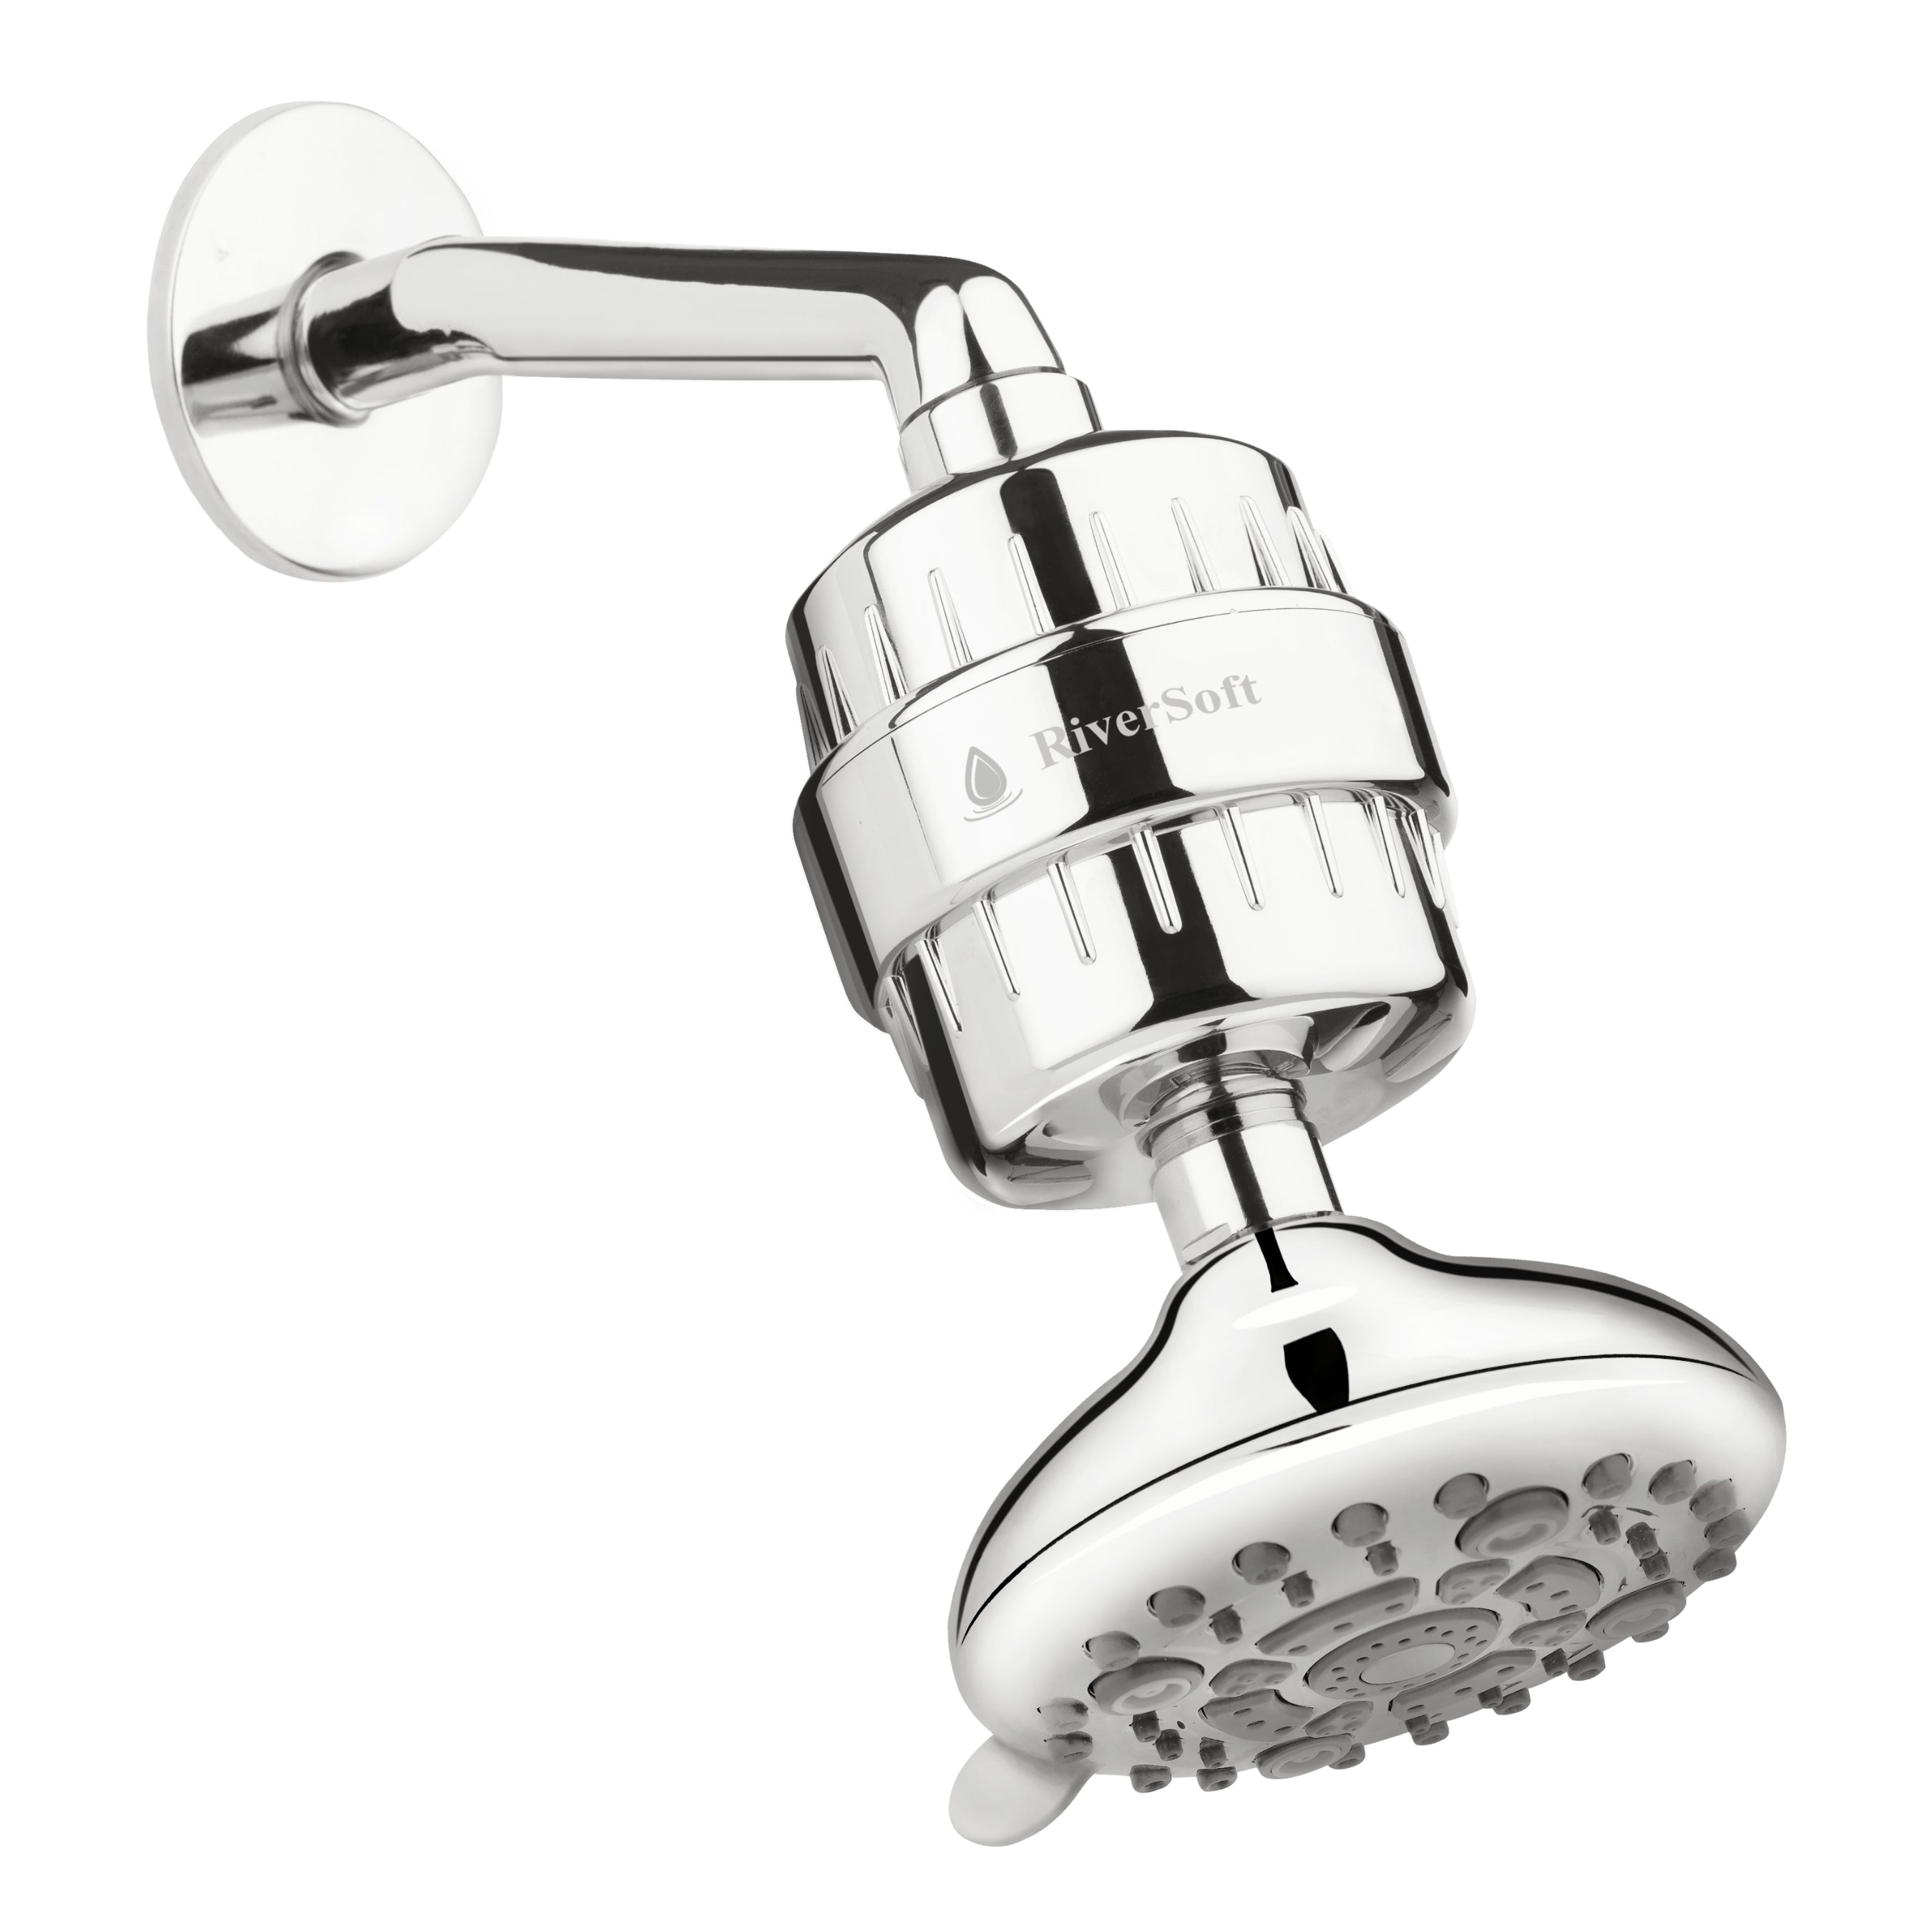
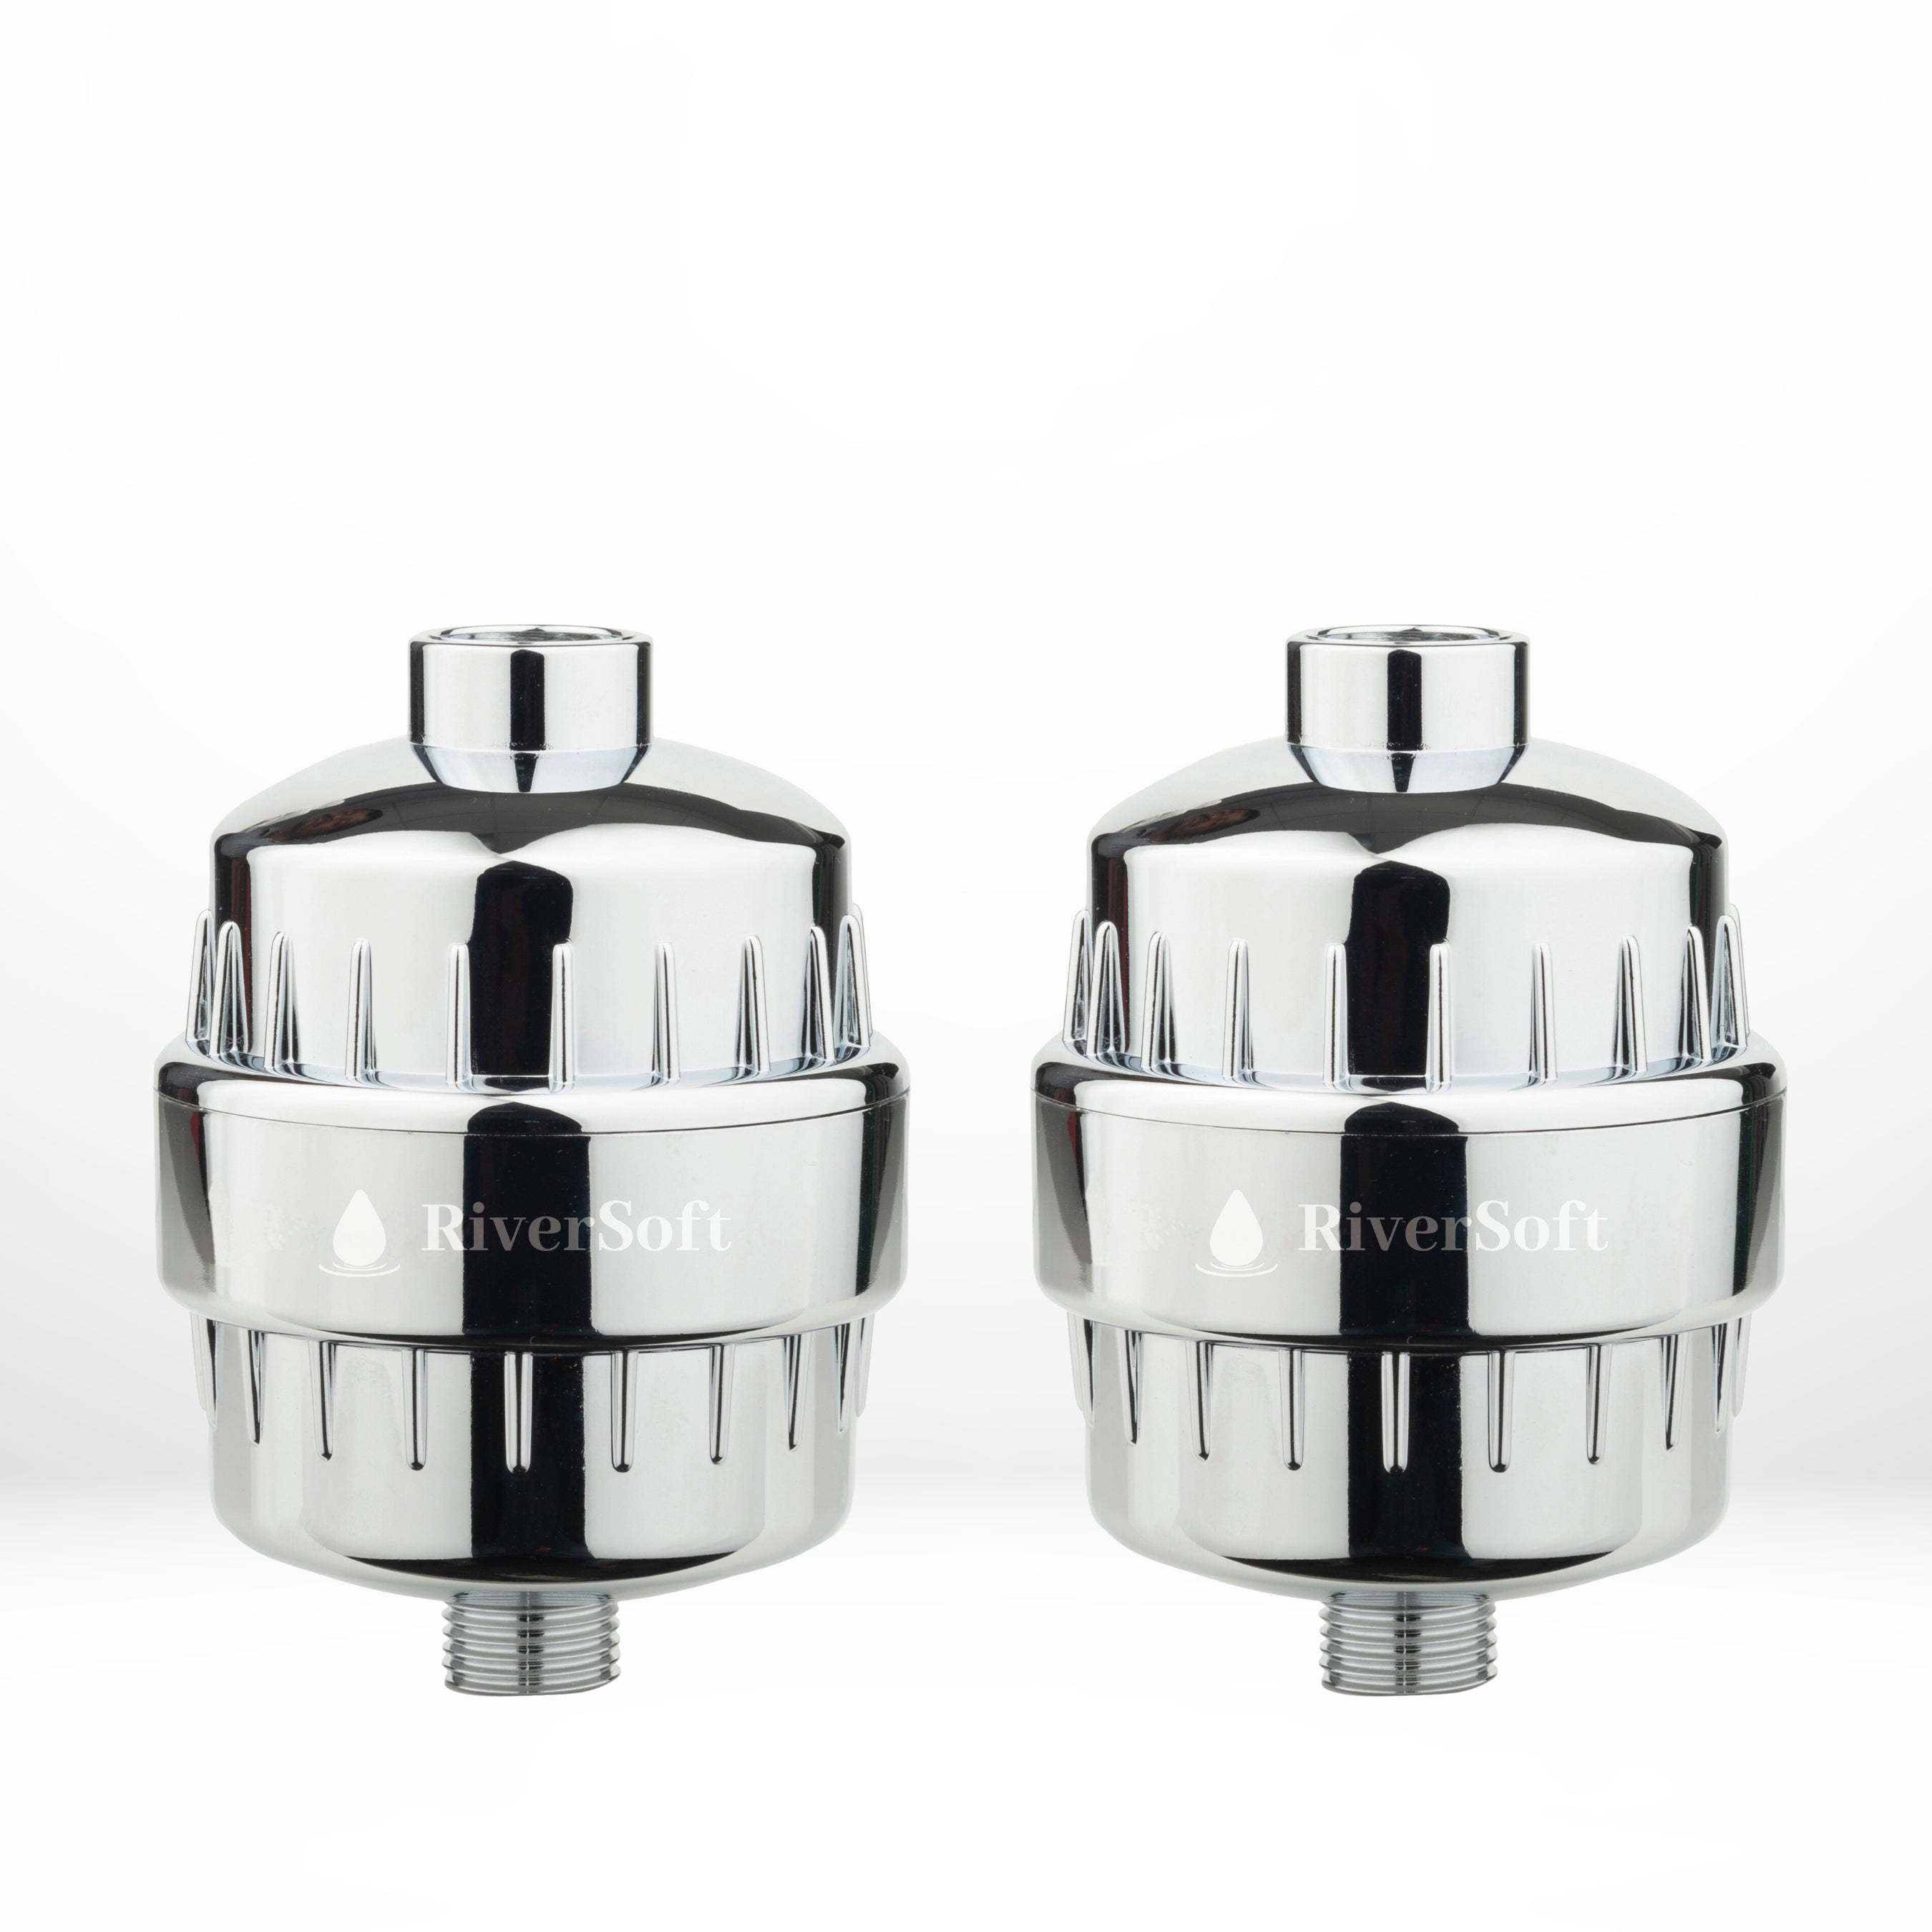
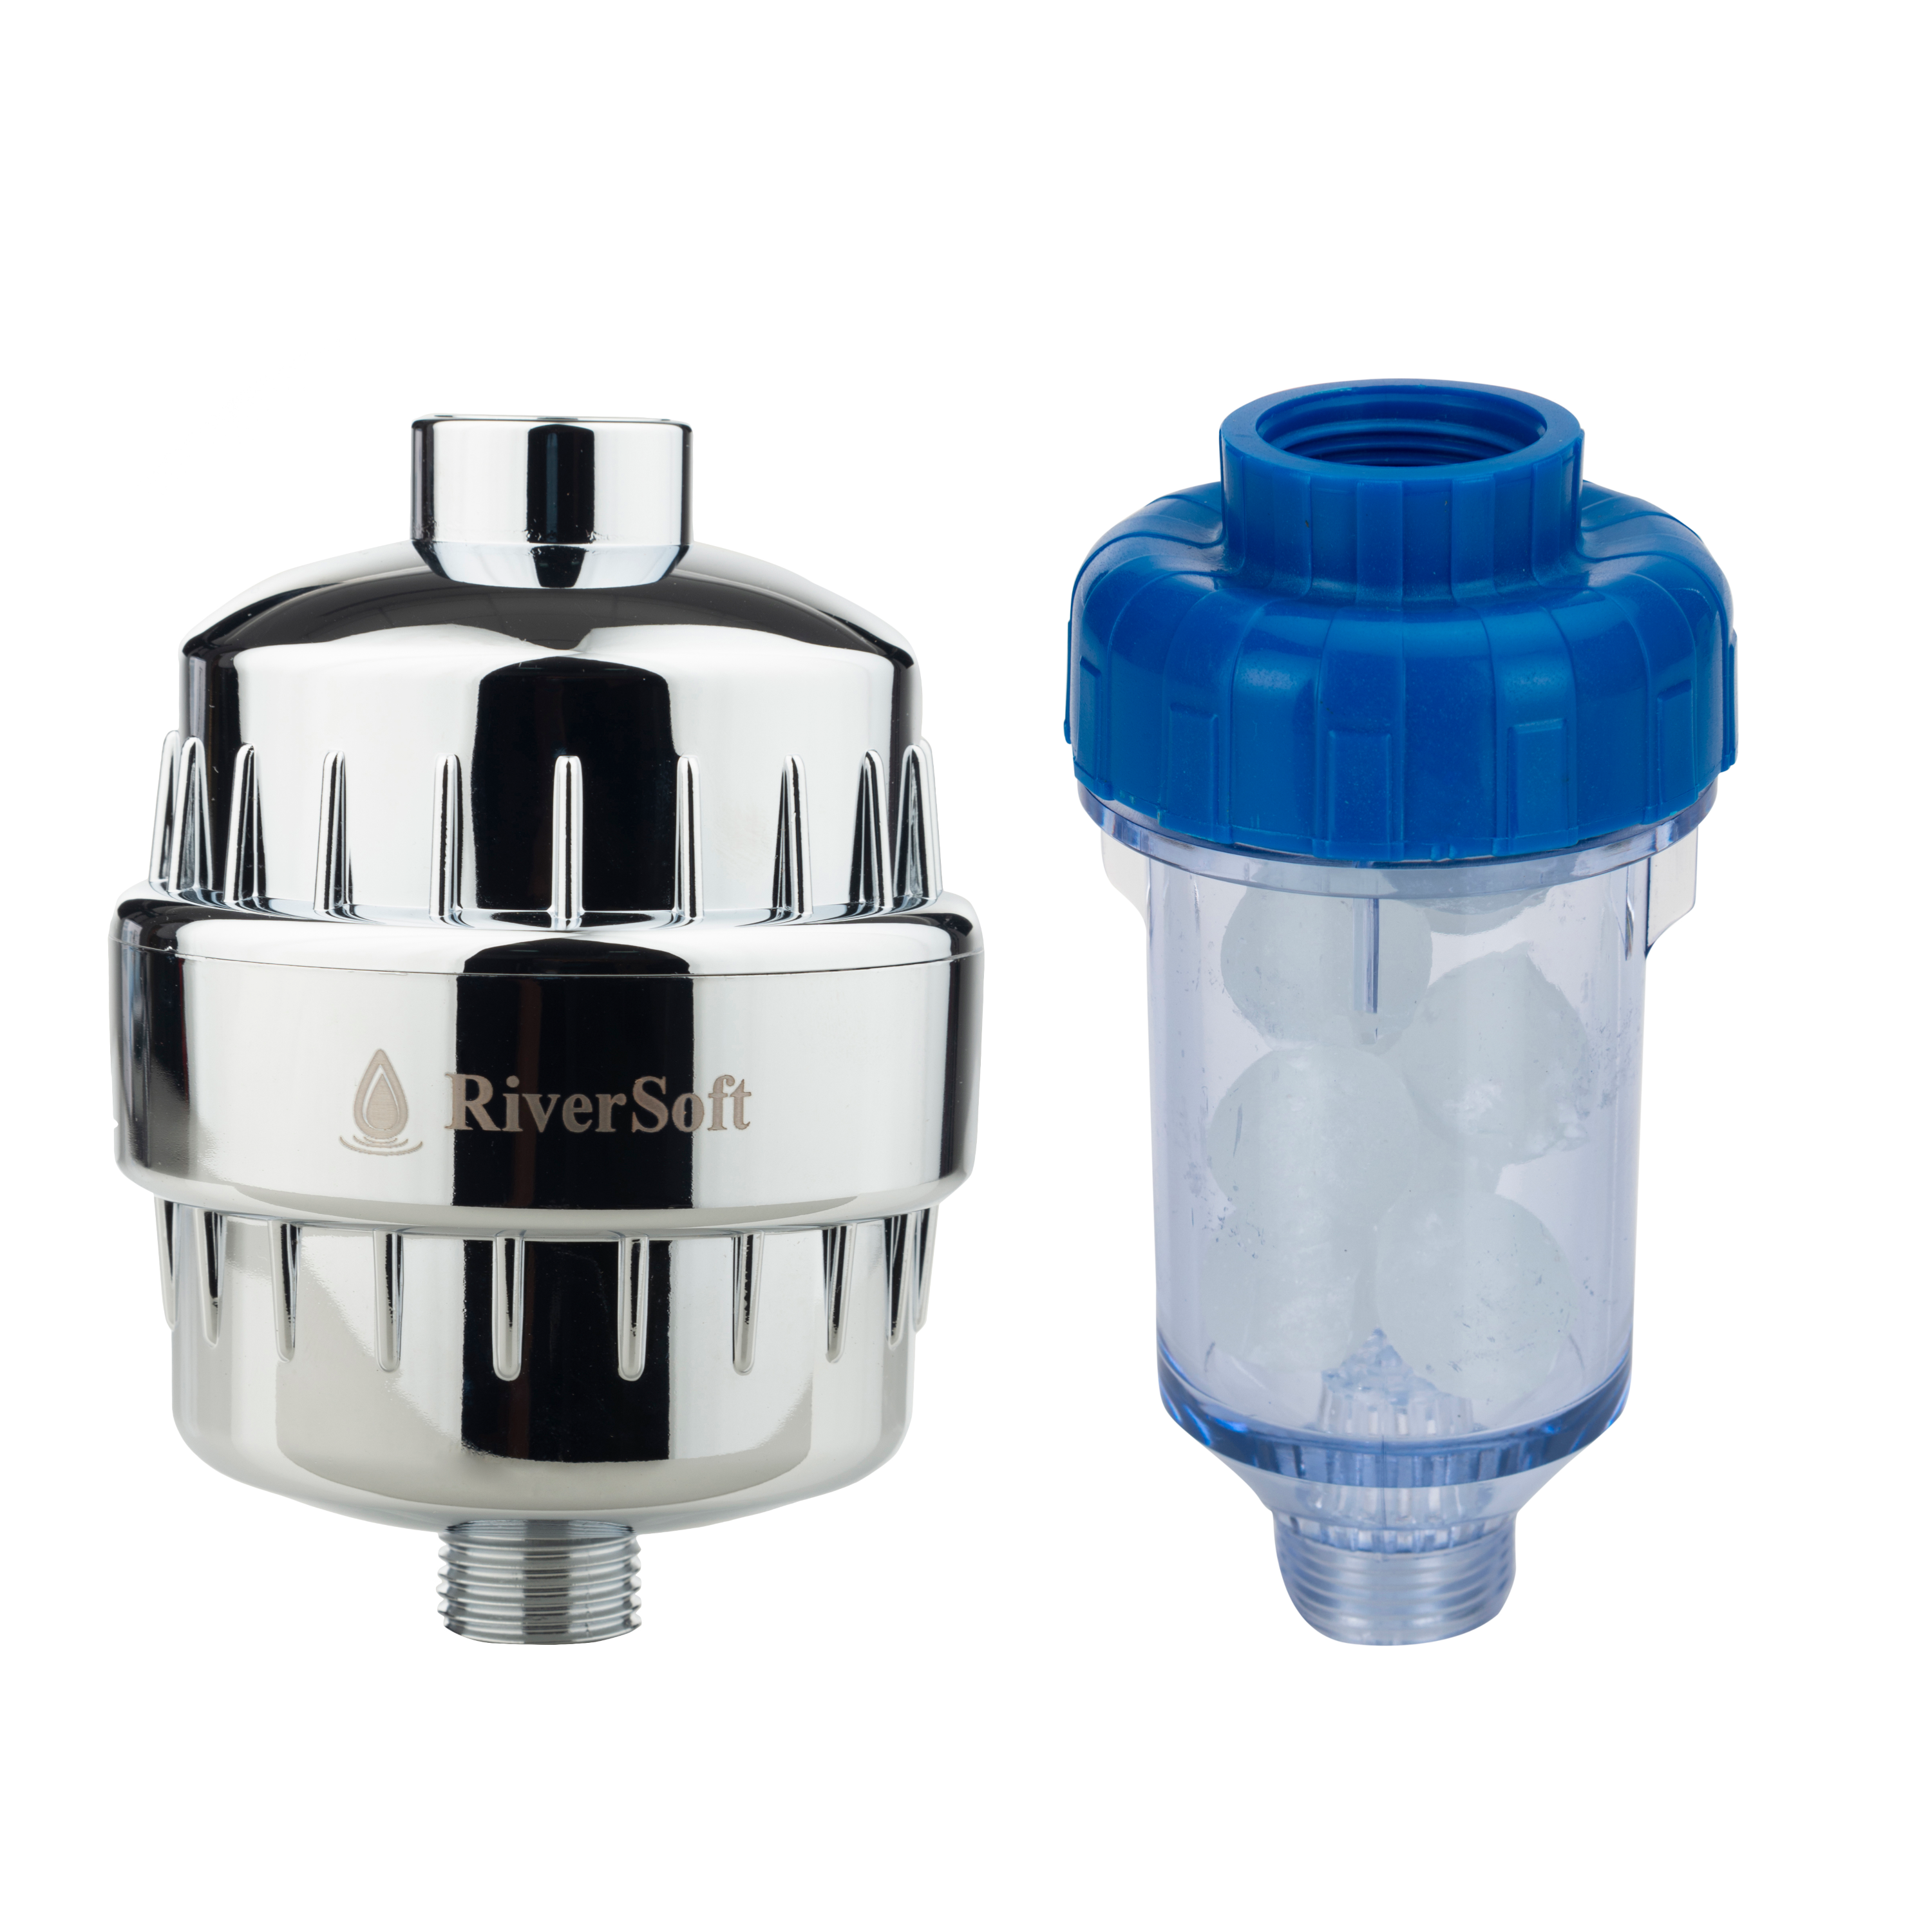
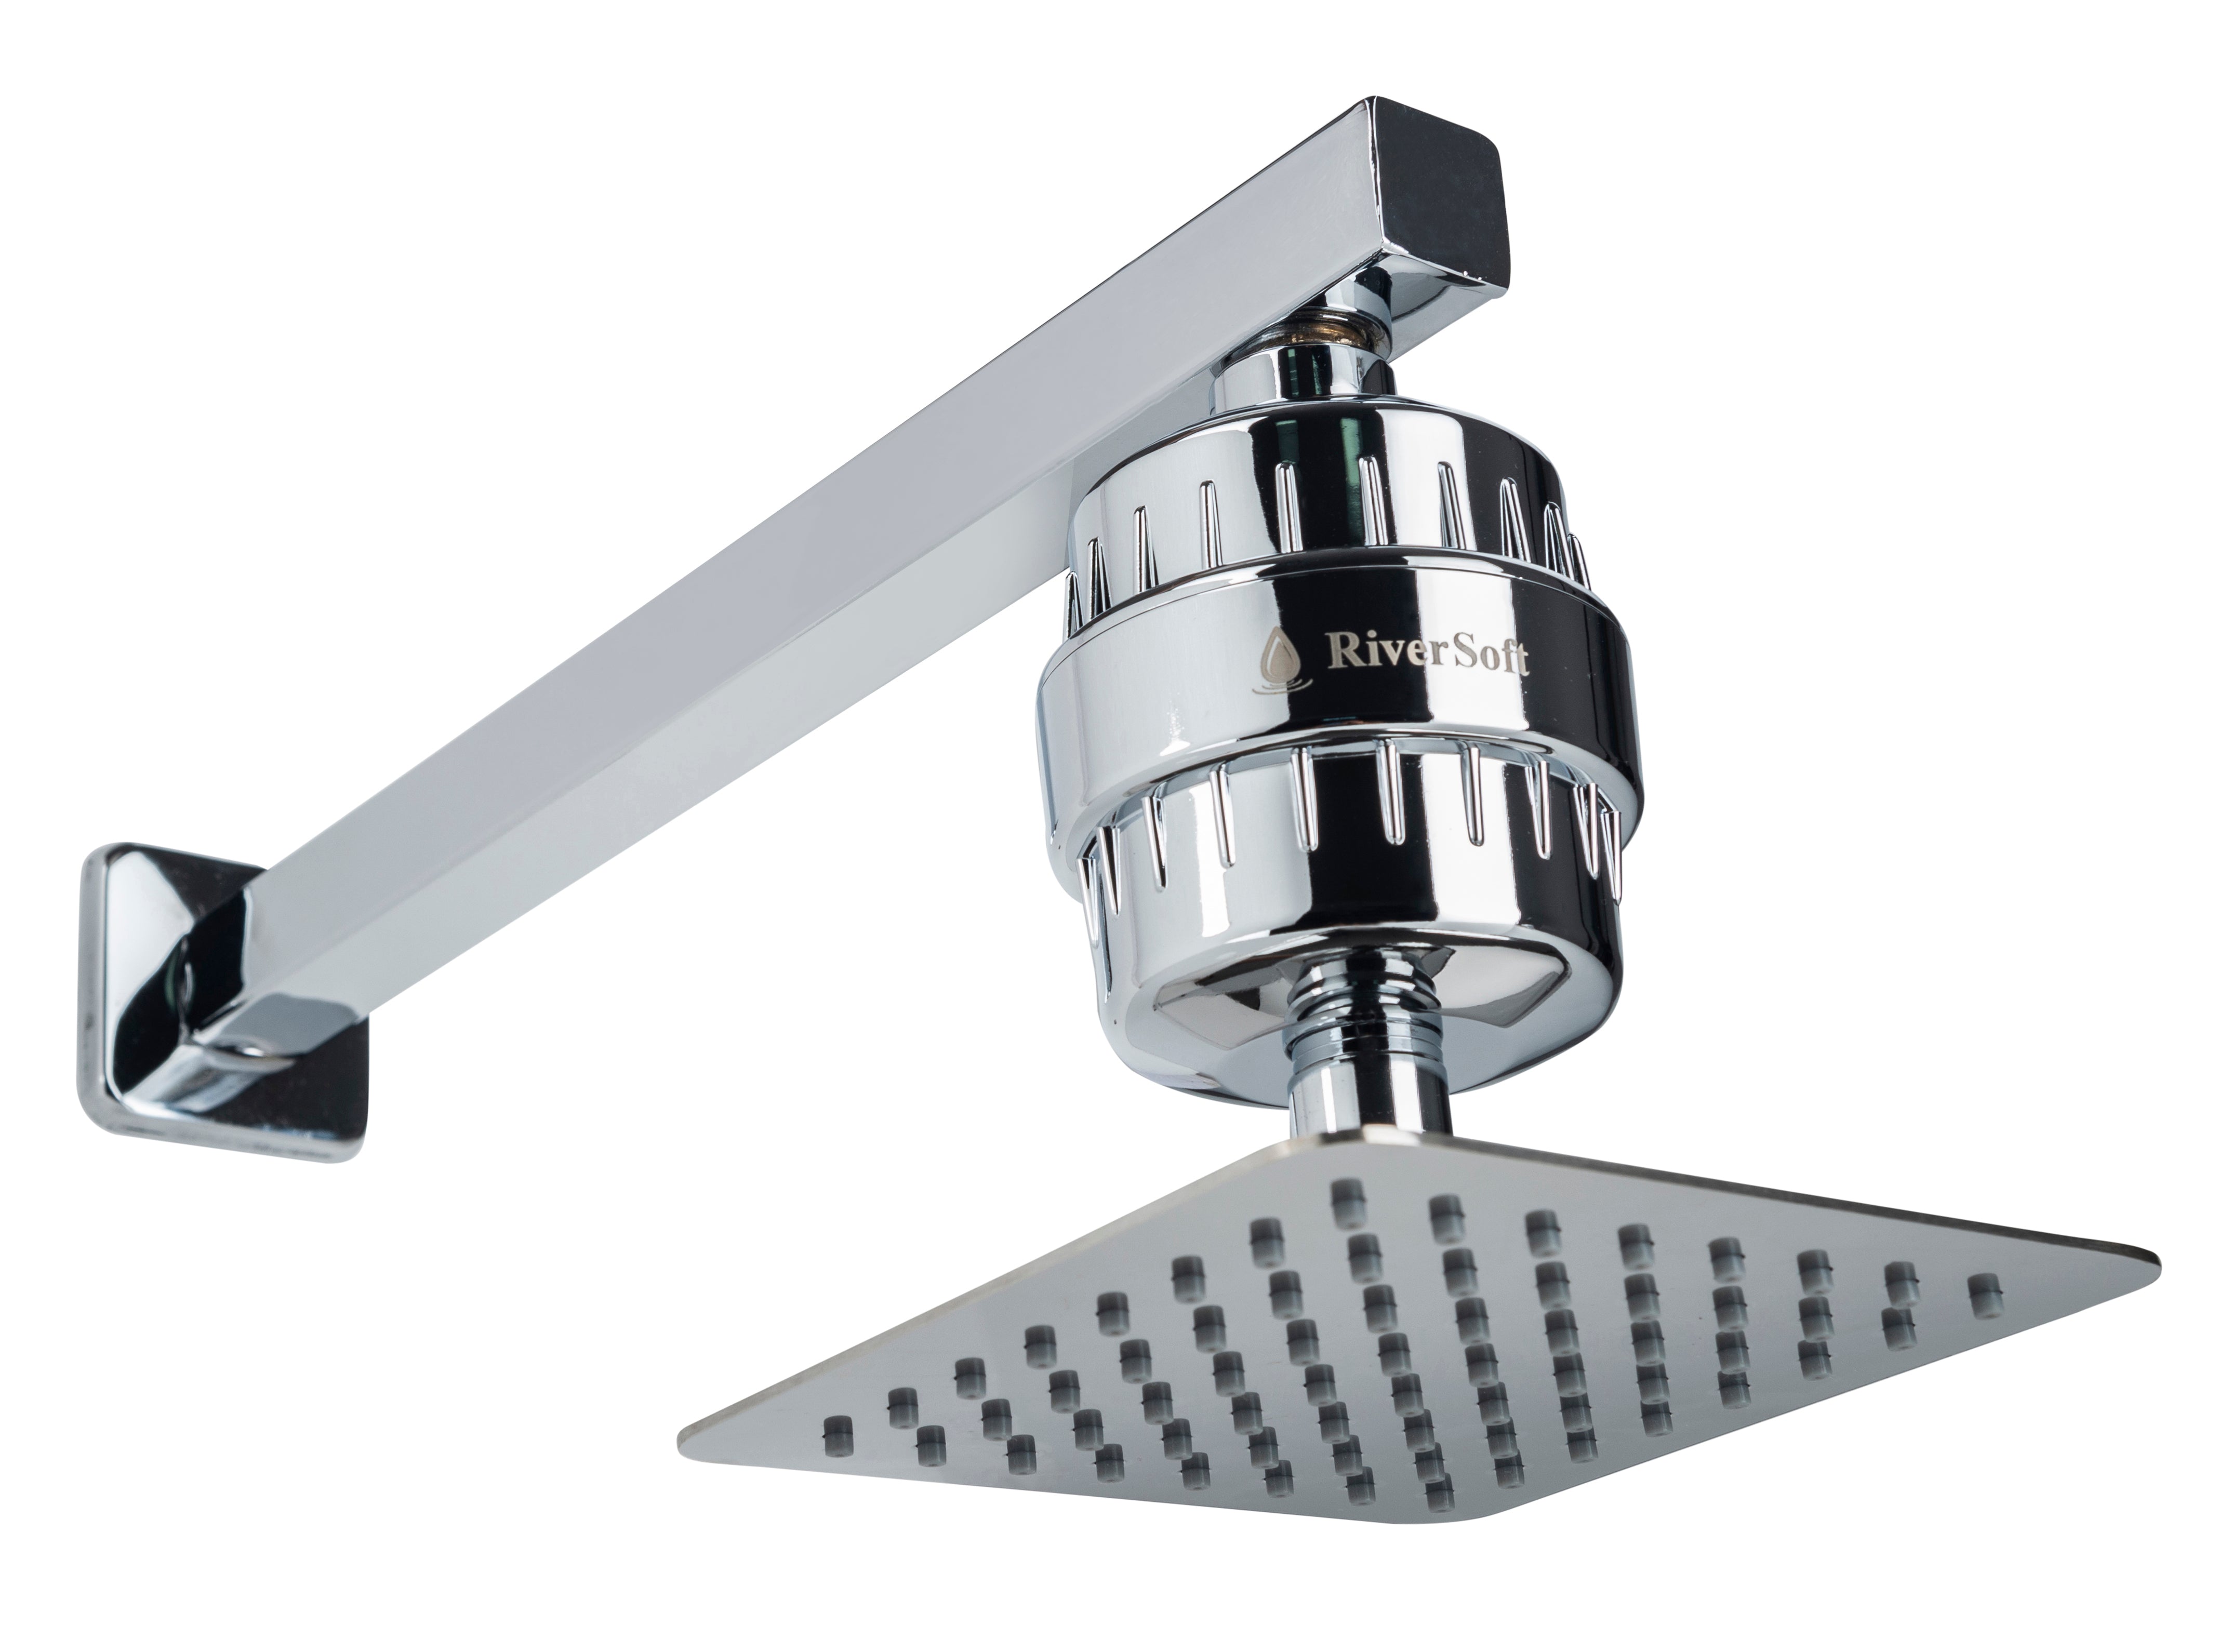
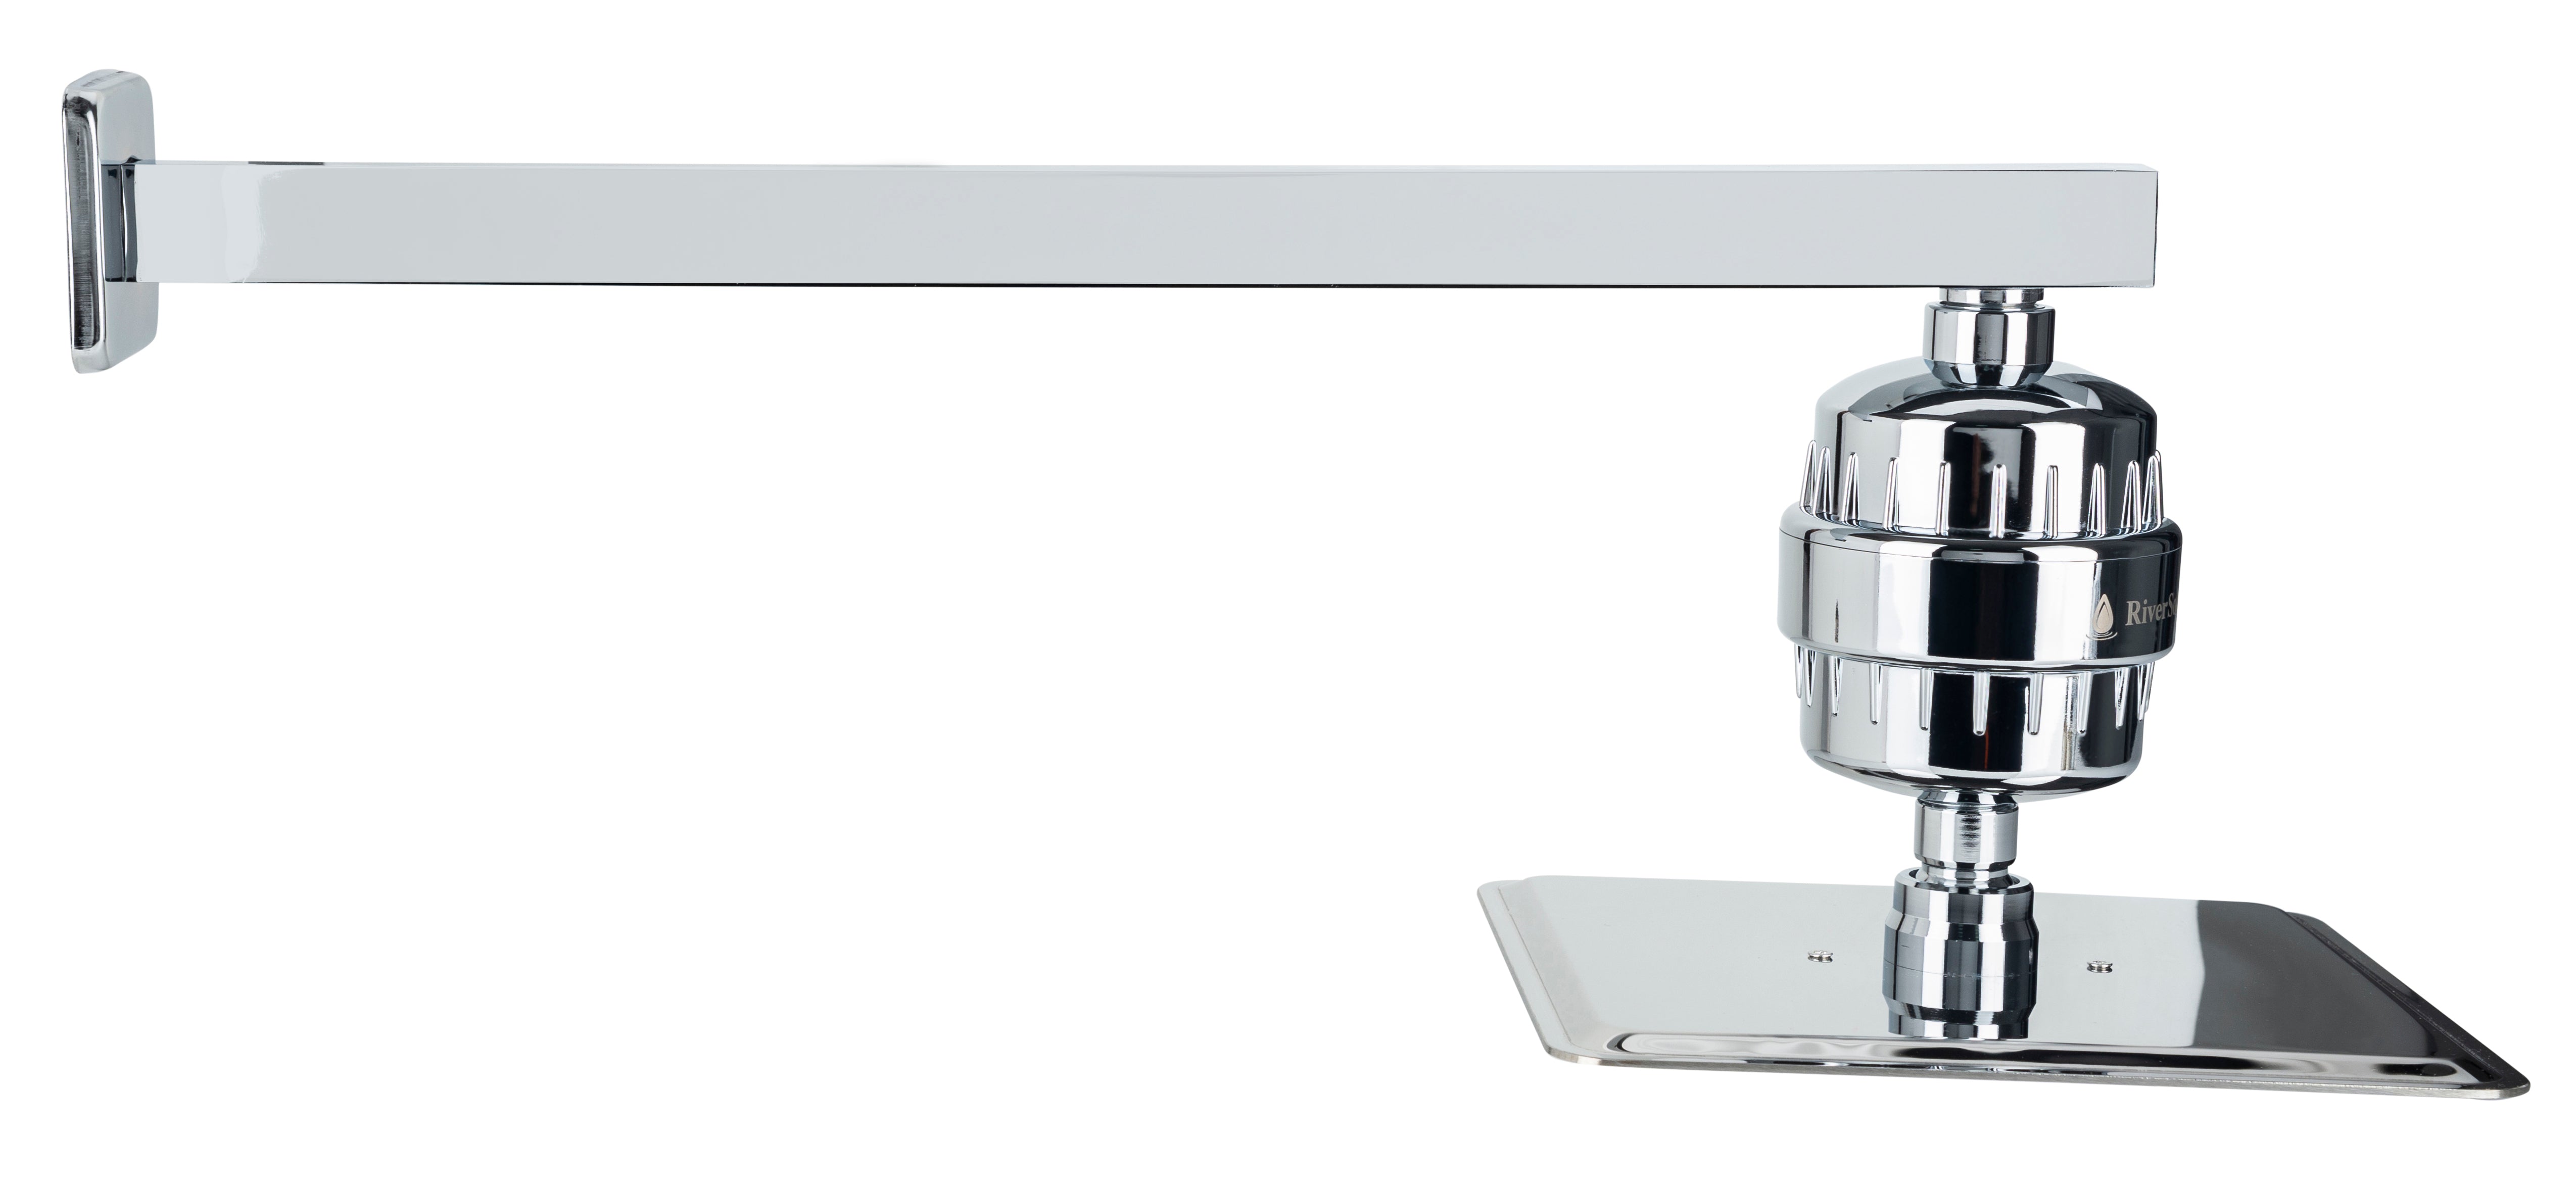
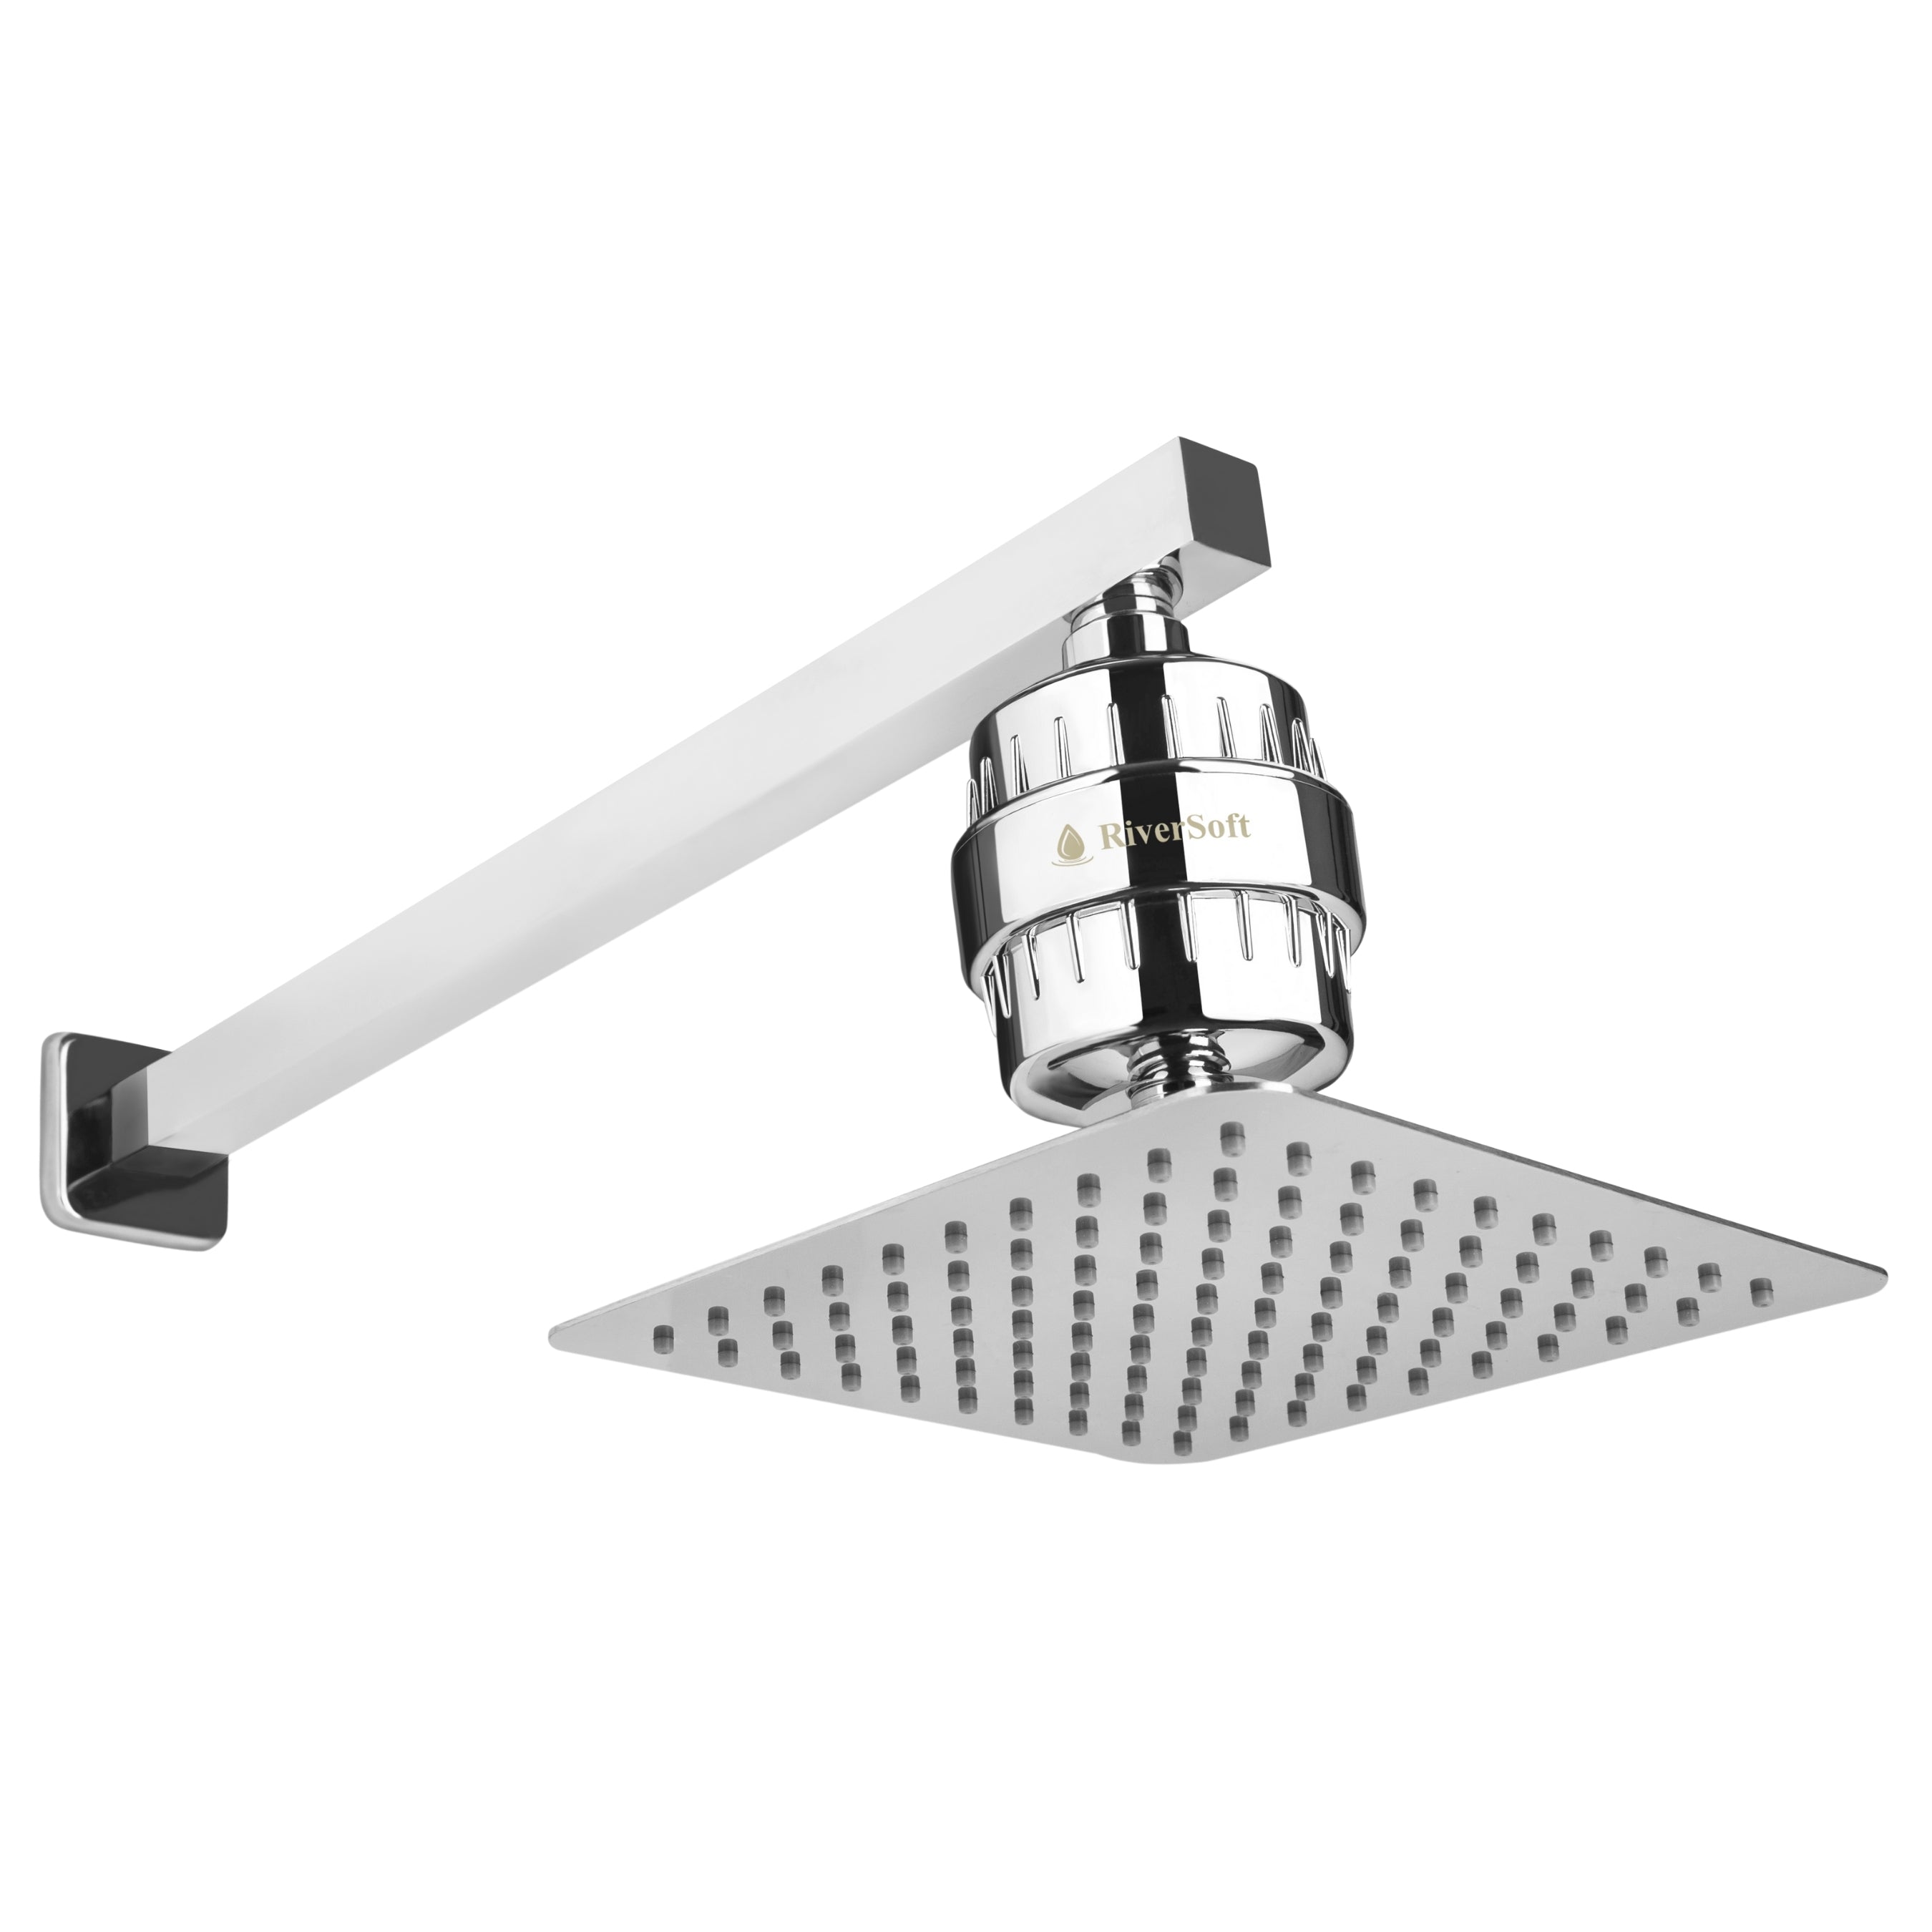
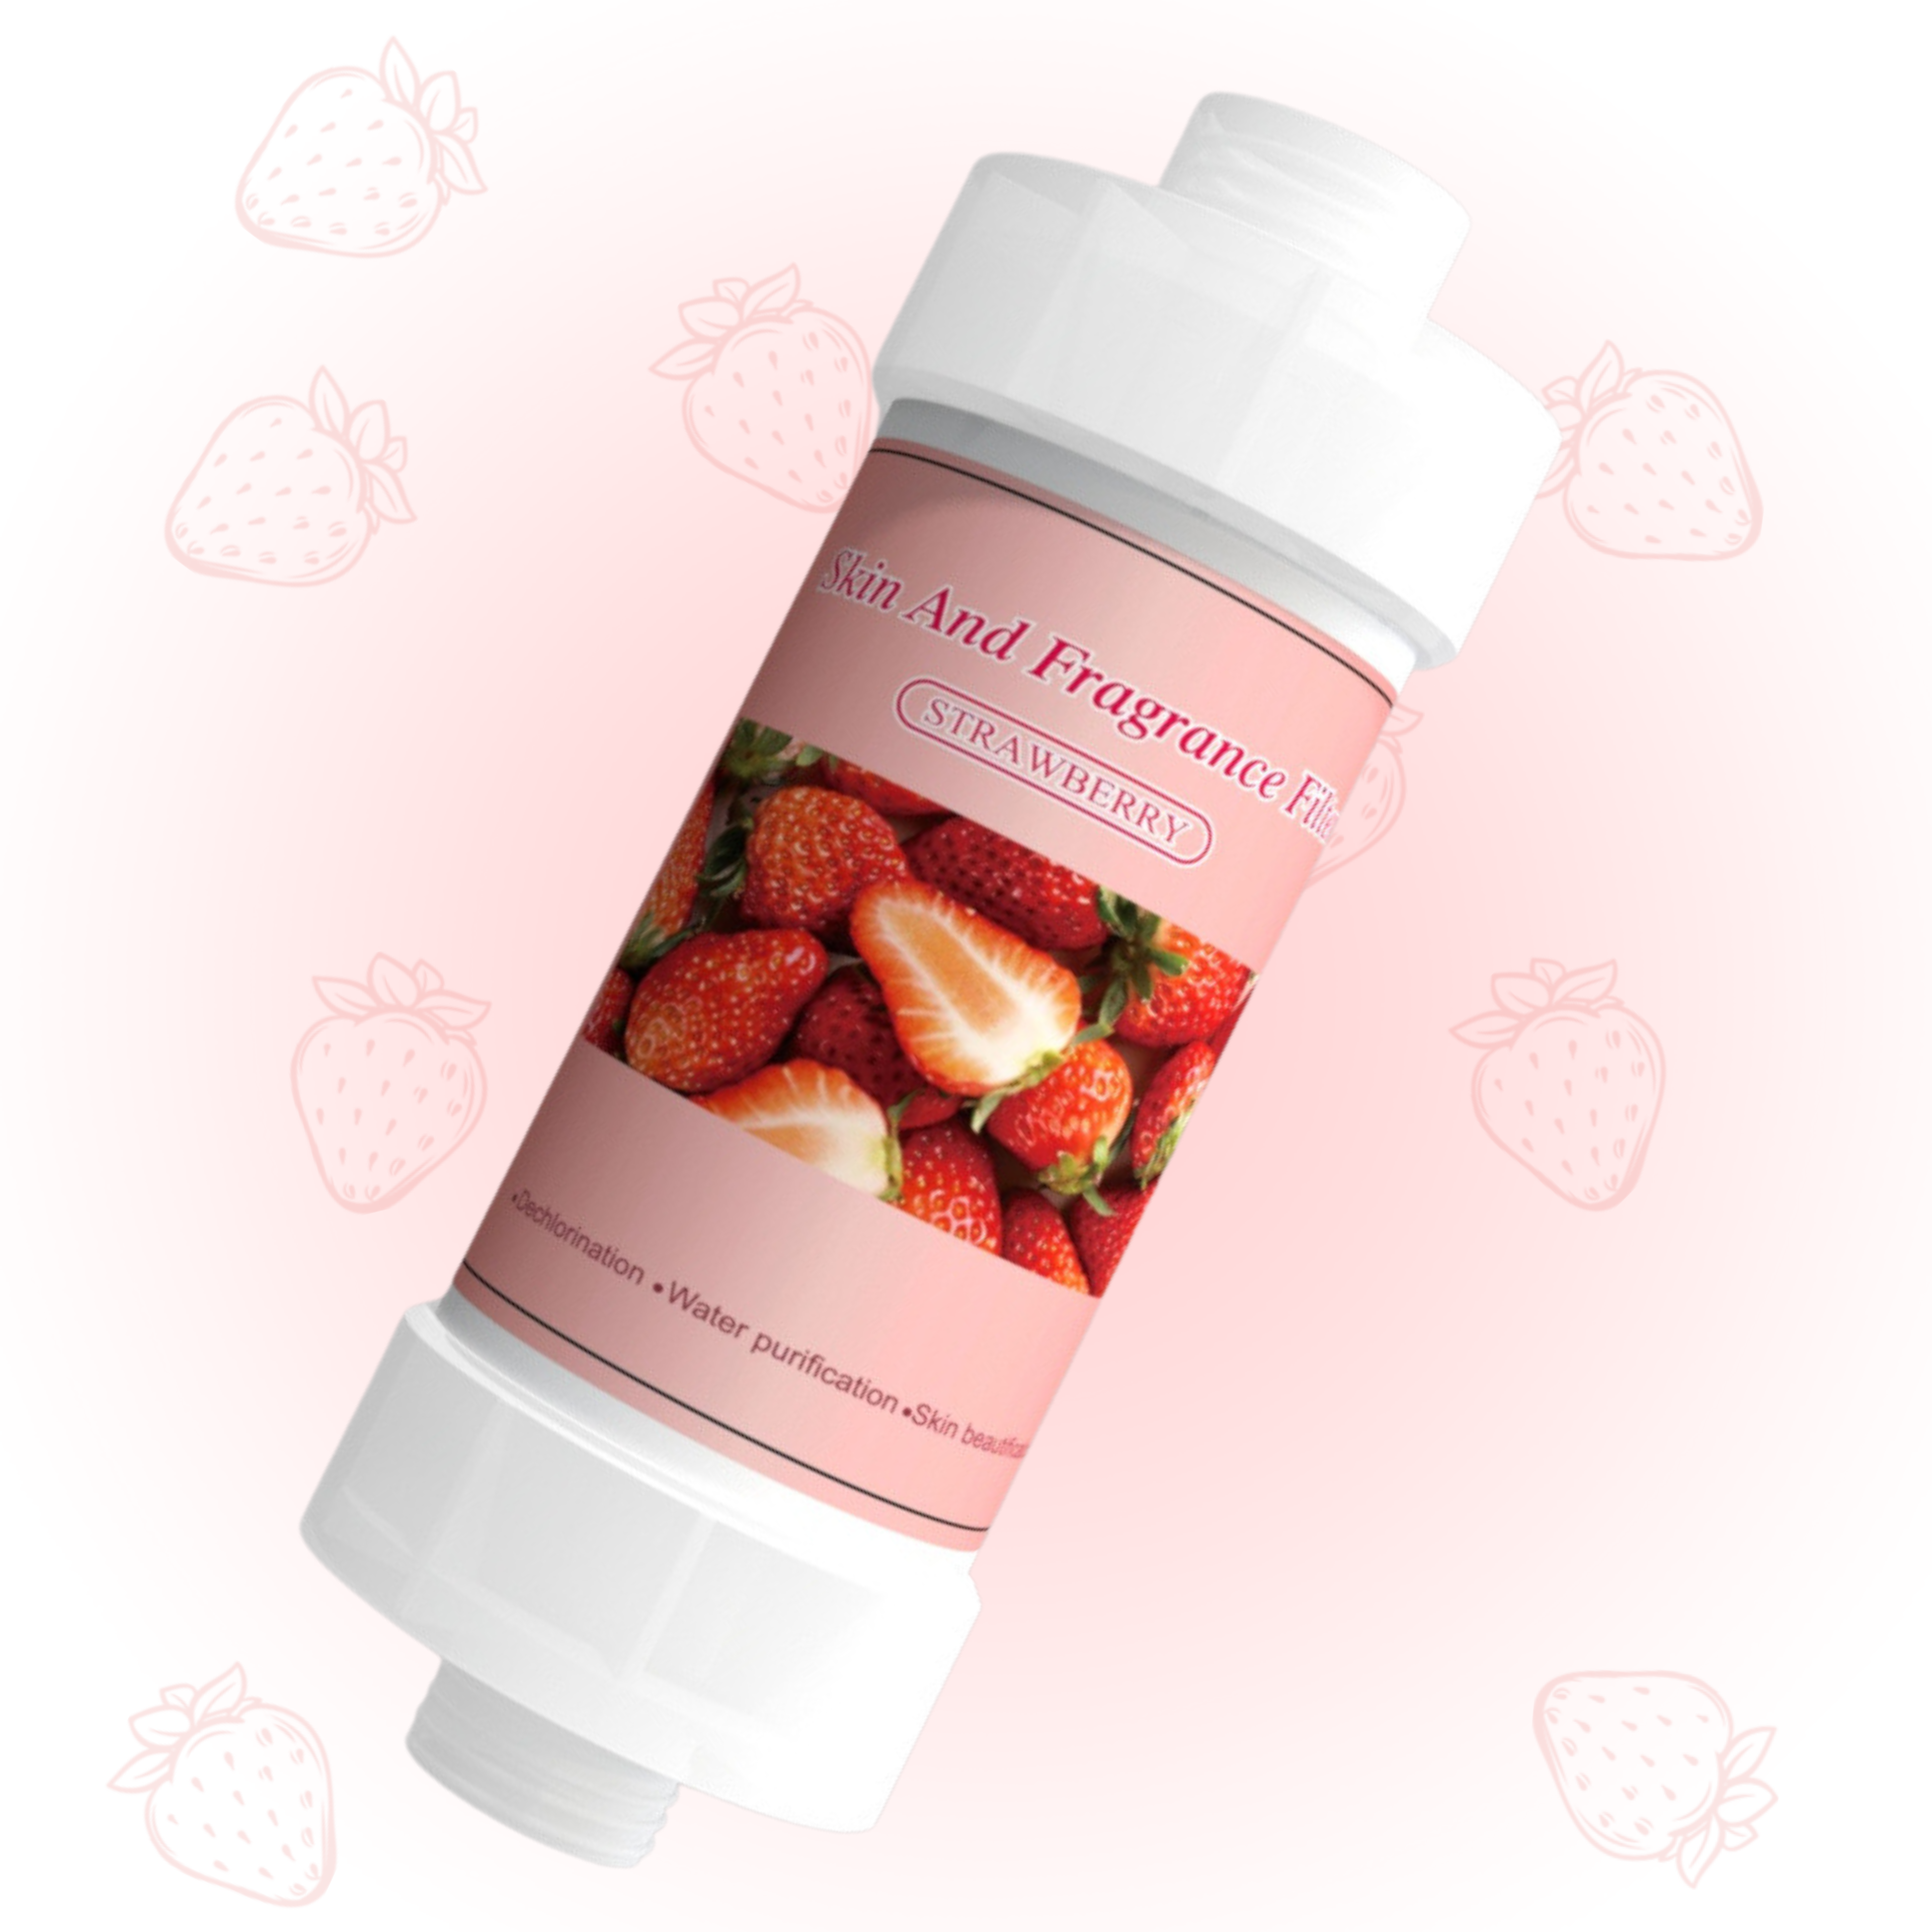
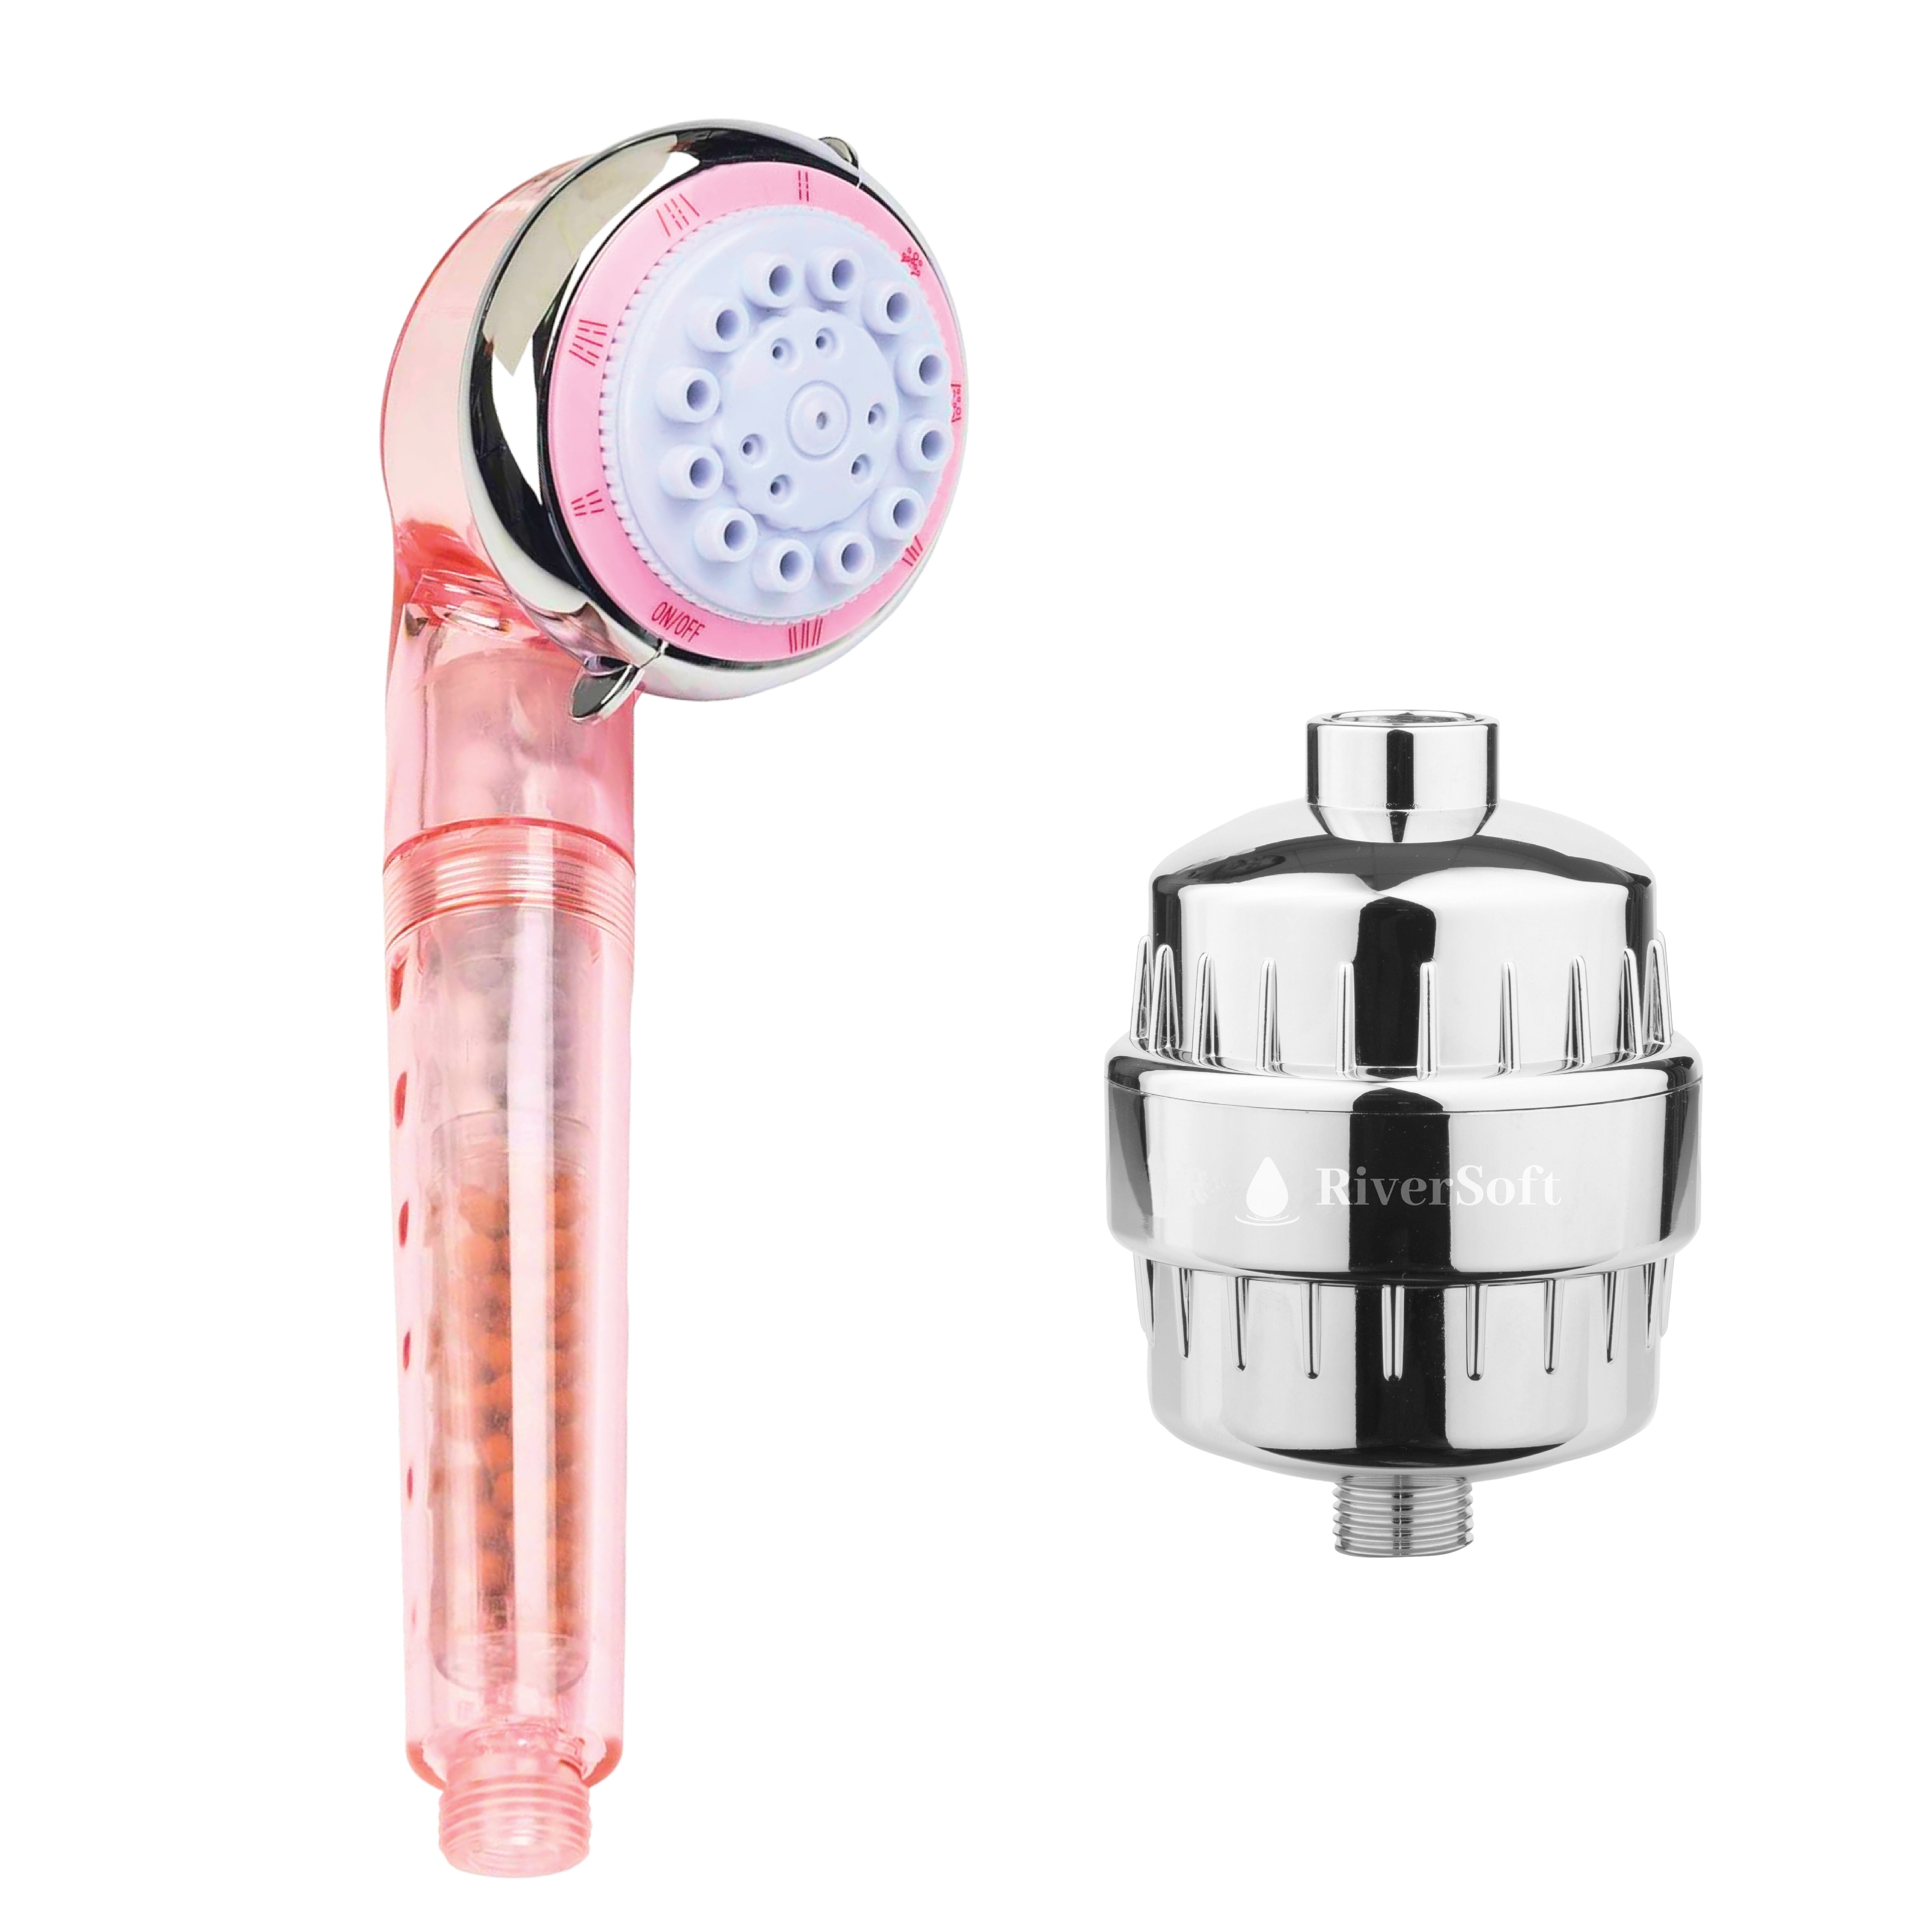
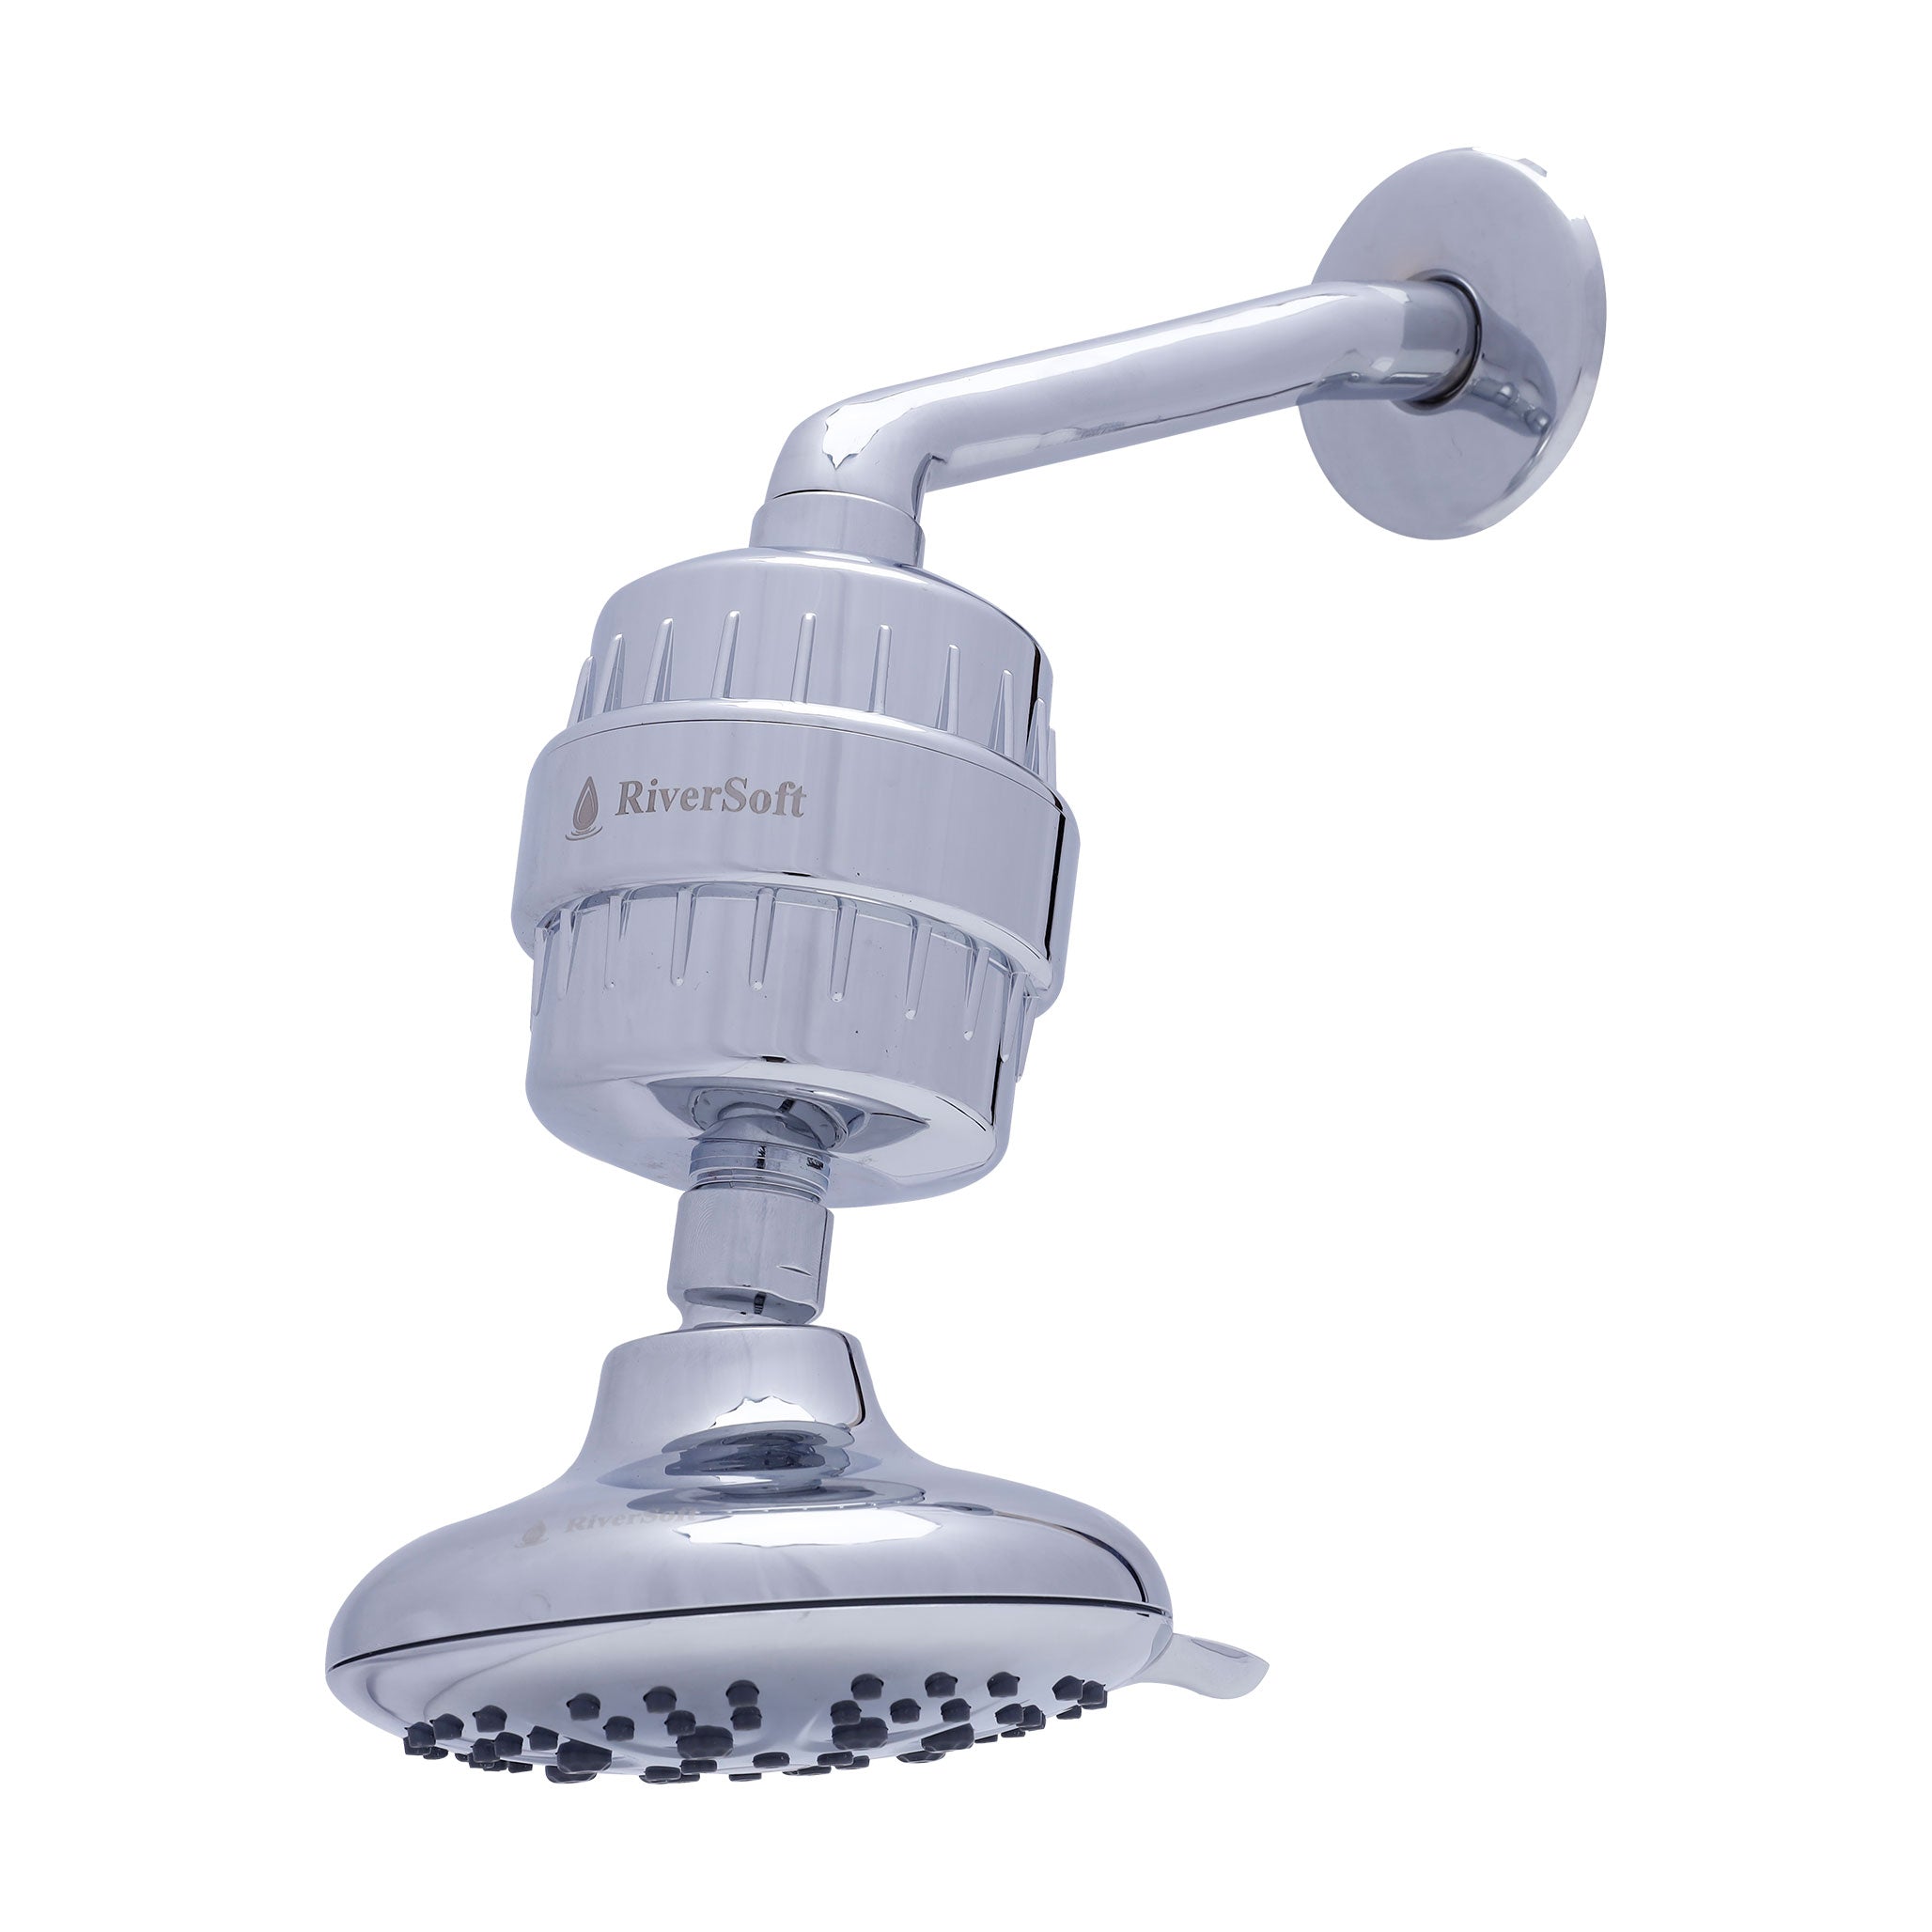
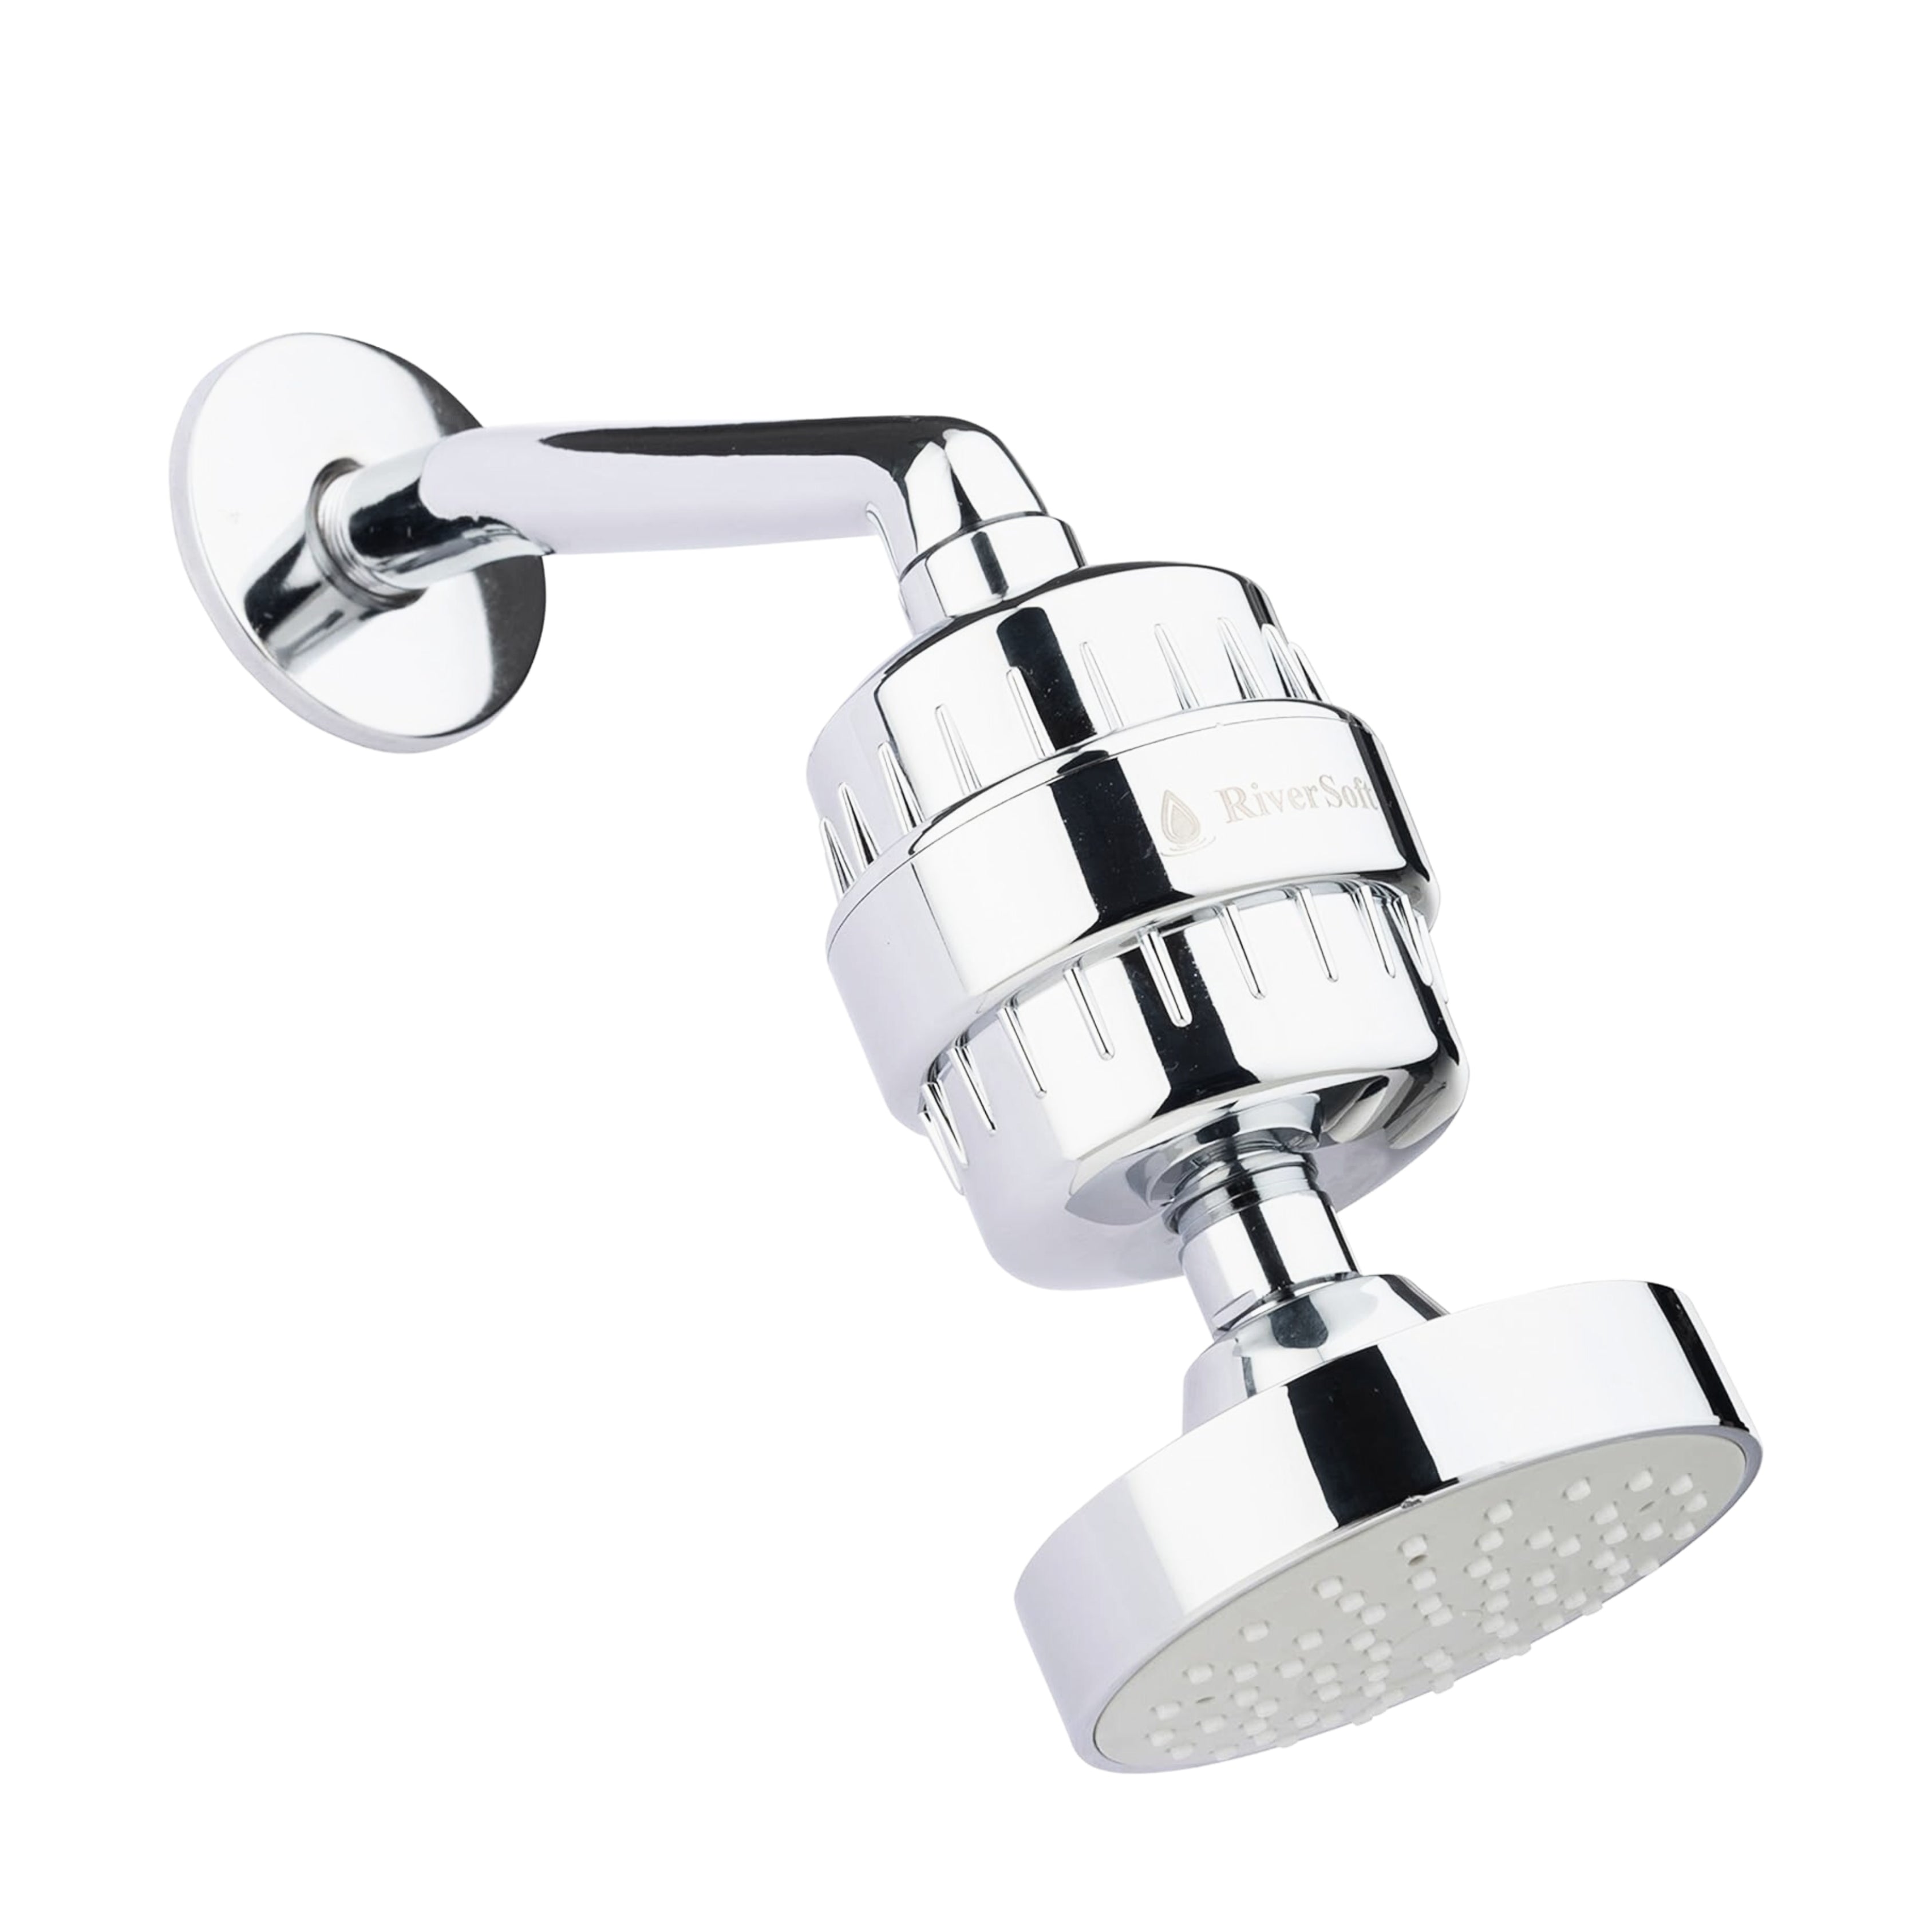
Shower Filter:
Ensure it’s compatible with your existing shower setup. Many hard water softeners are universal but double-check before purchasing.
-
Adjustable Wrench or spanner:
Optional, depending on how tightly the showerhead is attached. In most cases, hand-tightening is enough.
-
Teflon/Plumber’s Tape:
This helps create a watertight seal and prevents leaks.
-
Soft Cloth or Towel:
To protect the finish of your fixtures while tightening.
-
Installation Guide:
Refer to the guide included with your hard water shower filter for any model-specific requirements.
2. Prepare the Showerhead
Proper preparation is key to a smooth installation. Follow these simple steps:
-
Turn Off the Water Supply:
While not always necessary, turning off the water prevents accidental splashing while you work.
-
Remove the Showerhead:
Unscrew the showerhead from the shower arm. If it’s tight, use an adjustable wrench with a soft cloth to avoid scratching the finish. Most showerheads can be removed by hand.
-
Clean the Threads:
Check the shower arm threads for any residue, rust, or old tape. Wipe them clean with a cloth to ensure a good seal.
Tip: Avoid damaging the threads by being gentle during this step. A well-prepped surface ensures better installation of your hard water softener.
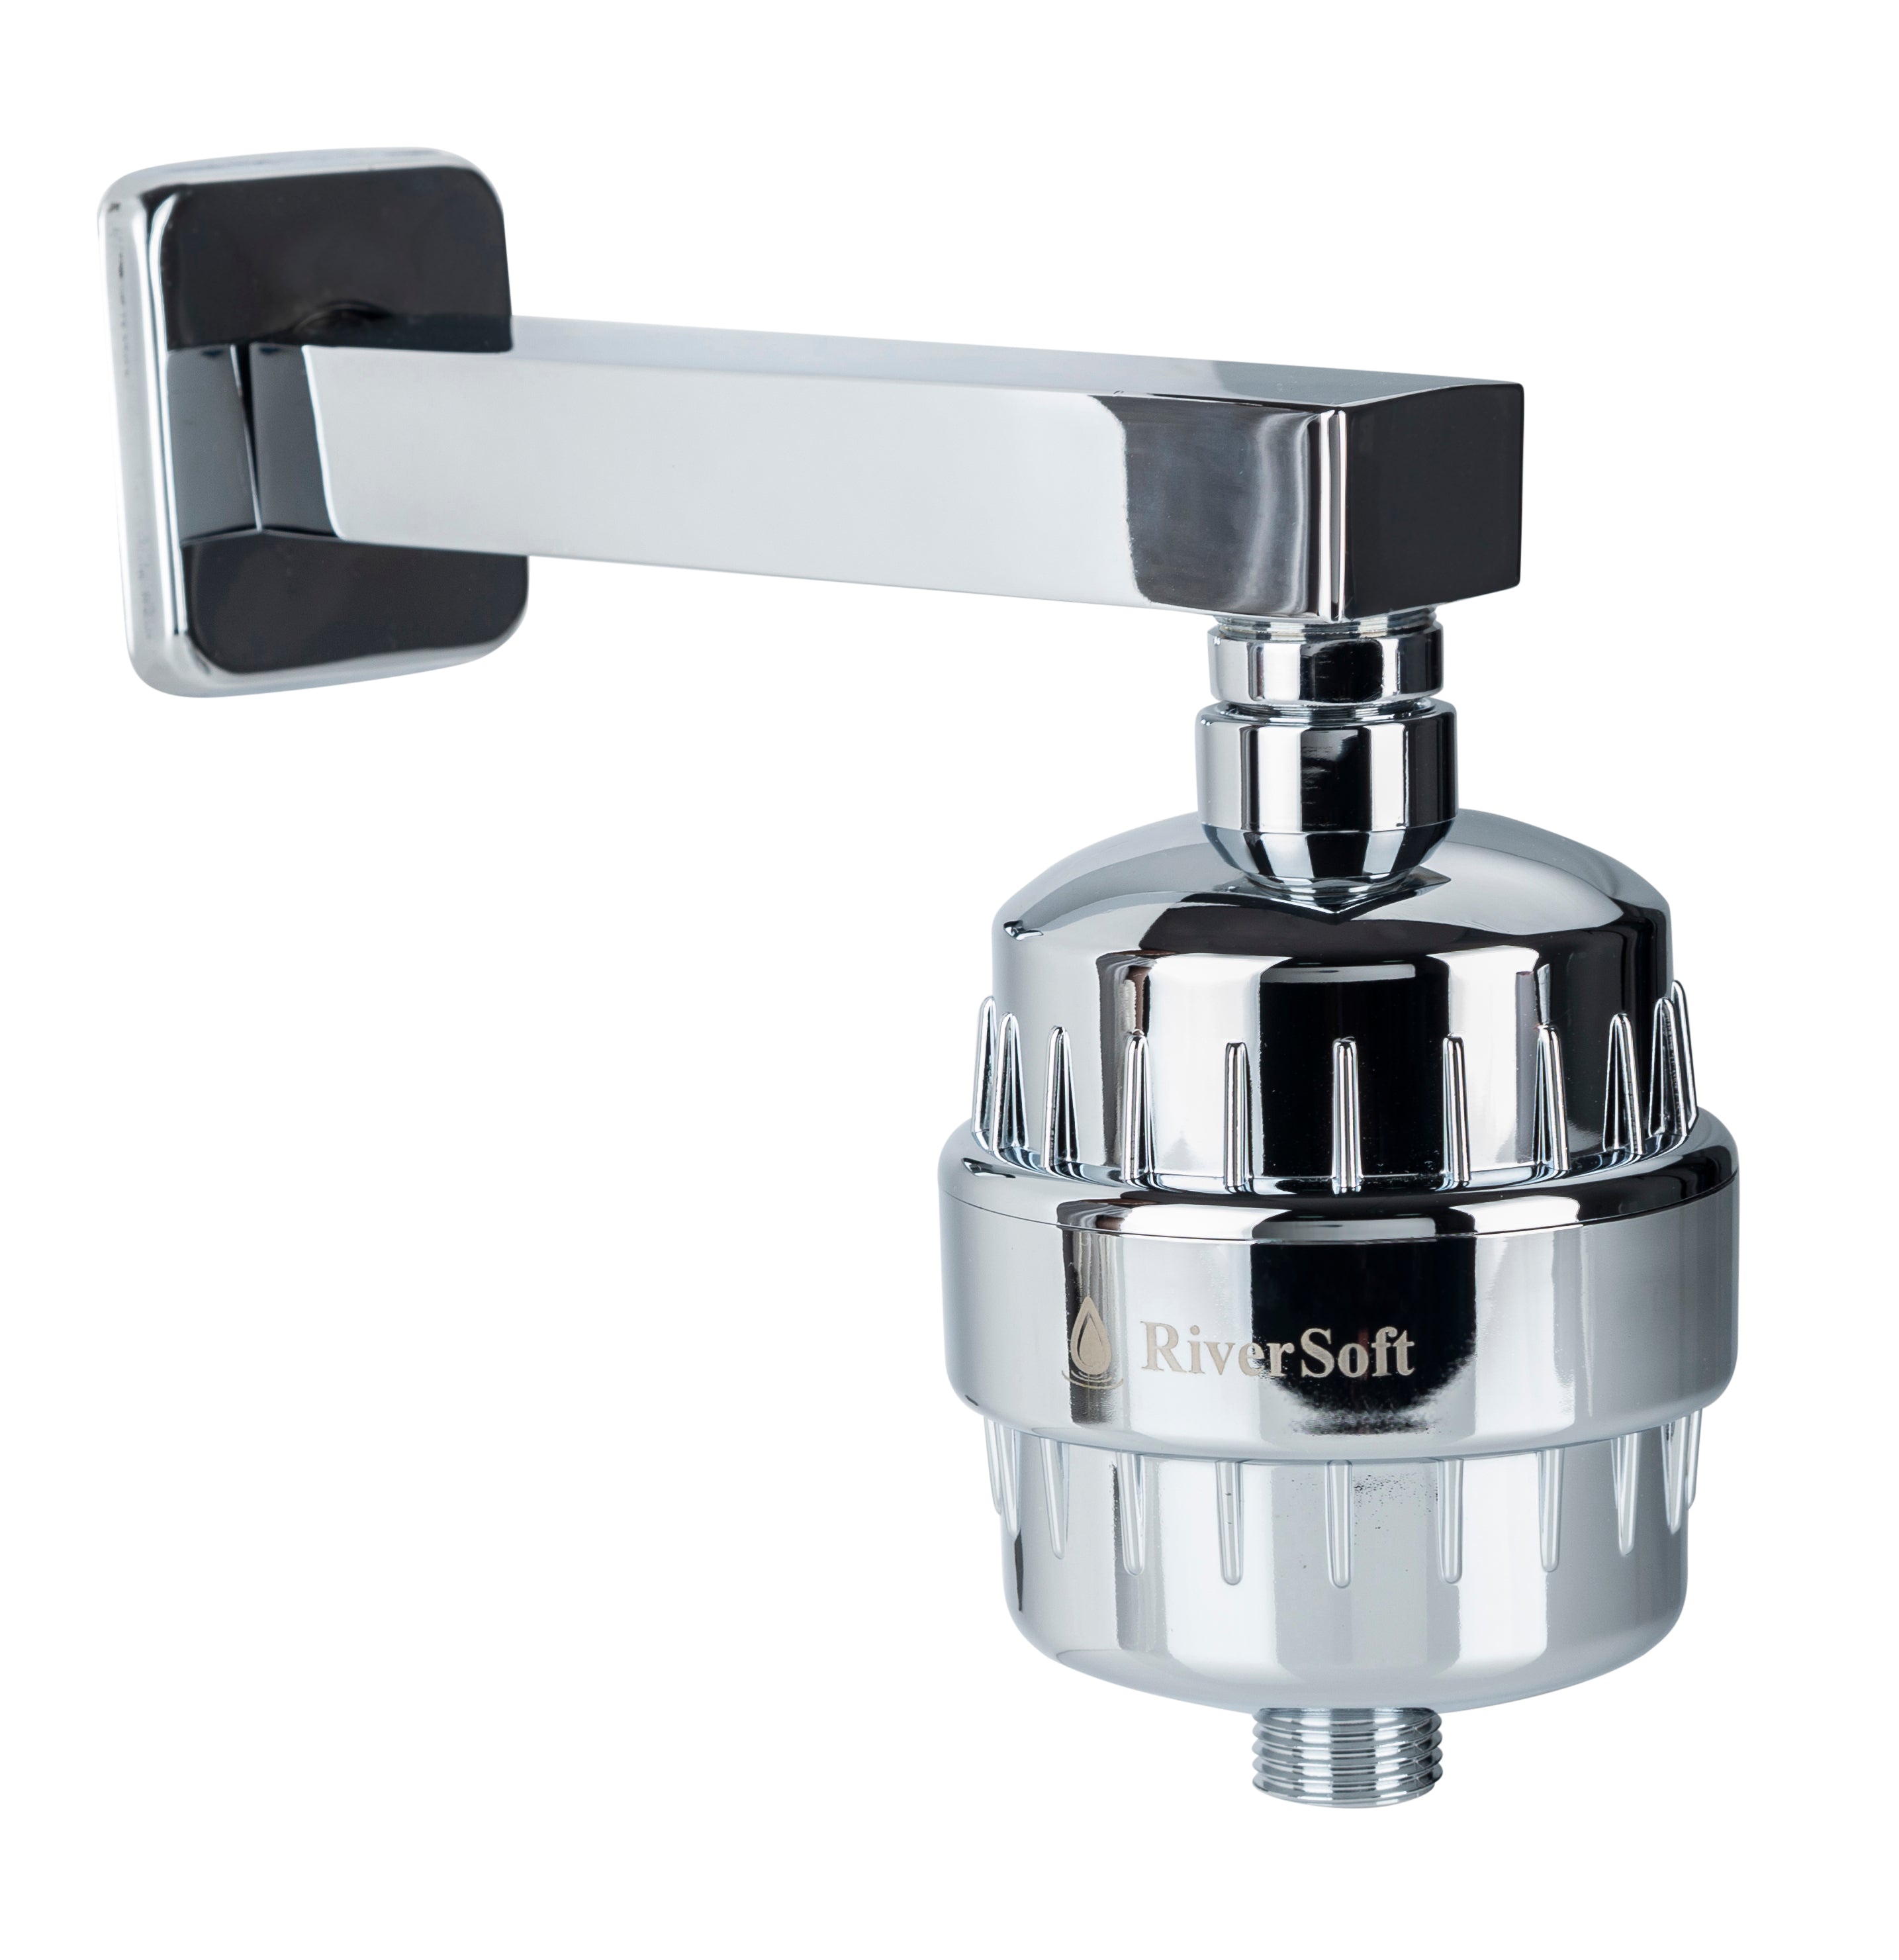
3. Install the Shower Filter
-
Wrap the Threads:
Use Teflon tape to wrap the threads of the shower arm. Two to three layers of tape are usually sufficient. This prevents leaks and ensures a tight fit.
-
Attach the Shower Filter:
Screw the filter onto the shower arm. Tighten it by hand until it’s secure. If necessary, use a wrench with a soft cloth for a final gentle turn.
-
Reattach the Showerhead:
Screw your showerhead onto the filter’s outlet. Again, tighten it by hand and use a wrench only if needed.
-
Position the Filter Correctly:
Some filters need to be installed upright or in a specific orientation. Check your installation guide to ensure it’s positioned properly.
4. Test the Installation
Once the filter is in place, it’s time to test your work:
-
Turn the Water Back On:
Let the water flow through the filter and showerhead.
-
Check for Leaks:
Inspect all connections. If water drips, gently tighten the fittings or add another layer of Teflon tape.
-
Ensure Proper Flow:
A properly installed hard water shower filter won’t affect water pressure significantly. If the flow seems restricted, ensure the filter is installed correctly.
Troubleshooting Tip: If the filter leaks despite tightening, check for cross-threading or debris on the threads.
5. Maintenance Tips for Longevity
Regular maintenance will keep your hard water softener functioning efficiently with a longer lifespan. Here’s how to take care of it:
-
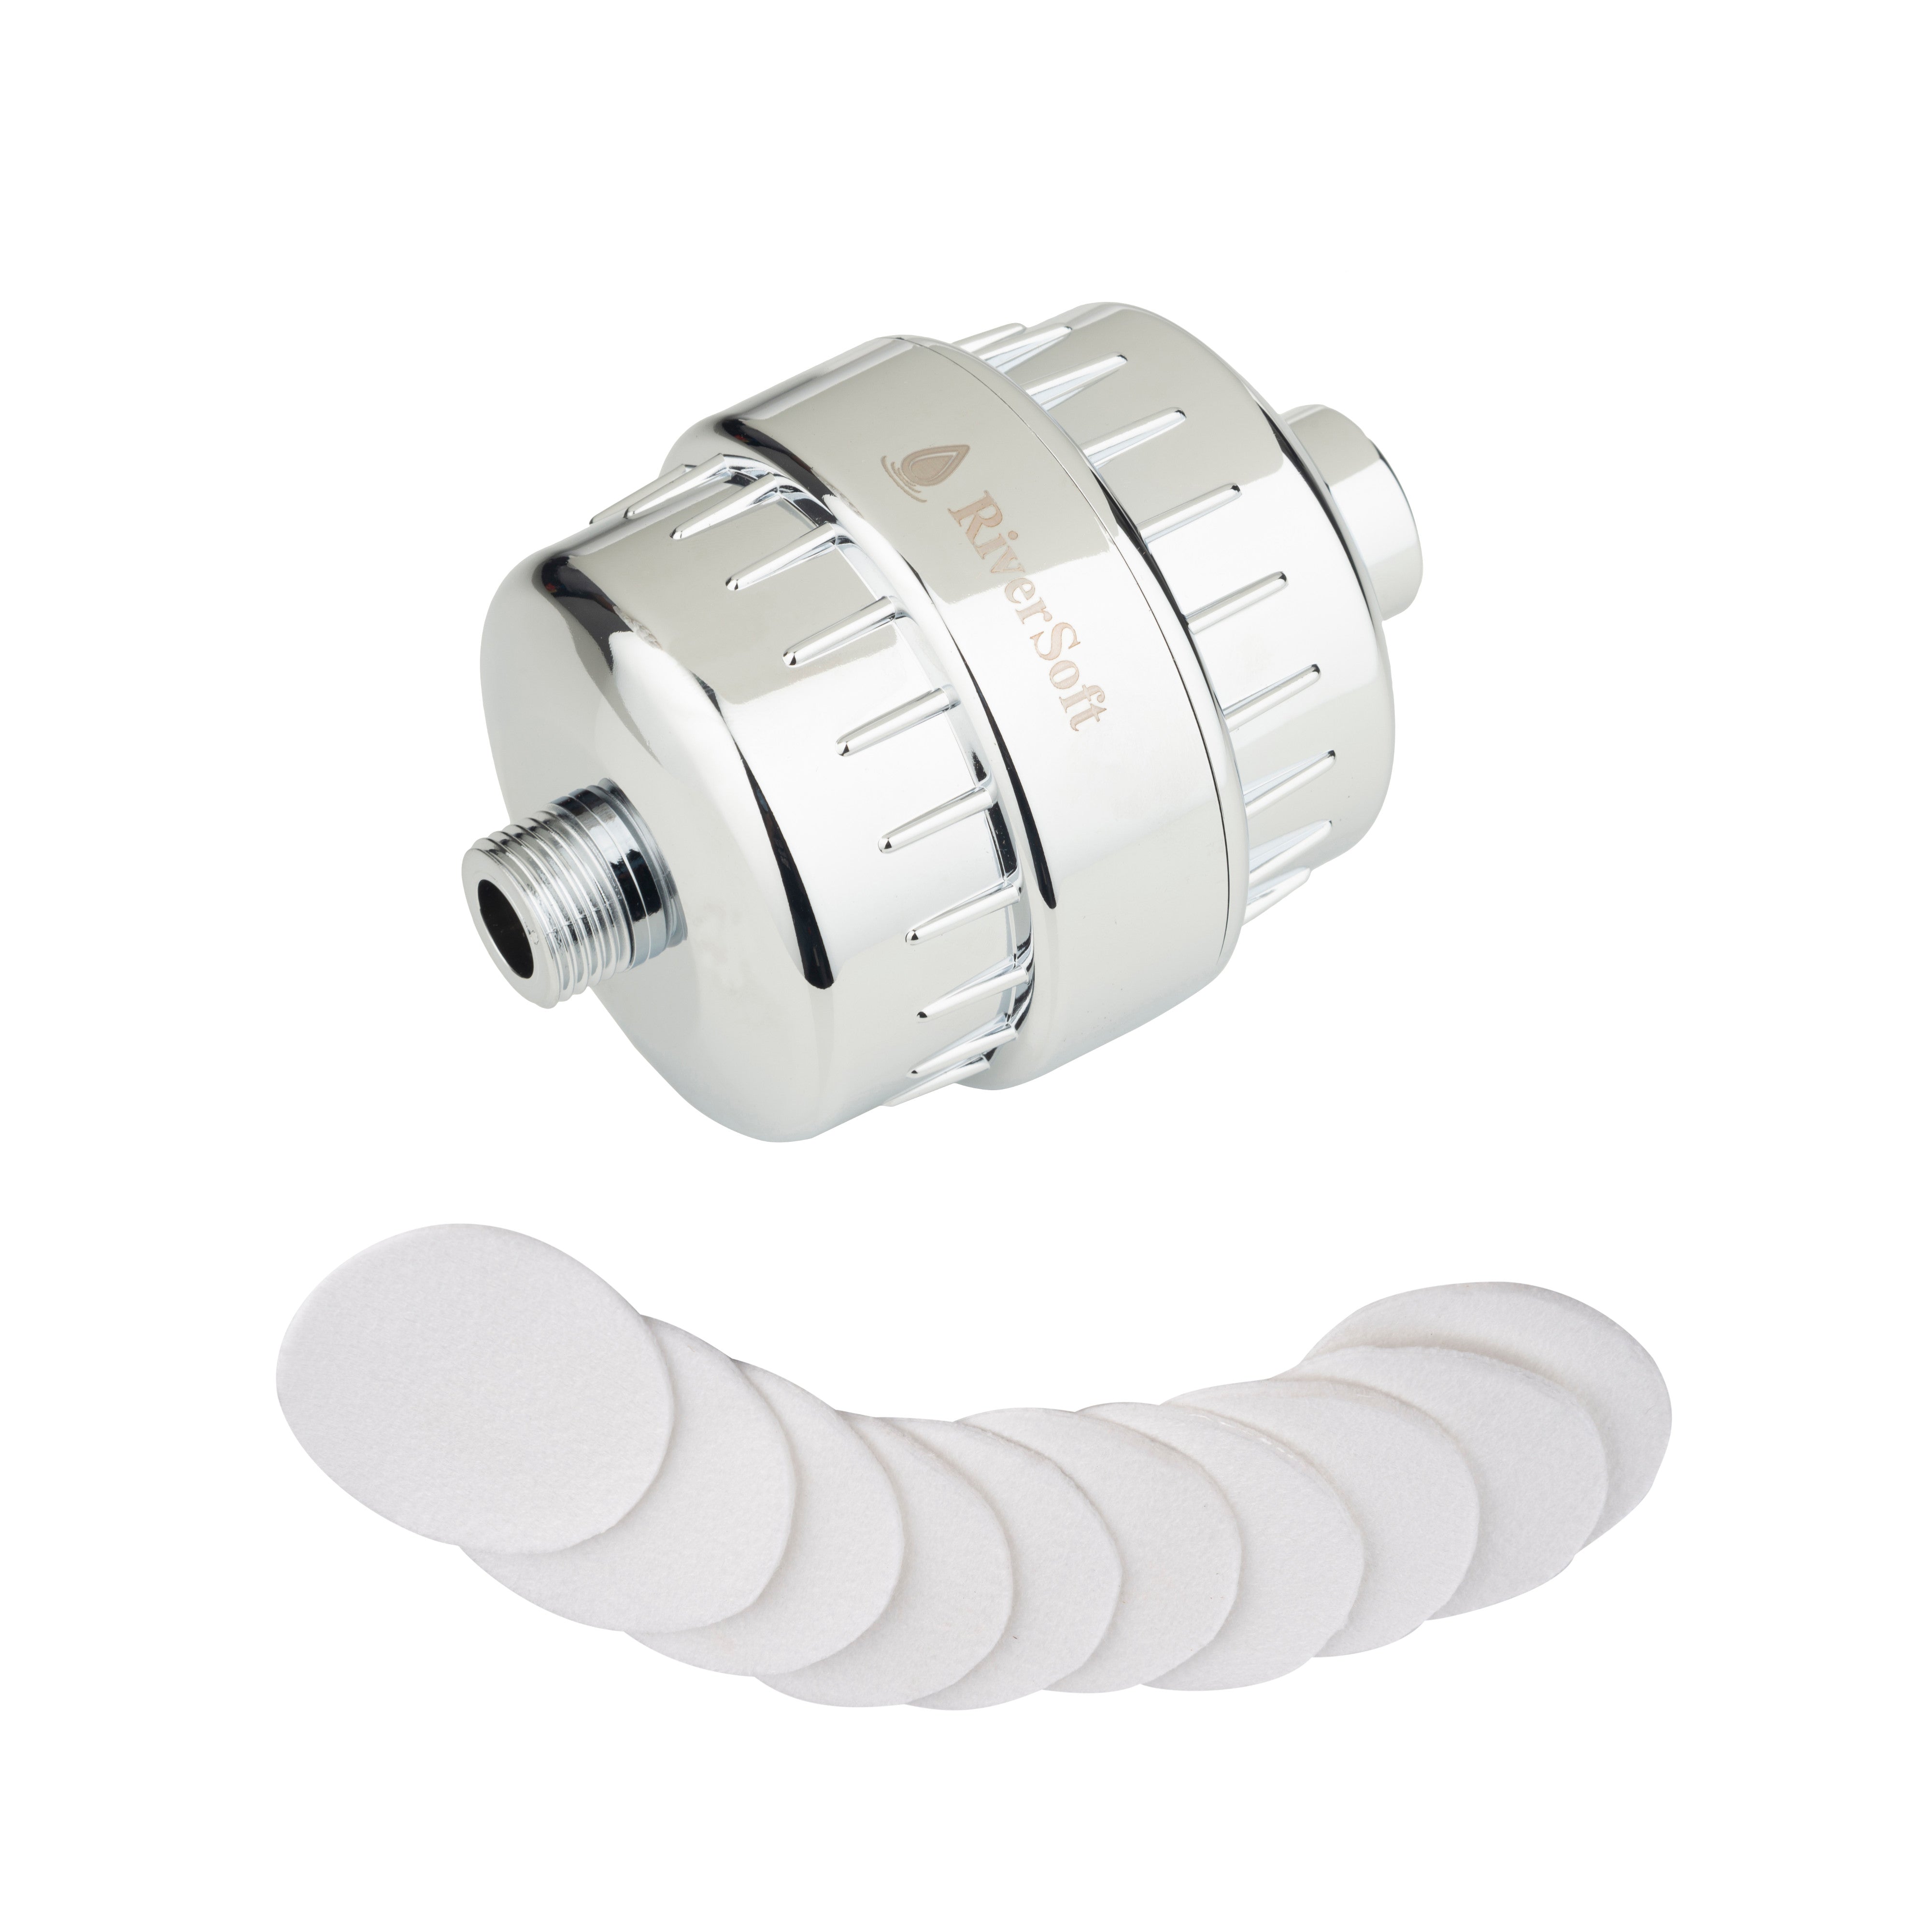
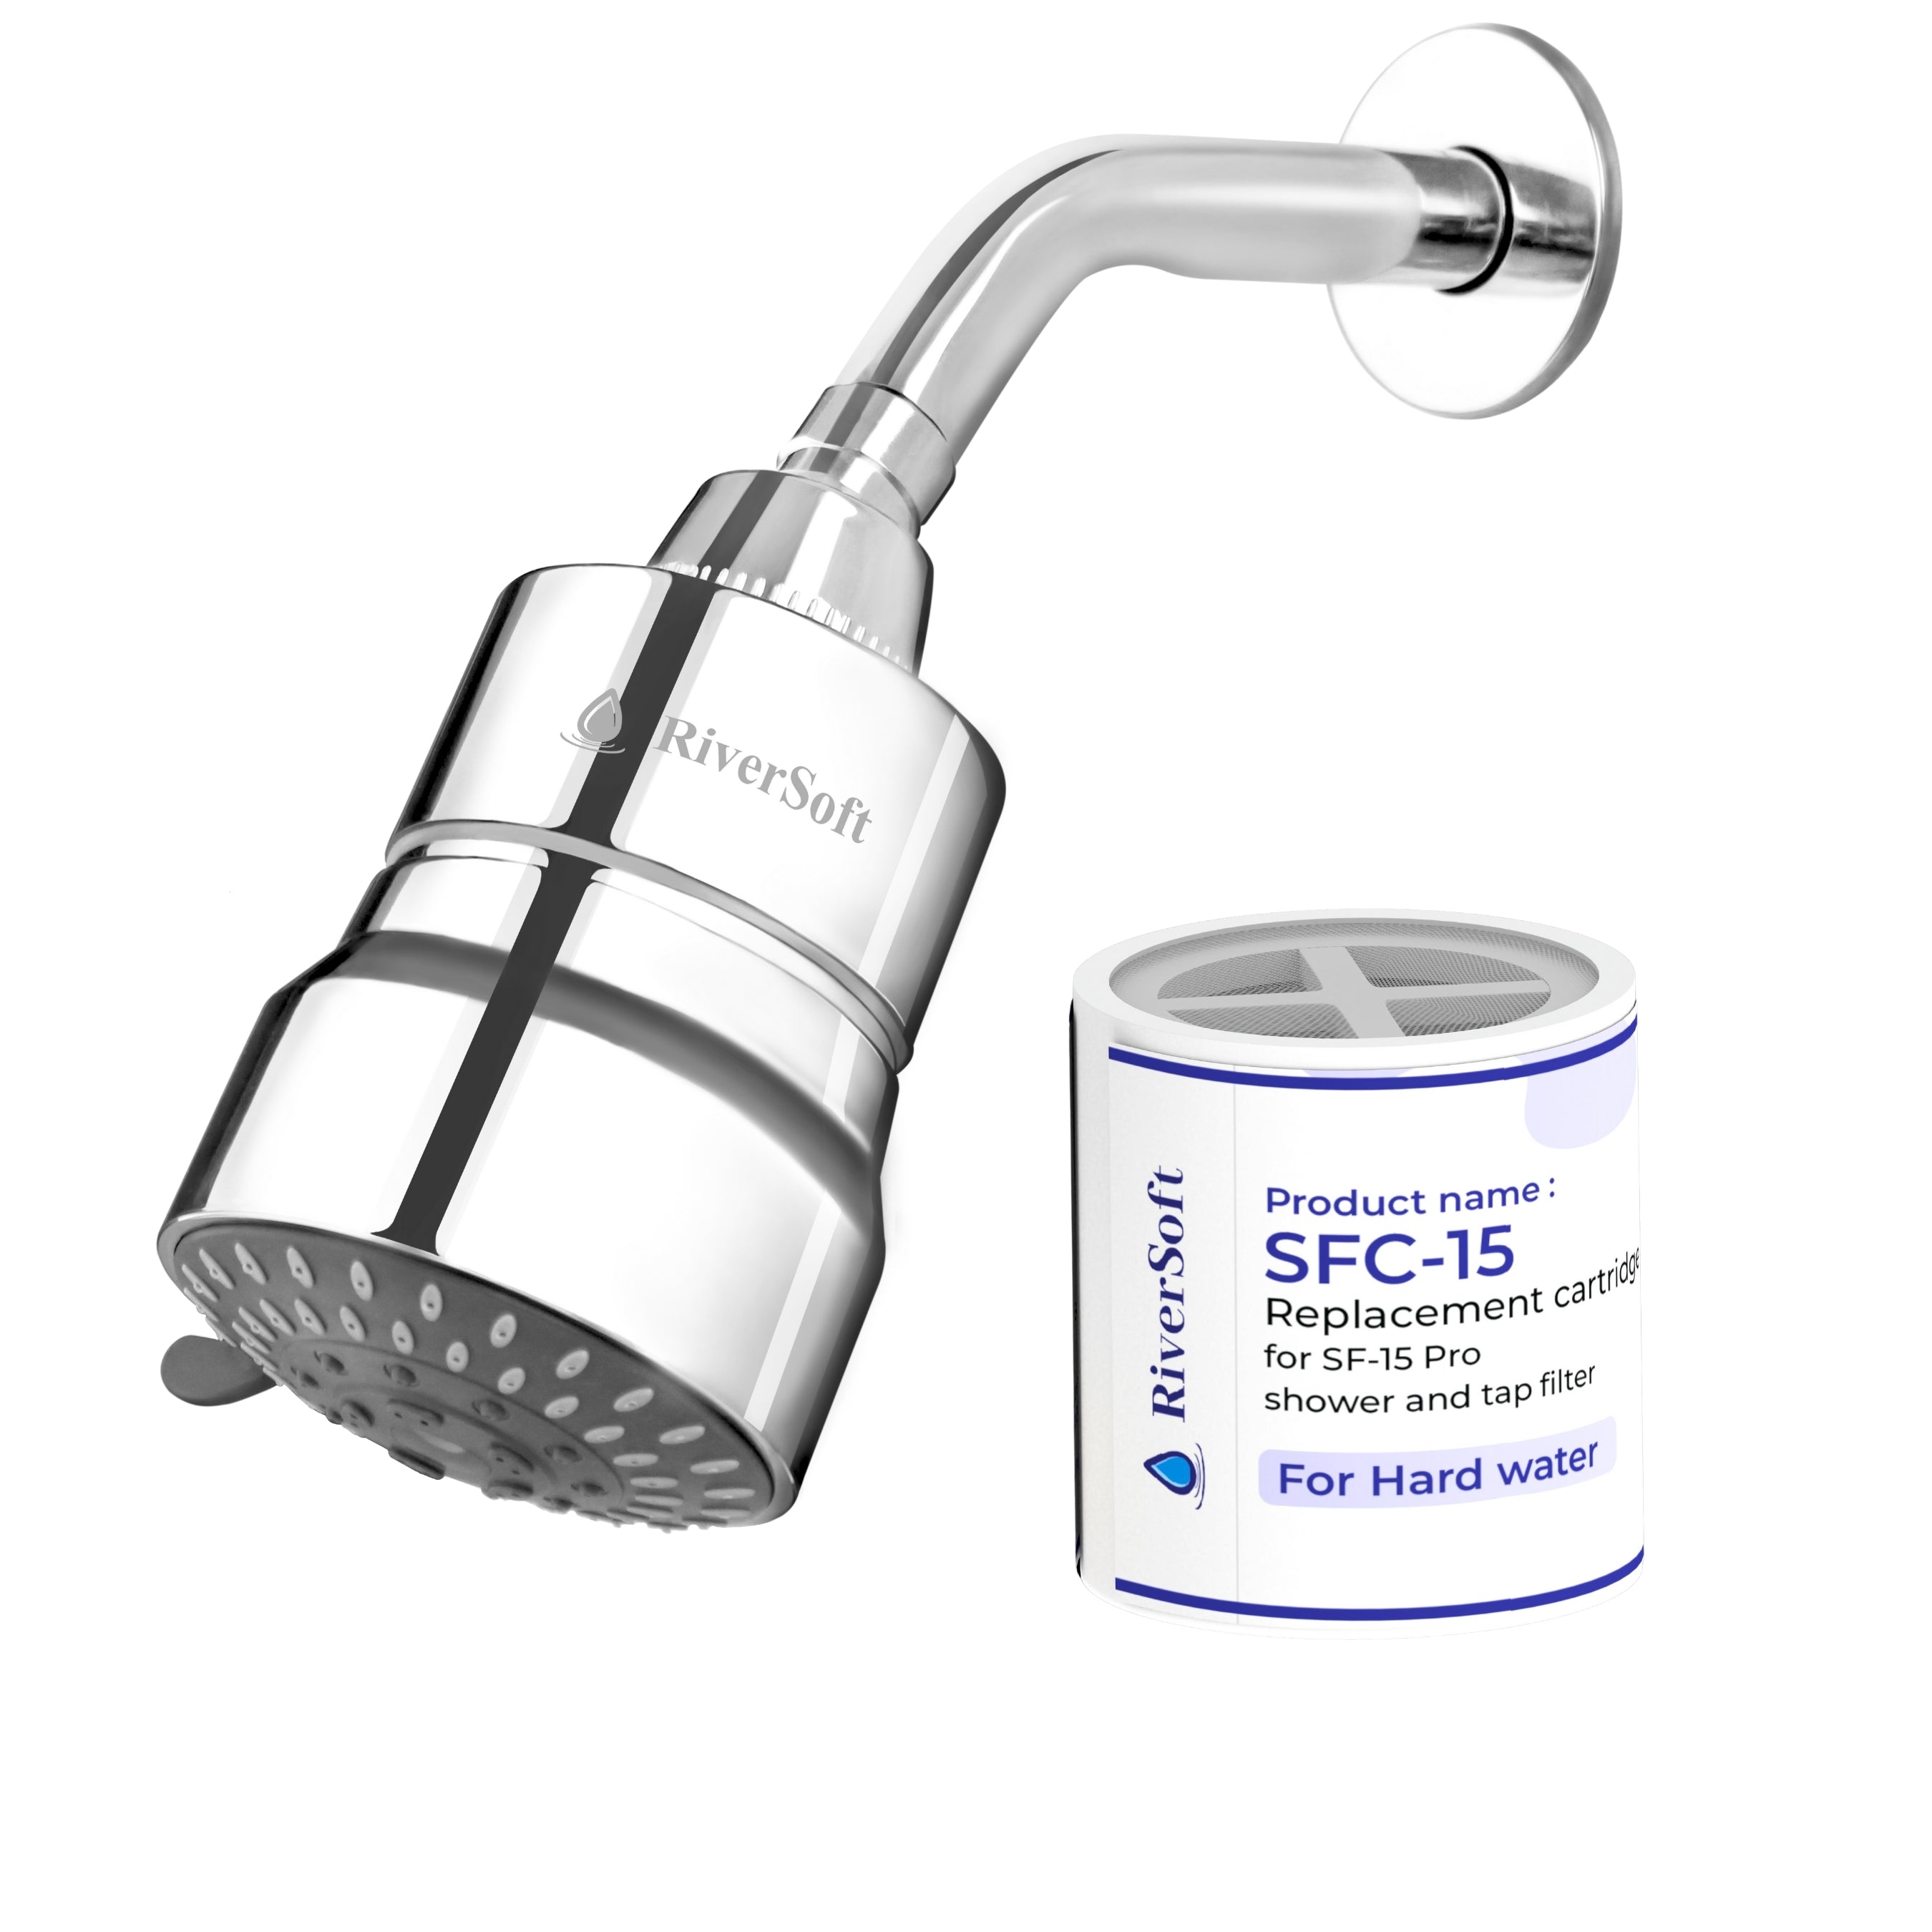
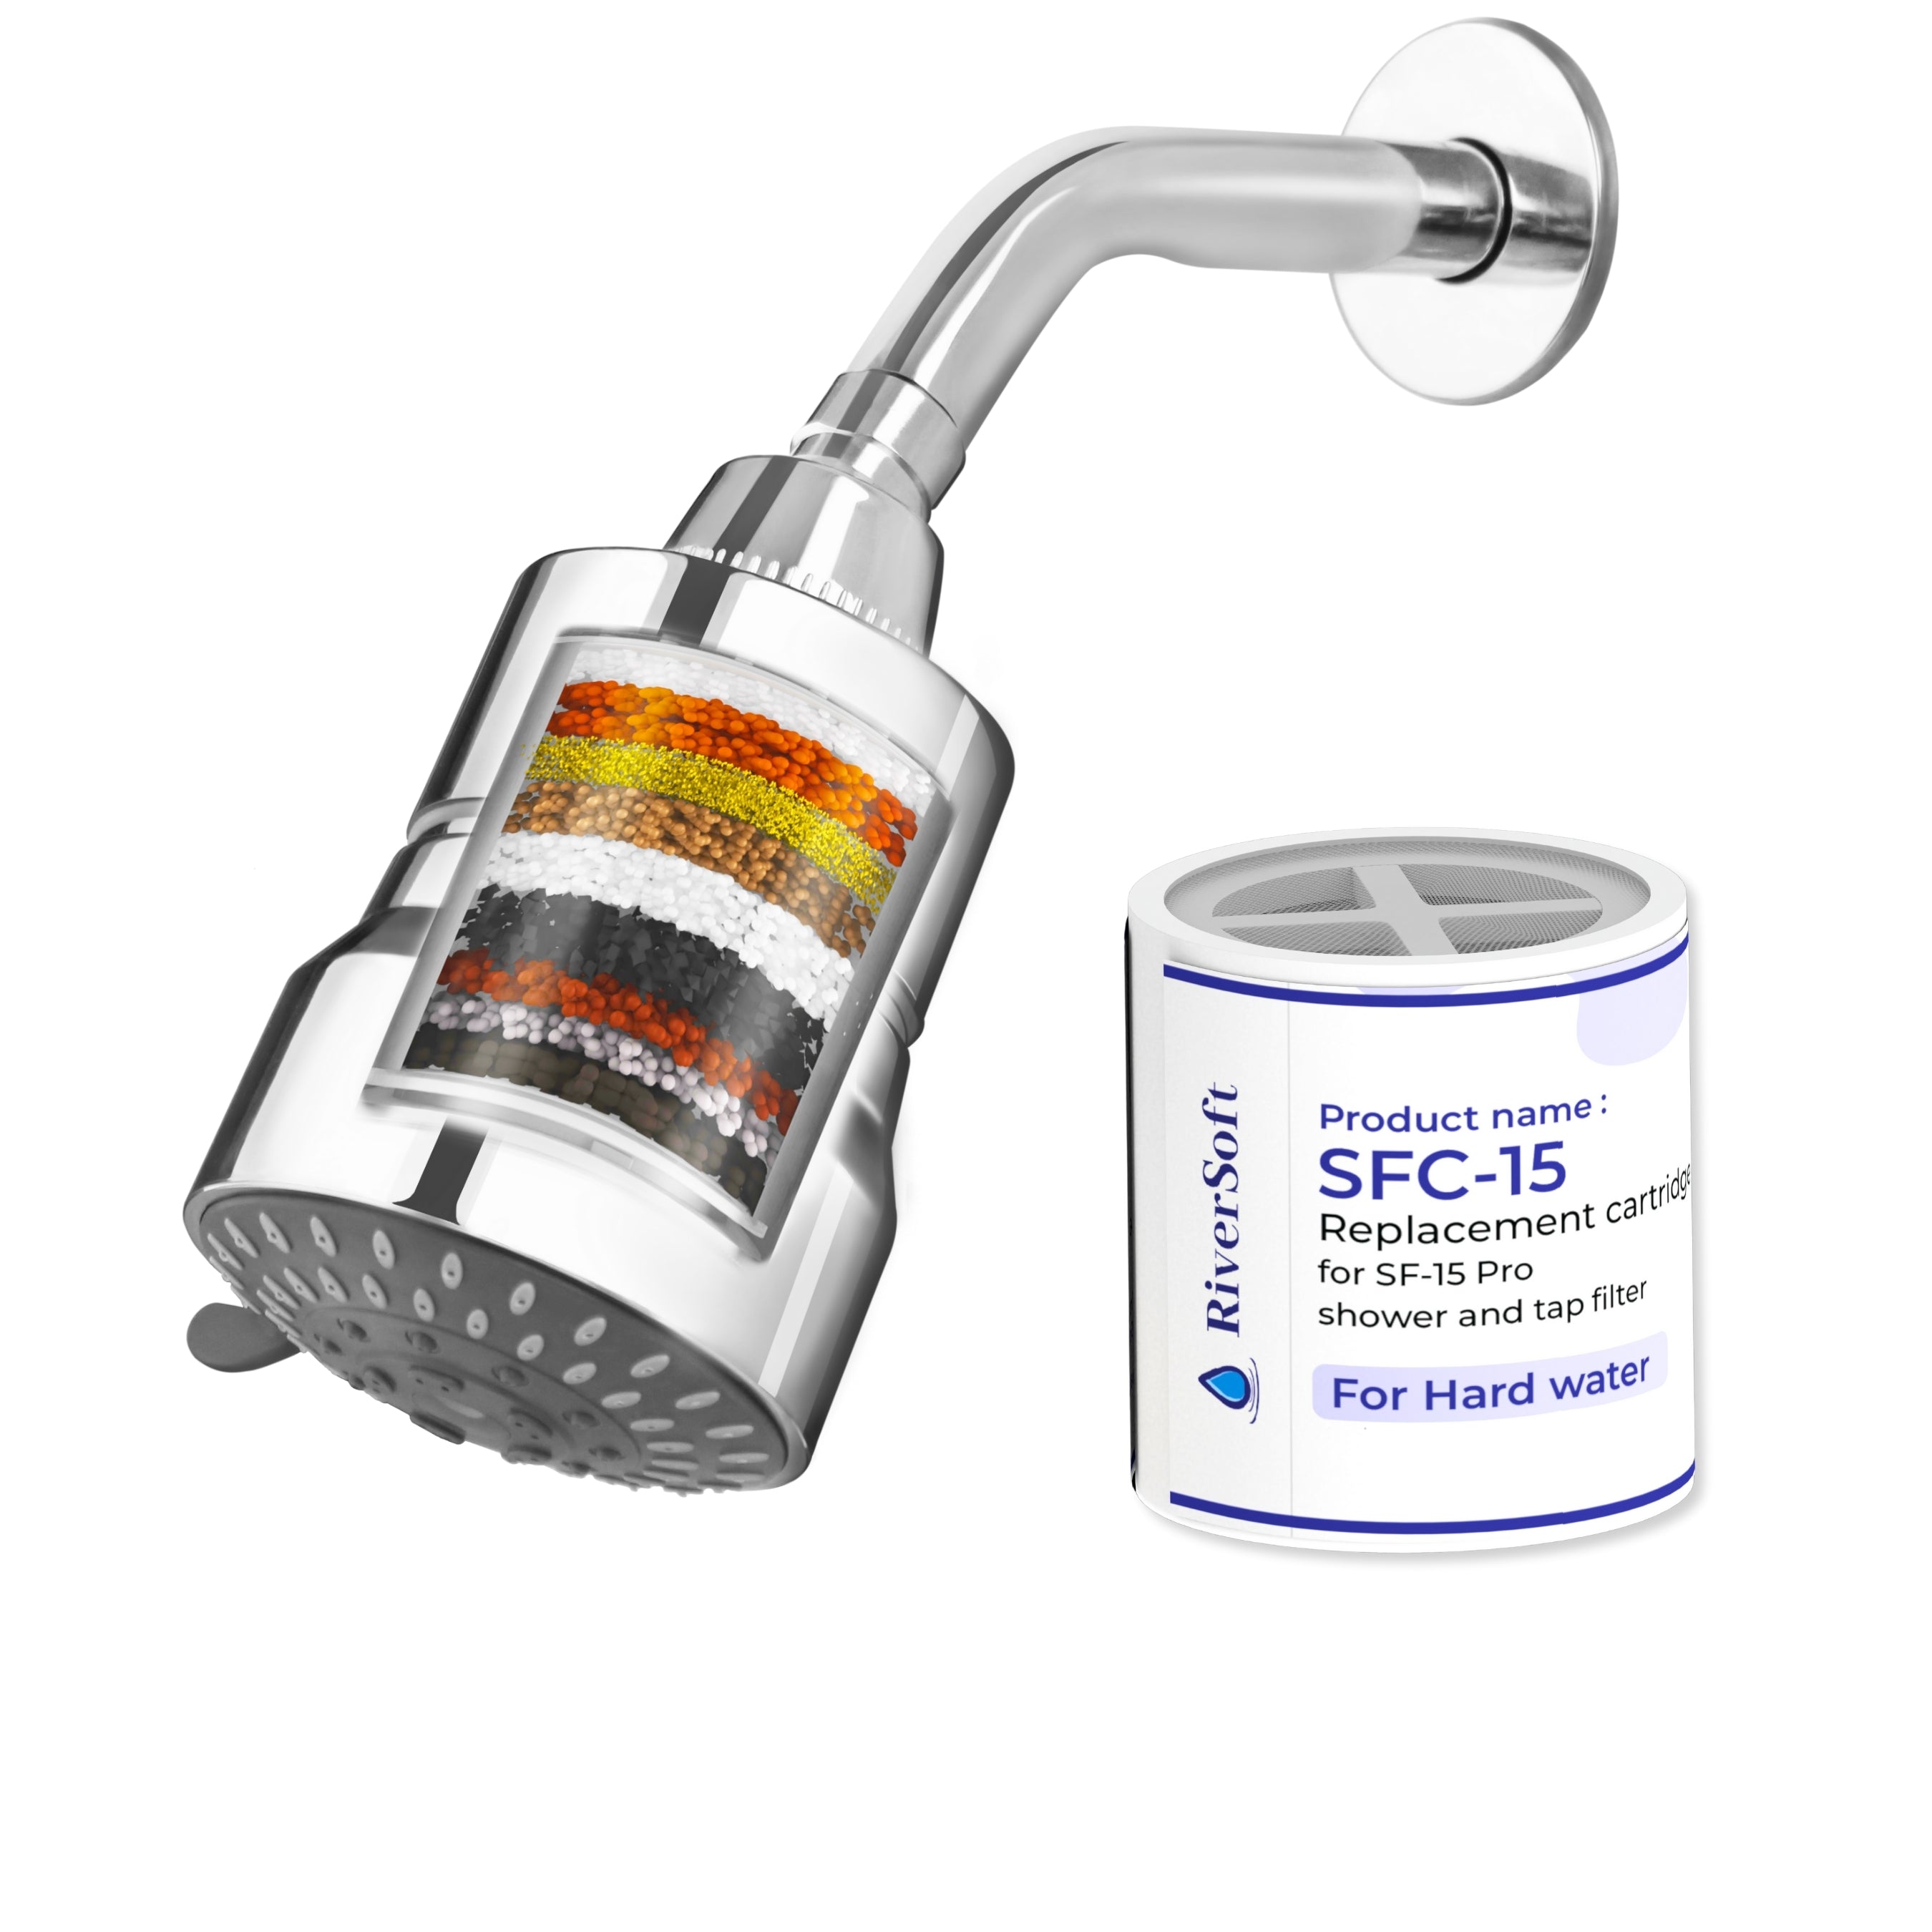
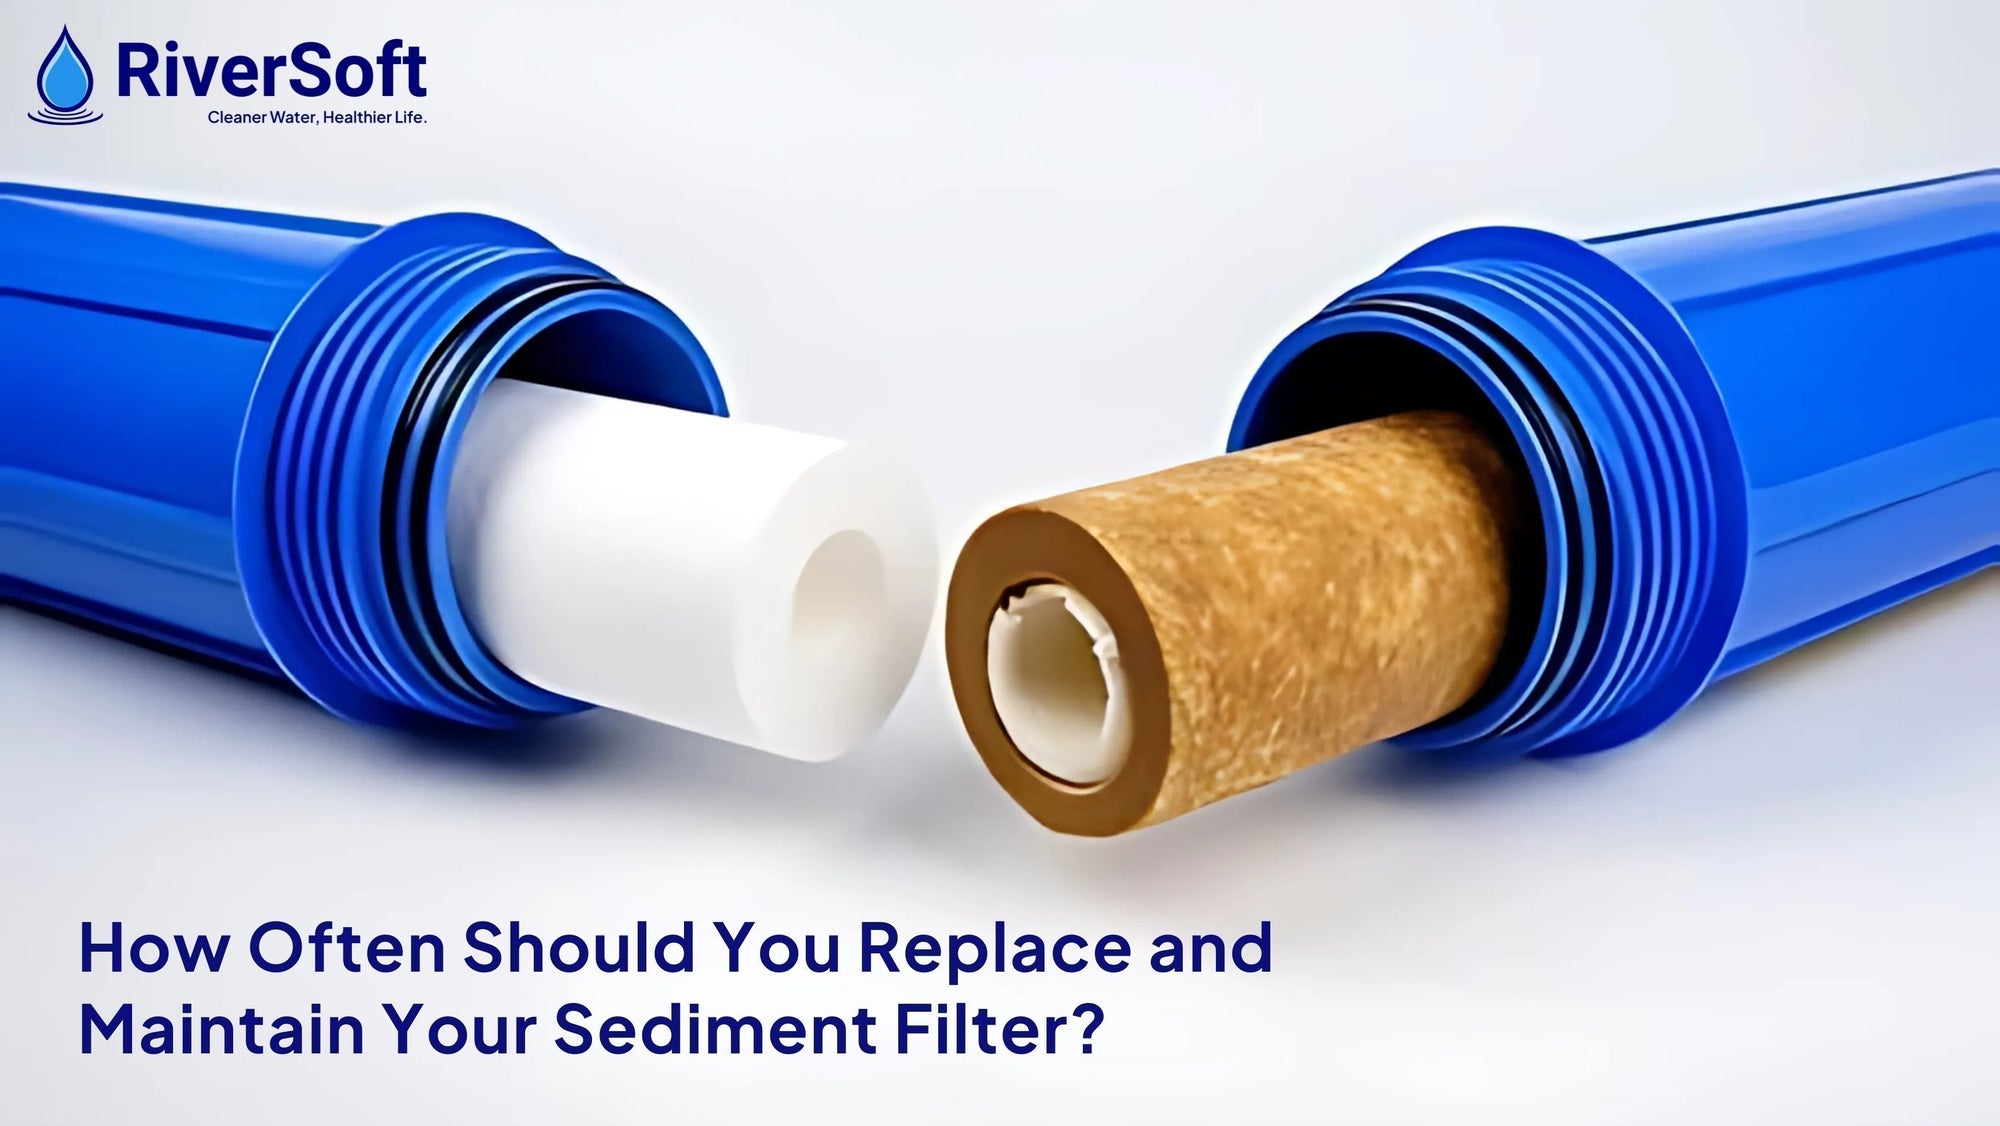
Cartridge Replacement
Most filters have replaceable cartridges that remove impurities from hard water. Replace these cartridges every 3-6 months, or as recommended by the manufacturer.
-
Clean the Threads
During maintenance, clean the shower arm and filter threads to prevent buildup and ensure a good seal during reinstallation.
-
Watch for Signs of Replacement:
Reduced water flow or a noticeable drop in water quality is a sign that it’s time to replace the cartridge or the filter itself.
Pro Tip: Keep an extra cartridge on hand so you’re never caught off guard when it’s time to replace it.
6. Pro Tips for an Even Easier Installation
For even more convenience, follow these additional tips:
-
Check Compatibility:
Before purchasing, ensure your hard water softener works with your shower’s setup (fixed, handheld, or rainfall models).
-
Invest in Quality:
High-quality filters and hard water softeners for taps or showers typically last longer and require less frequent maintenance. They’re worth the investment for better performance.
Conclusion
Installing a shower filter or water softener for bathroom taps is a simple process that can make a world of difference for your skin, hair, and overall shower experience. With just a few basic tools and a little time, you can enjoy softer water, reduced chlorine exposure, and healthier skin and hair.
The key is preparation: gather the right tools, follow the steps carefully, and don’t skip routine maintenance. By installing a hard water shower filter of RiverSoft, you’re not just upgrading your shower-you’re investing in your well-being.
Reference: Libretexts